OK I found a cheap PIR sensor and implemented an idea.
I attached the PIR sensor through GPIO port of the raspberry.
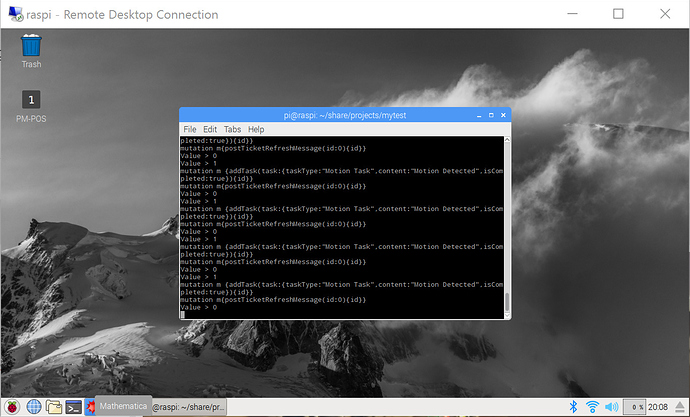
You’ll notice nothing connected to raspberry other than the power. To be able to simplify development for raspberry I setup xrdp on Raspberry to connect to it via Remote Desktop.
I also setup Samba for network access and Node JS for the application that reads the sensor and connects Message Server to create tasks.
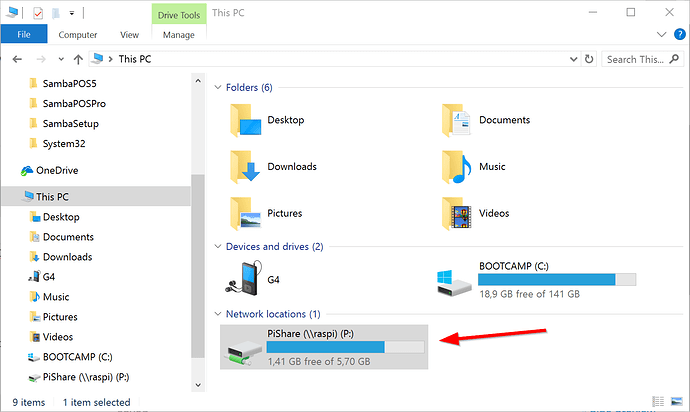
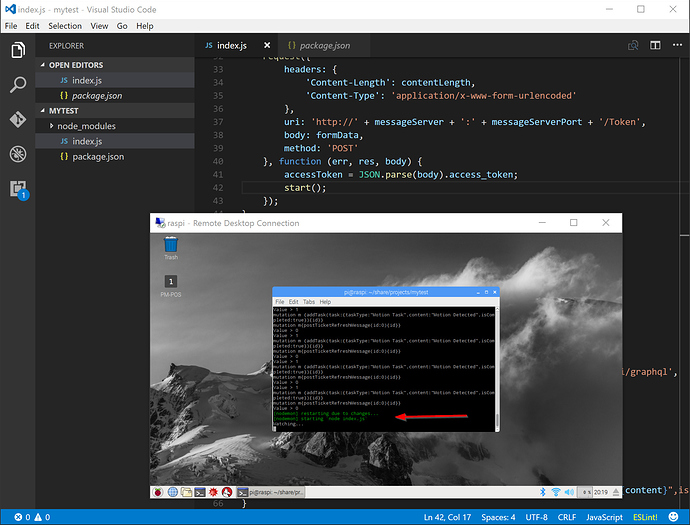
I shared a network folder on raspberry pi and mapped it as a network drive so I wrote the node js application with visual studio code that installed on my laptop. If anyone interested I followed this tutorial for setting up everything. http://thisdavej.com/beginners-guide-to-installing-node-js-on-a-raspberry-pi/
I also setup nodemon on raspberry pi. It restarts node application as soon as I change the source code. It really simplifies development.
This is the source code of the application.
var Gpio = require('onoff').Gpio;
var https = require('https');
var http = require('http');
var querystring = require('querystring');
var request = require('request');

var pir = new Gpio(7, 'in', 'both');

var messageServer = '192.168.1.6';
var messageServerPort = 9000;
var accessToken = '';

Authorize();

function start() {
    console.log('Watching...');
    pir.watch((err, value) => {
        if (err) exit();
        console.log('Value > ' + value);
        if (value === 1) {
            var script = getCreateTaskScript('Motion Detected');
            gql(script, () => gql('mutation m{postTicketRefreshMessage(id:0){id}}'));
        }
    });
}

function Authorize() {
    var form = { grant_type: 'password', username: 'samba', password: 'password' };
    var formData = querystring.stringify(form);
    var contentLength = formData.length;

    request({
        headers: {
            'Content-Length': contentLength,
            'Content-Type': 'application/x-www-form-urlencoded'
        },
        uri: 'http://' + messageServer + ':' + messageServerPort + '/Token',
        body: formData,
        method: 'POST'
    }, function (err, res, body) {
        accessToken = JSON.parse(body).access_token;
        start();
    });
}

function gql(query, callback) {
    var data = JSON.stringify({ query: query });
    console.log(query);

    request({
        headers: {
            'Content-Type': 'application/json',
            'Accept': 'application/json',
            'Authorization': 'Bearer ' + accessToken
        },
        uri: 'http://' + messageServer + ':' + messageServerPort + '/api/graphql',
        body: data,
        method: 'POST'
    }, function (err, res, body) {
        if (callback) callback(JSON.parse(body).data);
    });
}

function getCreateTaskScript(content) {
    return `mutation m {addTask(task:{taskType:"Motion Task",content:"${content}",isCompleted:true}){id}}`;
}

function exit() {
    pir.unexport();
    process.exit();
}
and the package.json file for the npm packages I used.
{
  "name": "sensortest",
  "version": "1.0.0",
  "description": "",
  "main": "index.js",
  "scripts": {
    "test": "echo \"Error: no test specified\" && exit 1"
  },
  "keywords": [],
  "author": "",
  "license": "ISC",
  "dependencies": {
    "onoff": "^1.1.1",
    "querystring": "^0.2.0",
    "request": "^2.79.0"
  }
}
You can watch this video to see it in action. When I move my hand in front of the sensor it increments the counter. When it senses a motion it creates a task on SambaPOS via graphql and broadcasts a message.
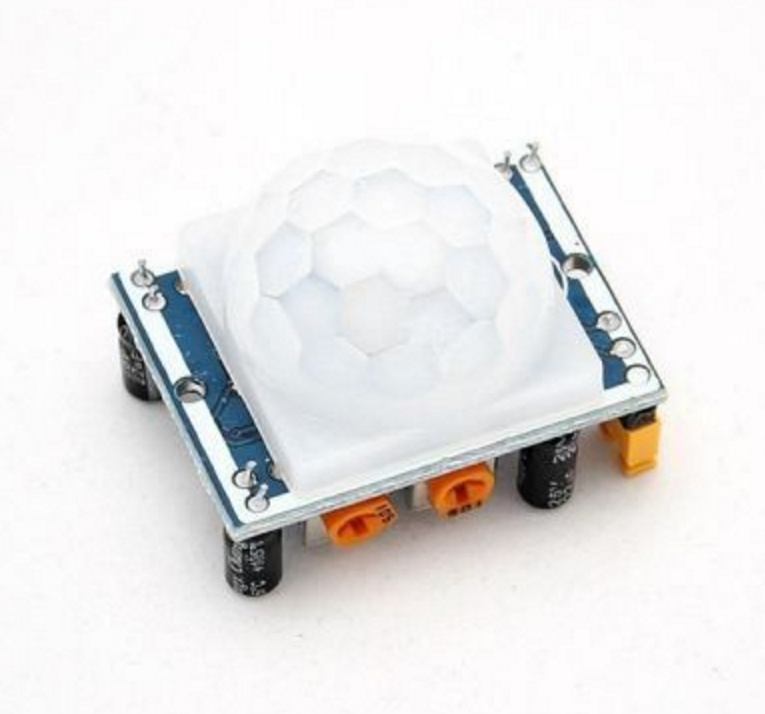
This is the PIR sensor I’ve used. It costs about $5.00 and it have 4 meters range.
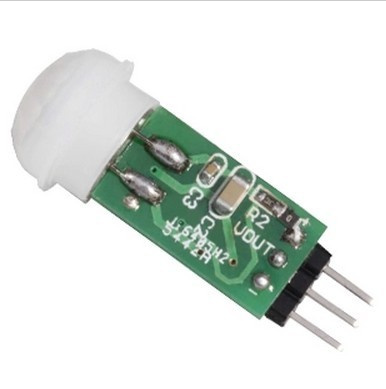
It have an 10 second delay before it resets state after it detects a motion. There are several adjustable PIR sensors. For example this one sized a little bigger but you can configure delay and sensitivity by using orange screws. This one costs about $3.00.
Of course that won’t be a accurate people counter as it only activates when it senses a motion. However it may give an idea about the busyness of an area. For example when placed in front of the main entry, analyzing motion data with sales or ticket counts may give better insights about the operation. Adding more sensors for bar or bathroom areas can improve accuracy of the data. I’ll specifically use it for our self servicing kiosk to understand if someone stands in front of it. Also additional sensors like light sensors or ultrasonic sensors may help to generate more accurate data. There are lots of different sensors that can be used for different purposes.
Update: Today I noticed our people counter published on adafruit blog. https://blog.adafruit.com/2017/02/03/raspberry-pi-powered-people-counter-for-sambapos-raspberry_pi-piday-raspberrypi/
This website is a great resource to follow if you’re interested on DIY projects.

