This setup will show you how to deduct wastage/damage stock at the end of the day, it will reduce it from your inventory and log the total cost in a wastage account that you can use in reporting.
This is my flow:
-
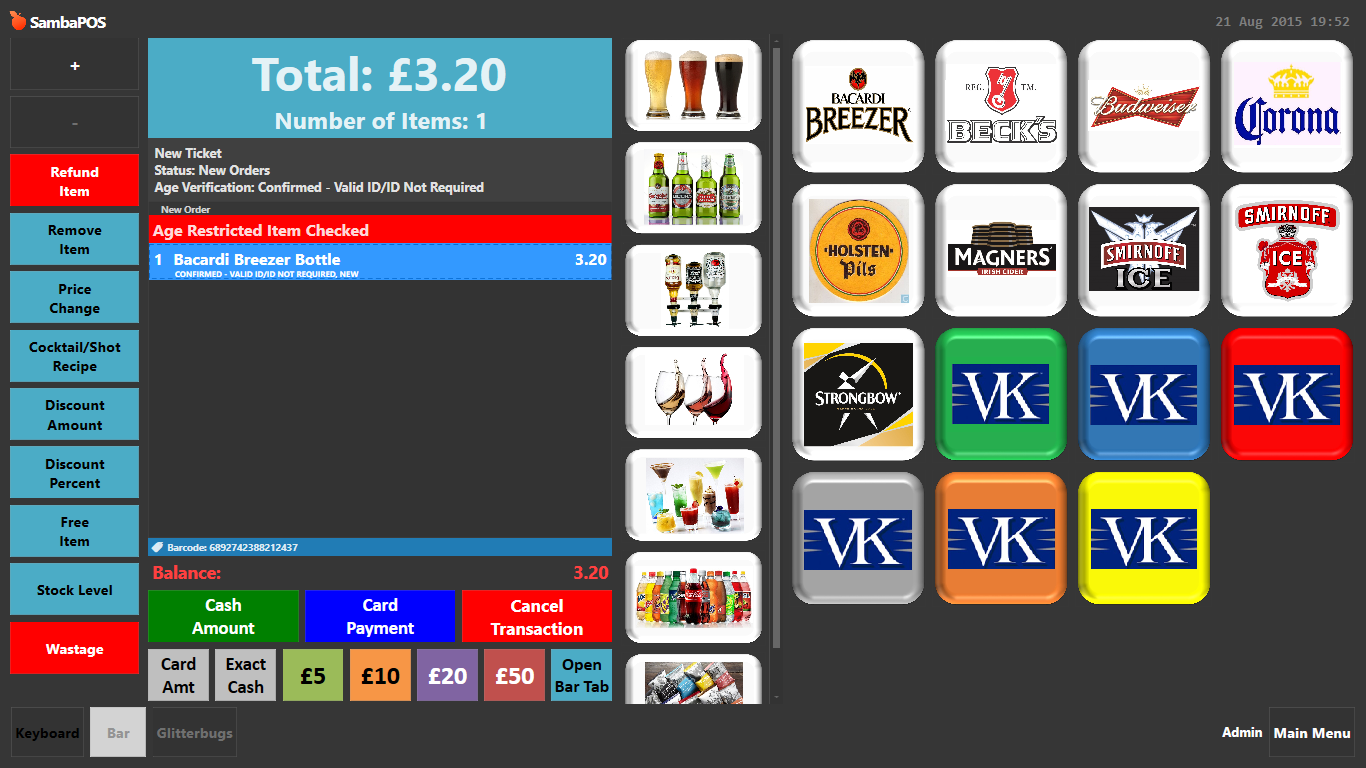
Add the first item to the ticket
-
Select the order you have just added and press the wastage button to enter the wastage set up
-
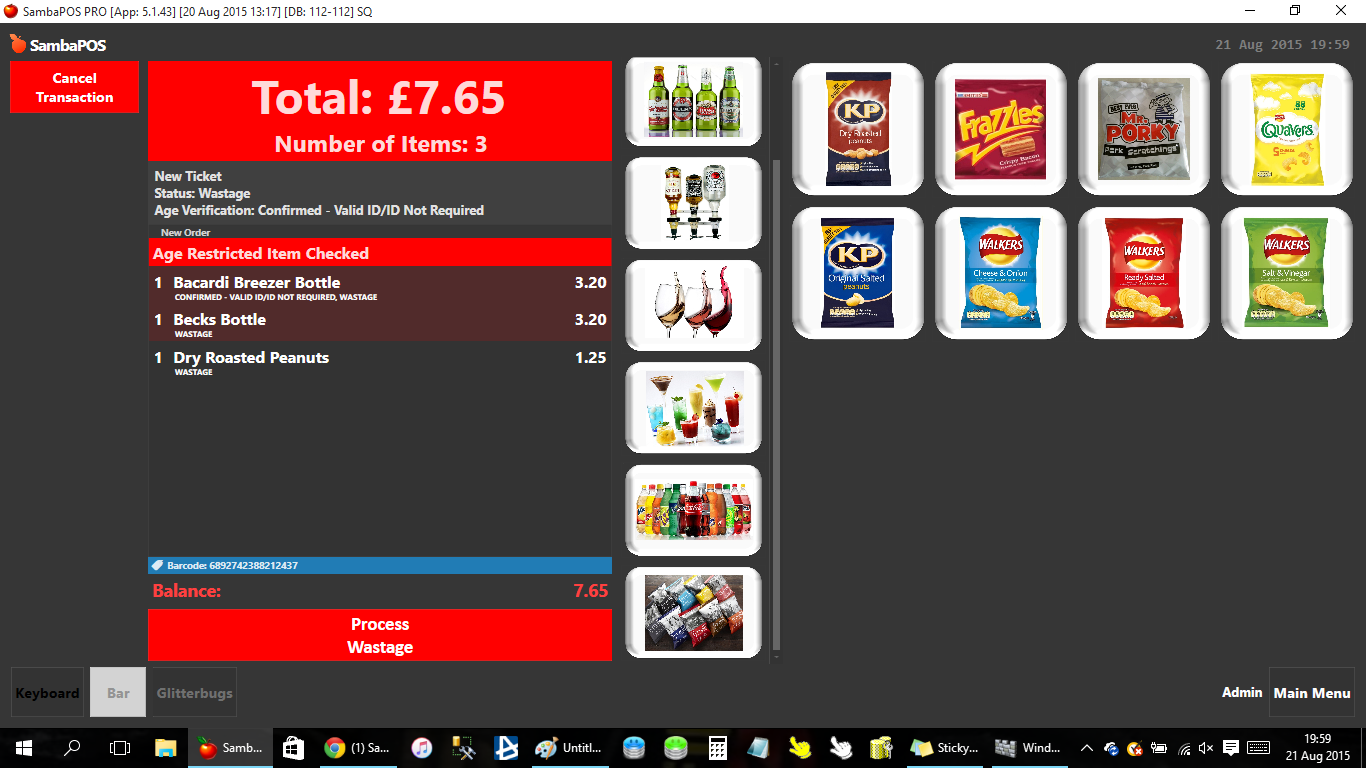
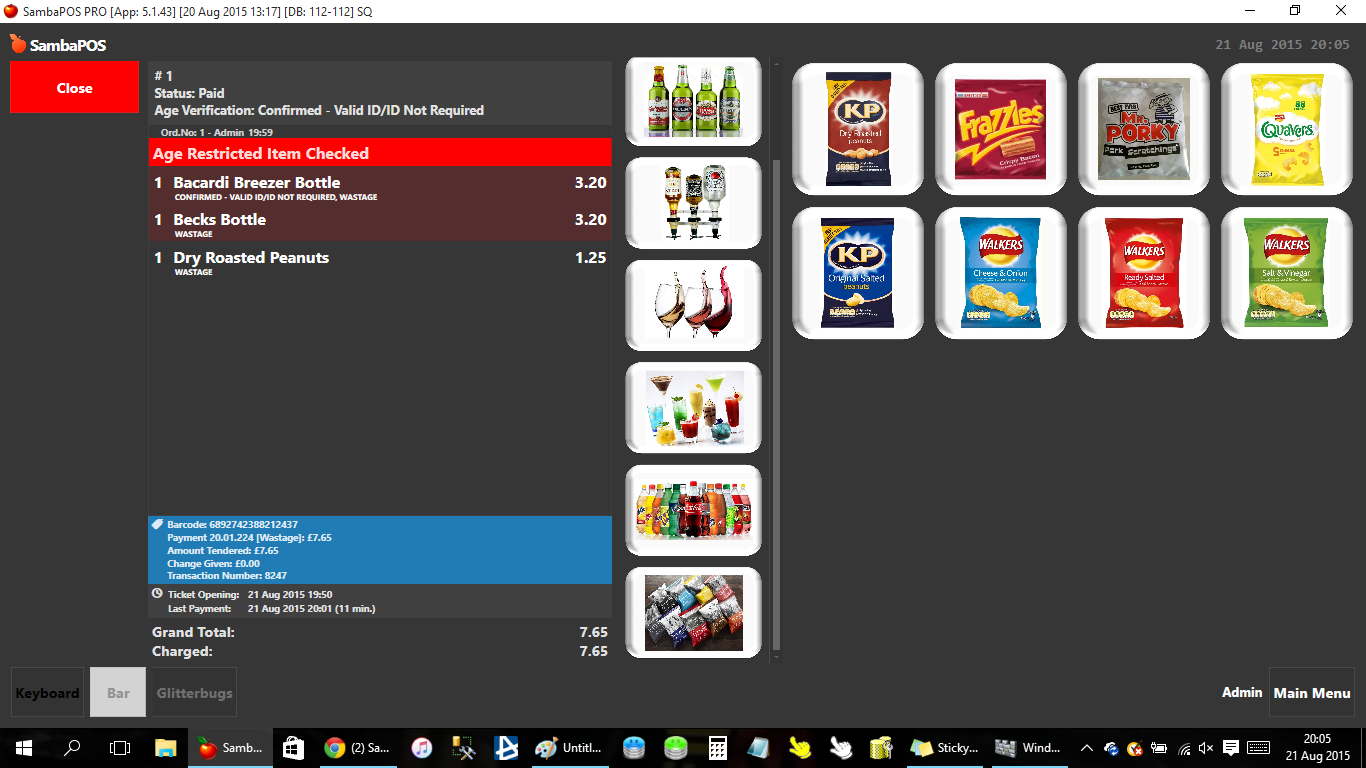
You are now in the wastage set up, anymore items you add will be logged as wastage and removed from your inventory
-
Press the process wastage button to complete the wastage process, logging the value of the wastage in accounts and removing the items from your inventory

Accounts Screen
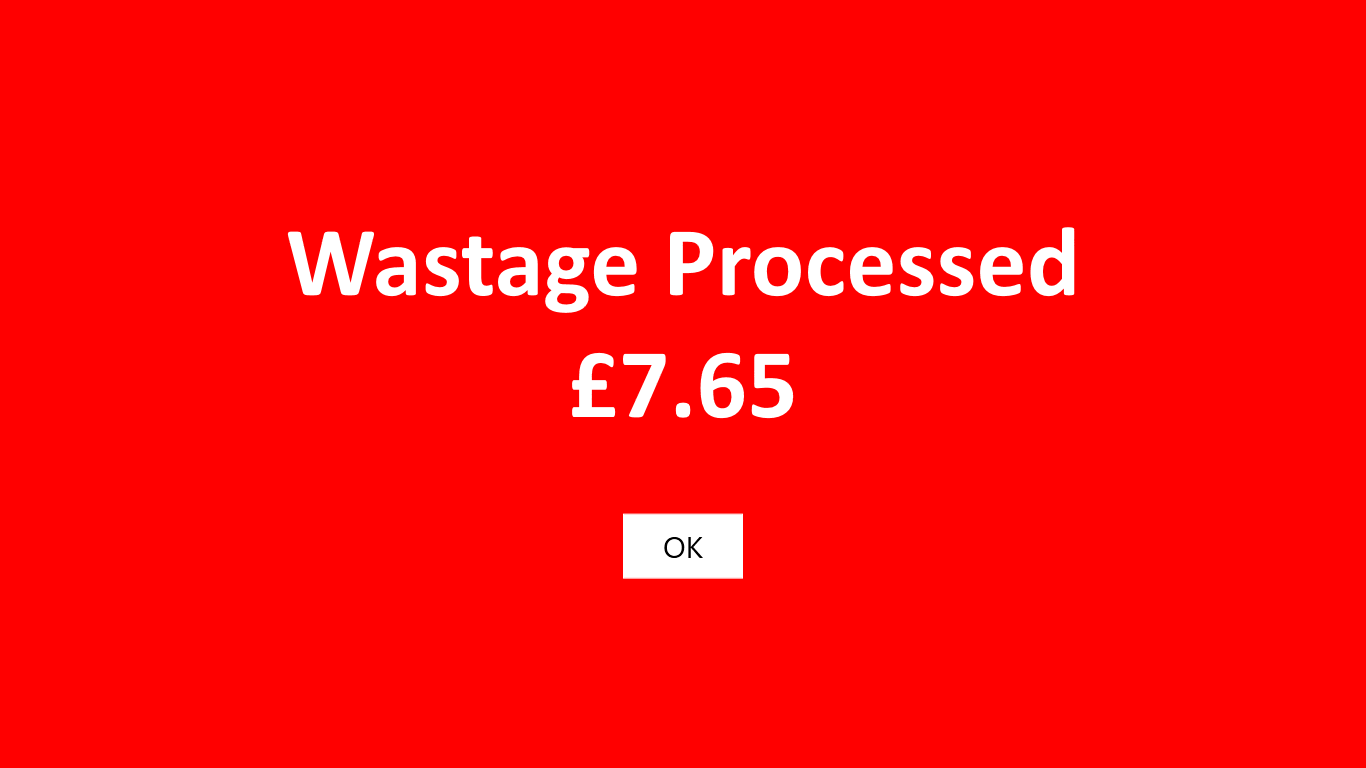
Wastage processed 7.65
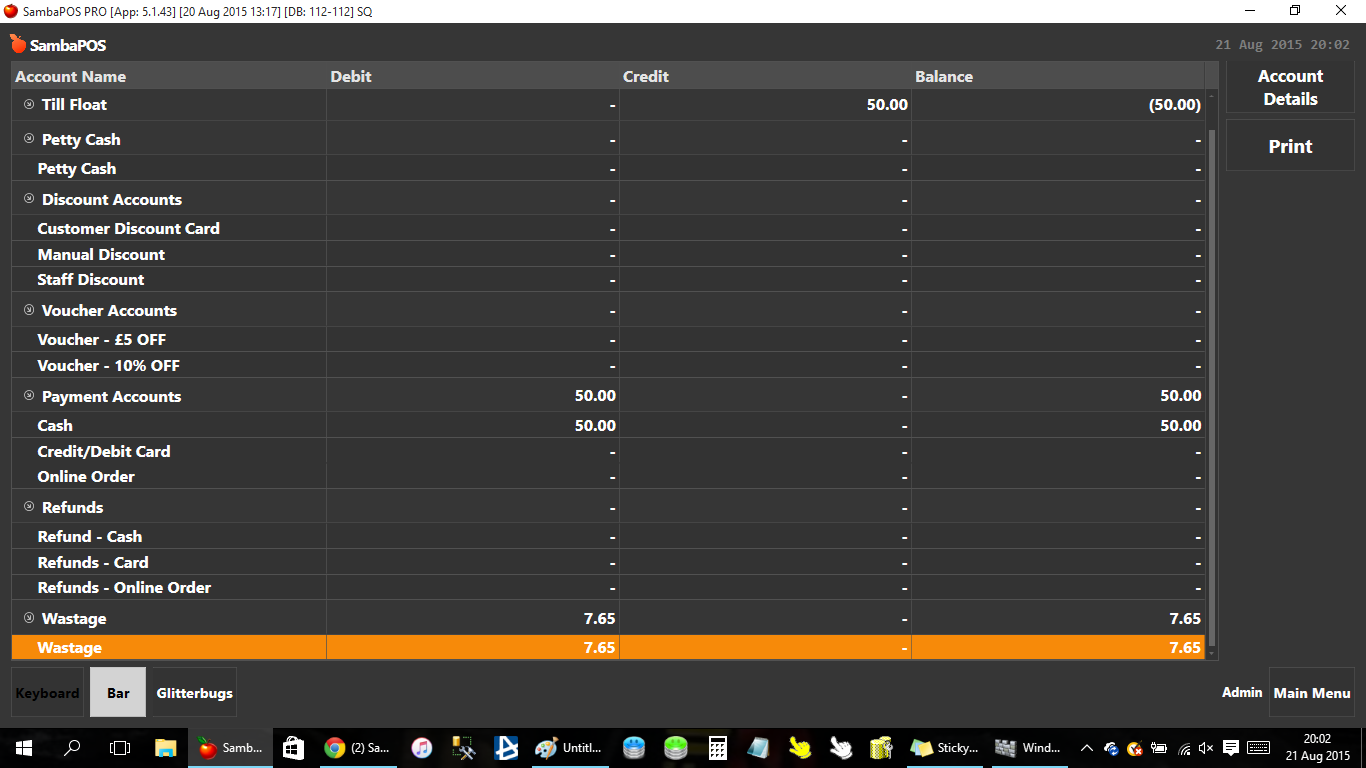
Once highlighted as above press Account details to list the wastage transactions processed that work period (should just be one if done at the end of the day, but you could do multiple wastage transactions throughout the day)
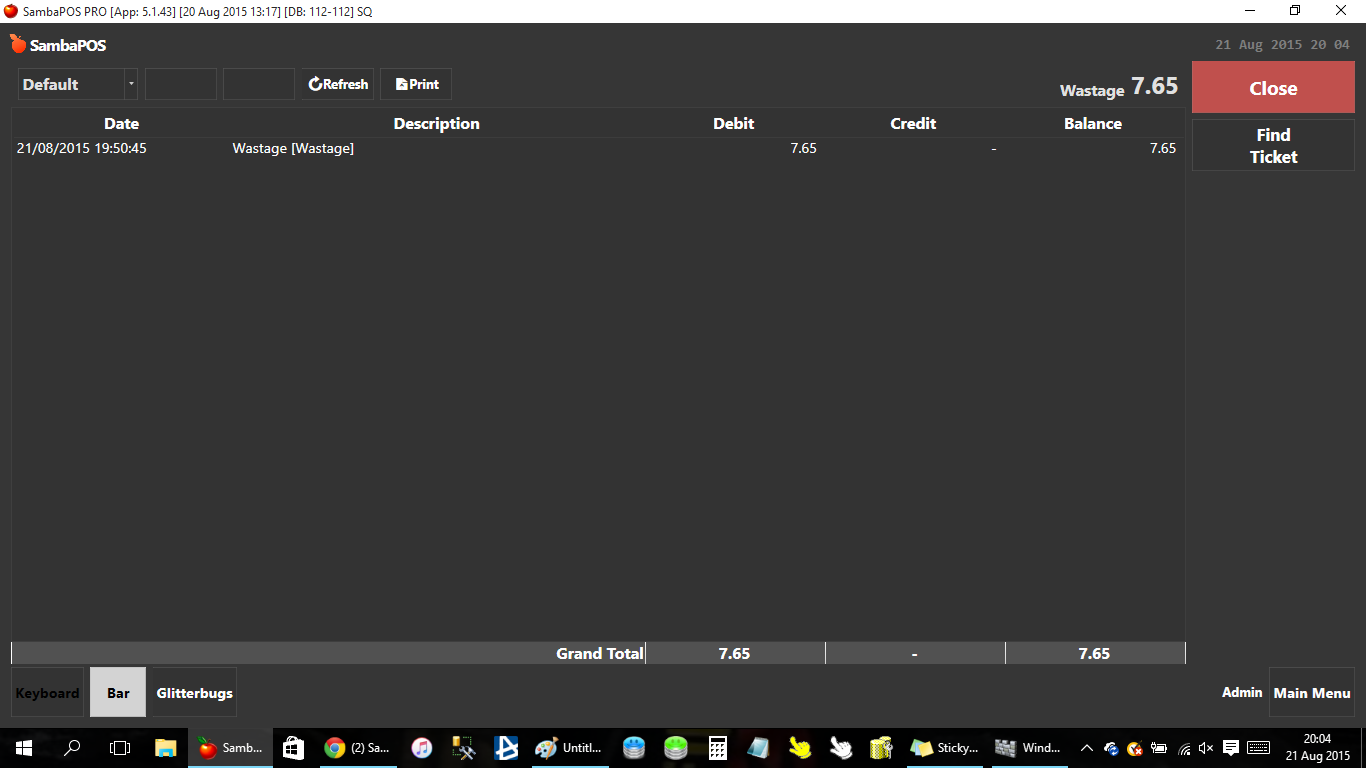
Select the wastage transaction and press find ticket to bring up that wastage transaction on screen, this is helpful if you have multiple throughout the day so you can track what is being put to wastage, by who and when
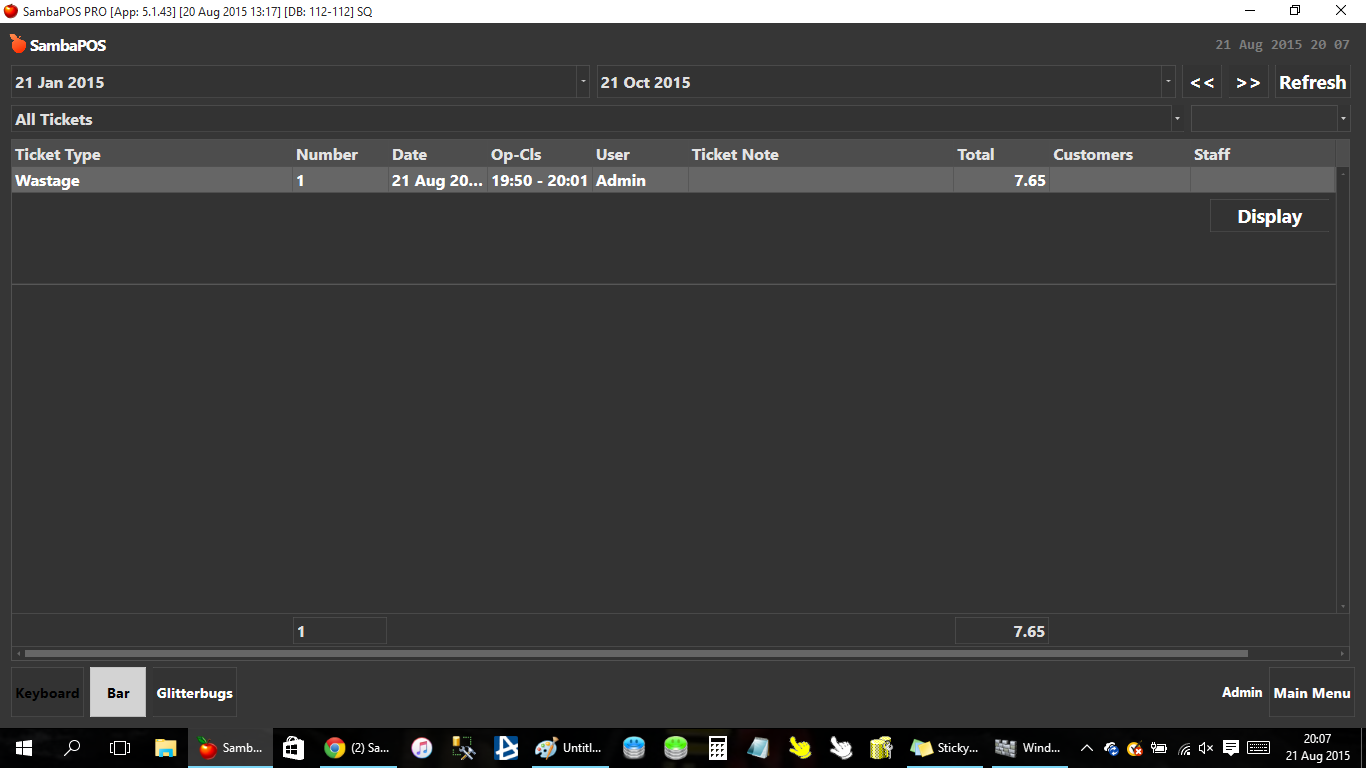
The ticket also updates it ticket type to wastage so you can easily view in the ticket module
WASTAGE STEP BY STEP SET UP GUIDE
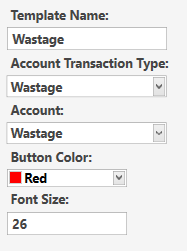
Step 1 - Create Wastage Button for POS Screen
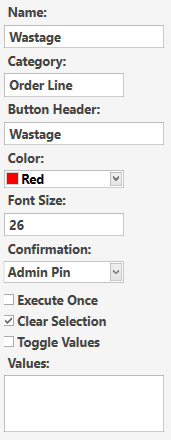
With the following mappings

Step 2 - Create the Process Wastage Button
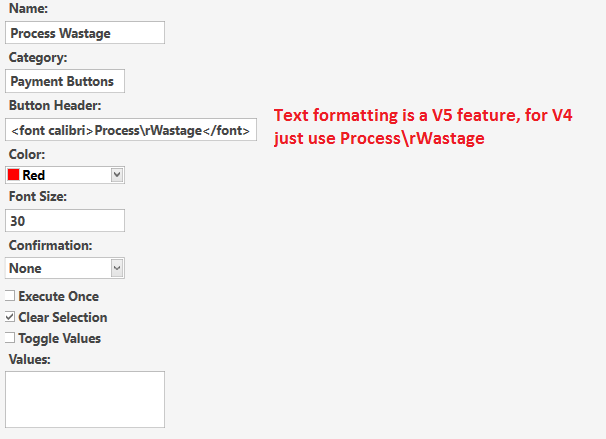
With the following mappings

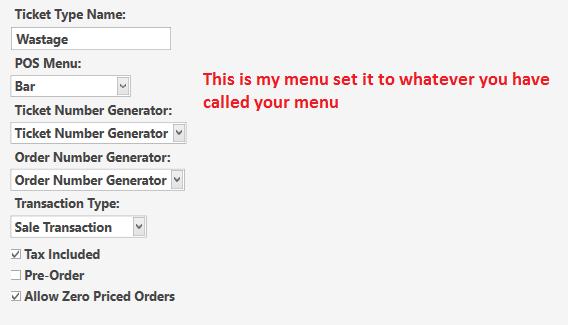
Step 3 - Set up a Wastage Ticket Type
Go to Settings>Tickets>Ticket Types and create the following
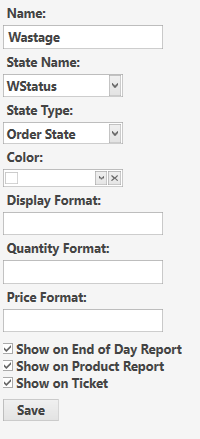
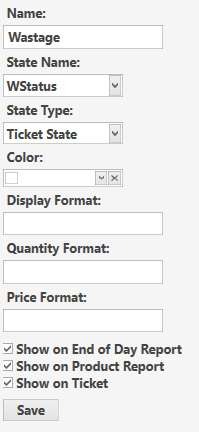
Step 4 - Set up a ticket and order WStaus states as below
Settings>States
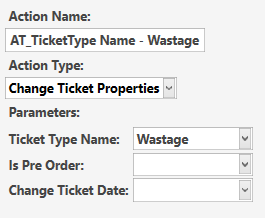
Step 5 - Create a Change Ticket Properties action to update ticket type
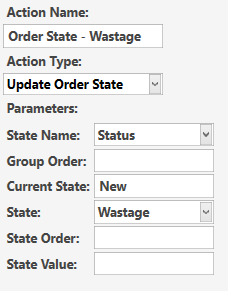
Step 6 - Create an Update Order State Action
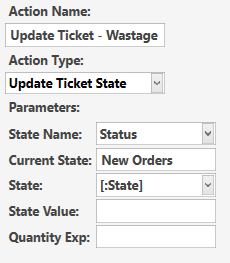
Step 7 - Create an Update Ticket State Action
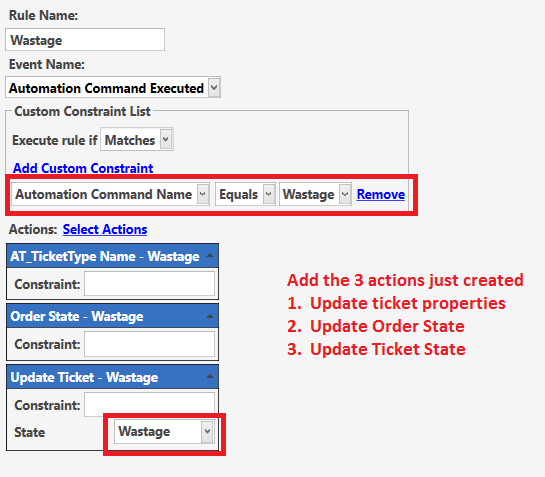
Step 8 - Create a Wastage Rule to link the above actions
Step 9 - Create a Wastage Account Type
Settings>Accounts>Account Types

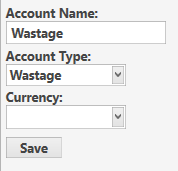
Step 10 - Create a Wastage Account
Settings>Accounts>Accounts
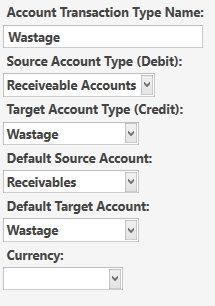
Step 11 - Create a Wastage Transaction Type
Settings>Accounts>Transaction Types
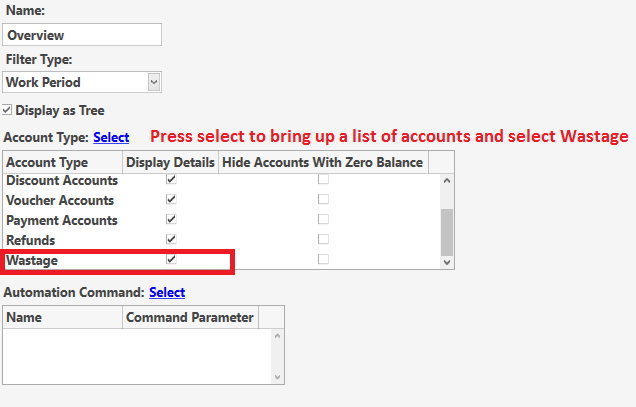
Step 12 - Add your Wastage Account to your Account Screen
Settings>Accounts>Account Screens
Step 13 - Create a Wastage Payment Type
Settings>Tickets>Payment Types
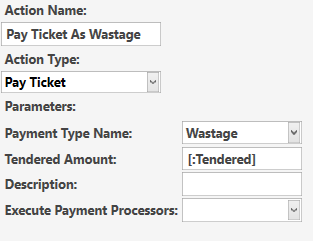
Step 14 - Create a Pay Ticket Action
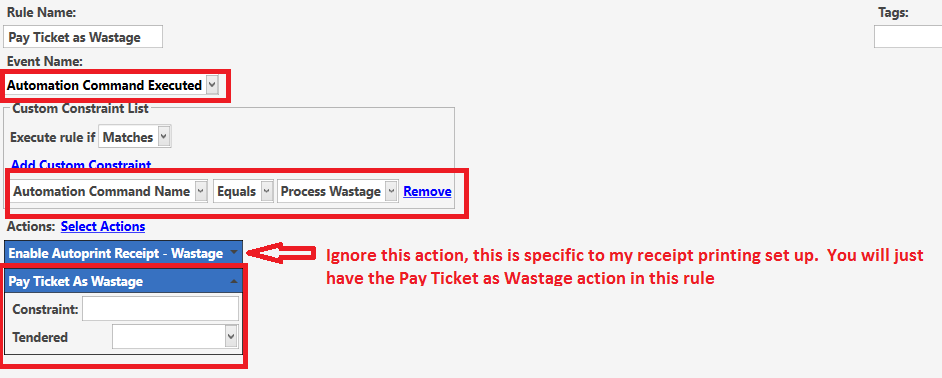
Step 15 - Create a Rule for Processing the wastage “payment” as below
Step 16 - To ensure every order added after the first updates its order state to Wastage add the following rule, using the Update Order Status action created in step 6**

Optional Set Ups
- Update Ticket Header - the formatting in my ticket header will only work in V5, you could remove the formatting tags for V4 use
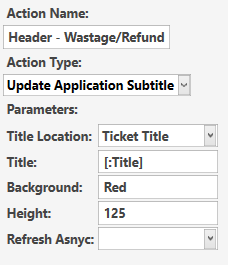
Step 1 - Create an Update Application Subtitle Action
Step 2 - Create an Order State Updated Rule
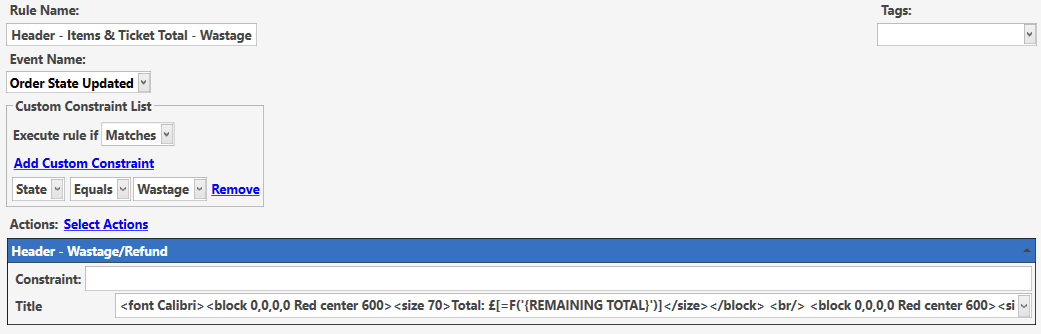
The formatting below will only work in V5
<font Calibri><block 0,0,0,0 Red center 600><size 70>Total: £[=F('{REMAINING TOTAL}')]</size></block> <br/> <block 0,0,0,0 Red center 600><size 35>Number of Items: [=TN('{TICKET QUANTITY SUM}')]</size></block>
Try something like this for V4 (i havent tested if that works, may need tweaking)
Total: £[=F('{REMAINING TOTAL}')\rNumber of Items: [=TN('{TICKET QUANTITY SUM}')]
- Full Screen confirmation (uses ask question in V4 this is a banner across the screen, in V5 there is a transparency setting in the ask question so it fills the screen as i have
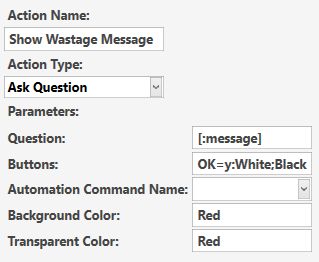
Step 1 - Create an Ask Question Action
Step 2 - Create Payment Processed Rule
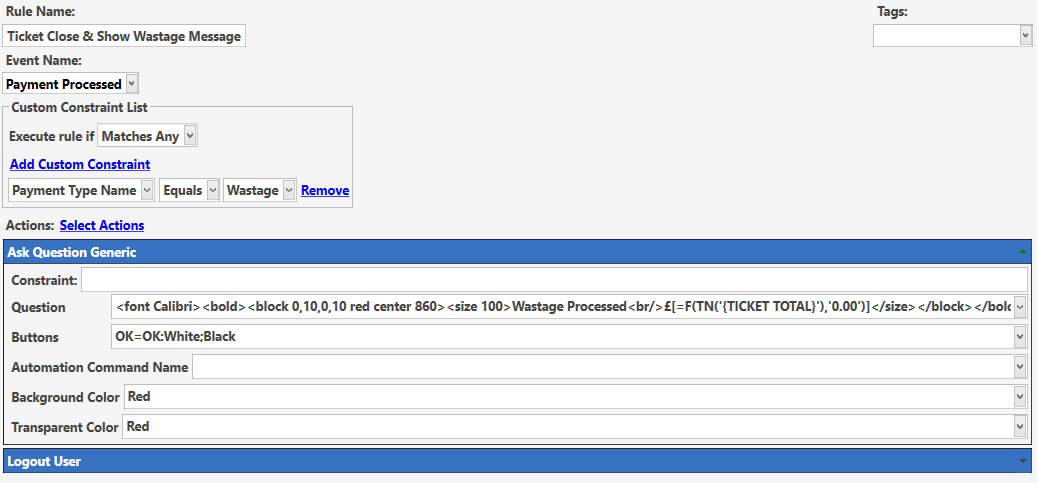
Again this formatting is V5 only
<font Calibri><bold><block 0,10,0,10 red center 860><size 100>Wastage Processed<br/>£[=F(TN('{TICKET TOTAL}'),'0.00')]</size></block></bold></font>
you can adapt for V4 by removing the formatting tags
YOU CAN NOW COPY THIS SETUP AND DO THE SAME THING FOR REFUNDS, JUST CHANGE THE WASTAGE UPDATES TO REFUND, AND HAVE REFUND ACCOUNTING ETC