Someone was asking how to setup custom barcode generation so here it is.
SambaPOS by default has options to generate barcodes using the <BAR> tag in your printer templates. Customization for the barcode generated has limited options. This tutorial goes over a way to use your own barcode generator to be able to modify a barcode to your liking. For this we’ll be utilizing Zint. The example below is using an HTML printer, but you can modify the output to meet your needs.
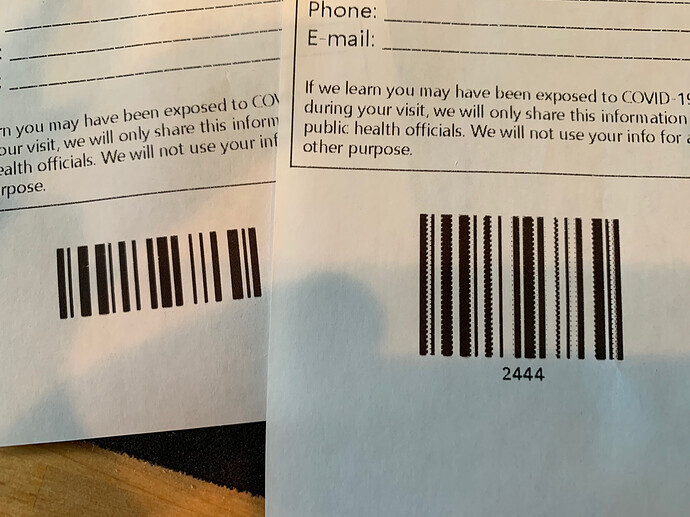
Example: Zint (left) vs SambaPOS
Zint supports over 100 barcodes and allows for full customization of size, background, borders, rotation, etc…All features can be found in their manual in the zip file.
Files Needed:
- zint-2.9.1-win32.zip (6.7 MB)
- bargen.zip (362 Bytes)
1. Download Zint and batch files above
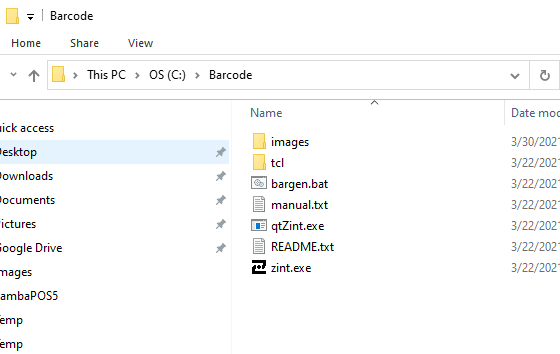
2. Create a folder C:\Barcode and extract Zint and bargen.zip into that folder.
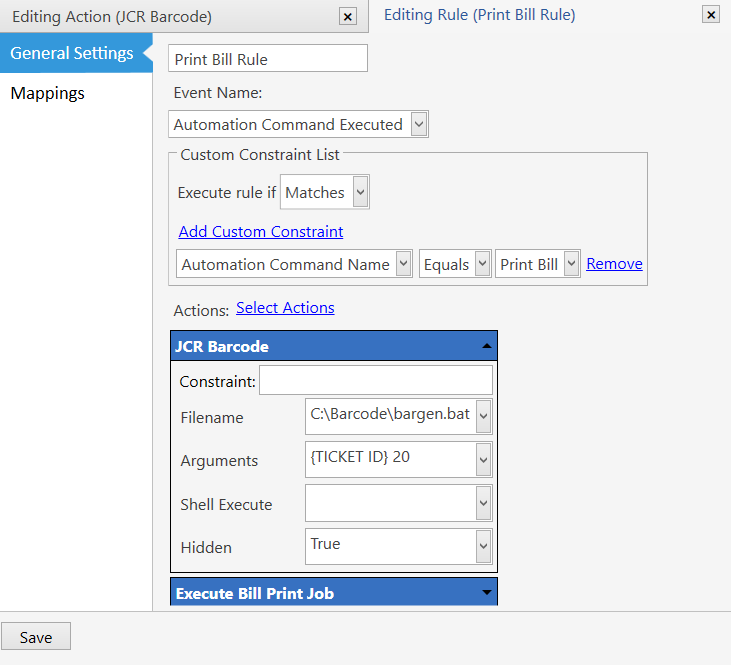
3. Action - Start Process

4. Rule - Print Bill
- Add the action before the execute print job and set the parameters. The number in the arguments is the height, but you can pass other parameters and modify bargen.bat if needed.
- If desired, you can use a random number generator and a ticket tag instead of ticket id, because you won’t be able to generate a barcode with the ticket id until the ticket is closed. So if you add orders to a new ticket and print it will not produce a barcode. This wasn’t a priority for me.
- Filename: C:\Barcode\bargen.bat
- Arguments: {TICKET ID} 20
- Hidden: True
5. Create a Script - Printing
- The script checks if the image exists, so we don’t get any errors if the image doesn’t exist. I tried to use a temporary file, but this doesn’t work well since Samba locks the file when in use, therefore you get errors trying to overwrite it.
- Name: Printing
- Handler: Printing
- Function: imagecheck (see below)
function imagecheck(tid) {

	var file = host.type("System.IO.File");
	var filename = "C:\\Barcode\\images\\" + tid + ".png";
	// var check = file.Exists(filename).toString();

	if (!file.Exists(filename)) {
		// dlg.ShowMessage("Image does not exist" + filename);
		// dlg.ShowMessage(check);
		return '';
	} else {
		return ("<div style=\"text-align:center\";><img src=" + filename + "></div>");
	}

}
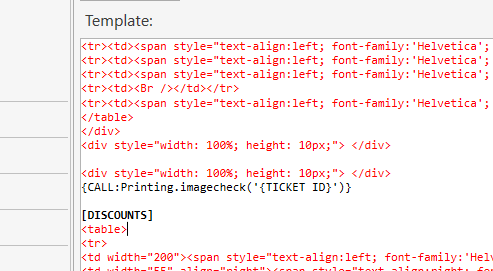
5. Modify - Ticket Template
-
Add {CALL:Printing.imagecheck(’{TICKET ID}’)} where you want the barcode to display.
-
If you have other tickets where a barcode is needed you’ll need to update those as well.
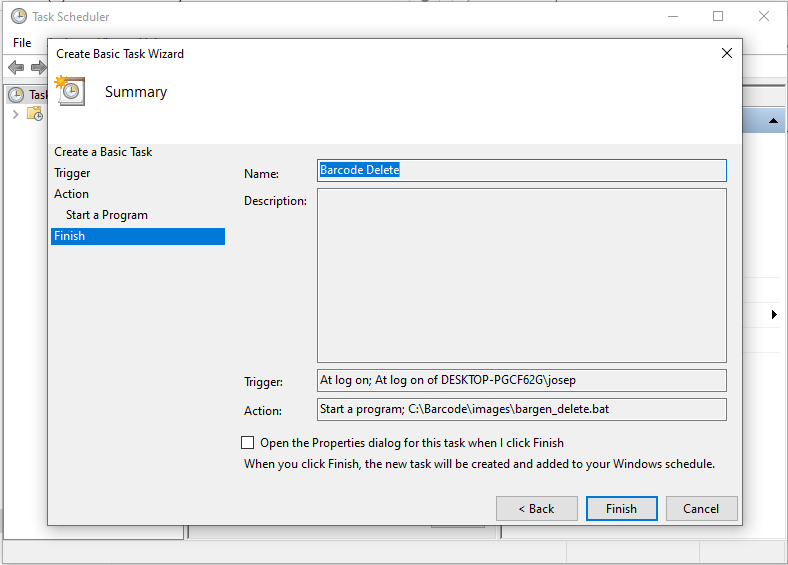
6. Setup other Terminals and Schedule Bargen_Delete.bat
- To setup other terminals all you need to do is copy and paste C:\Barcode
- To manage the images being created that are no longer needed you can run a scheduled job to handle this.