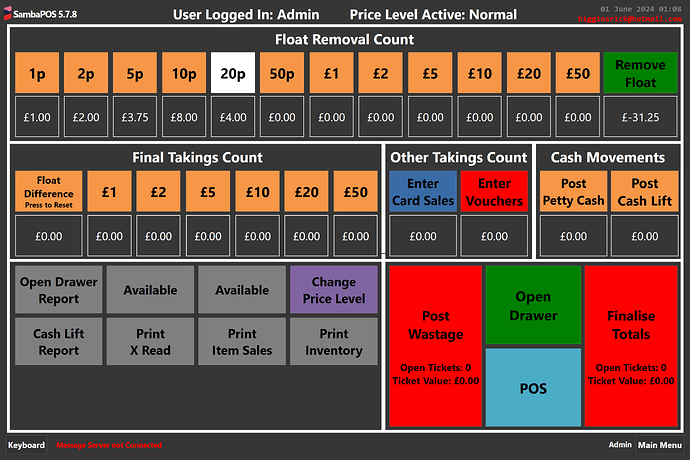
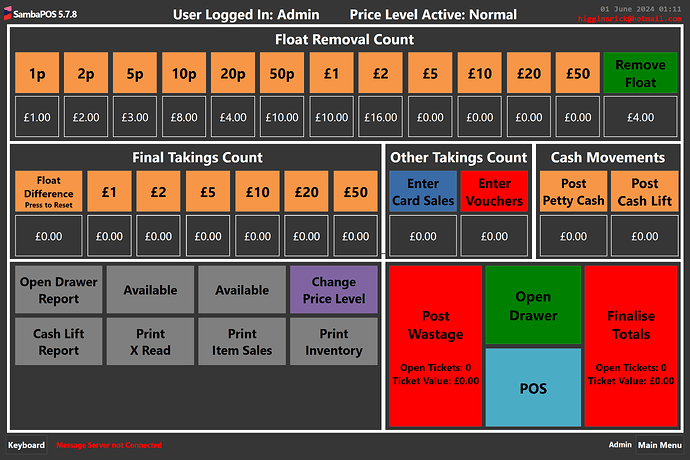
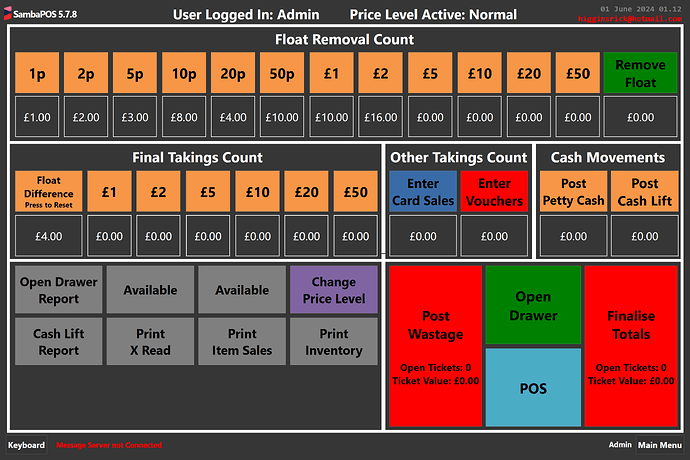
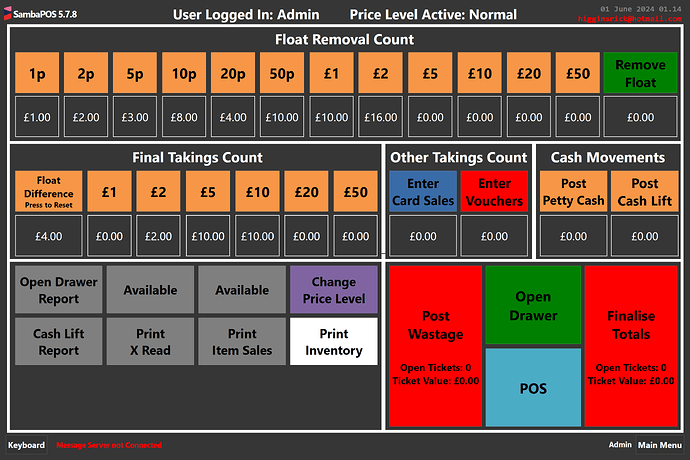
Its been a while since i said i would write a tutorial for a cash up screen, so long in fact that i have completed redesigned and re-written a simpler cash up screen built in a default database that should work as a base for any database. You can then customise it further, i am now in the process and customising it further for my needs so once completed ill also show that setup, built from this setup ill go through now and there is a database import file at the end
New Basic Cash Management - This is how it works
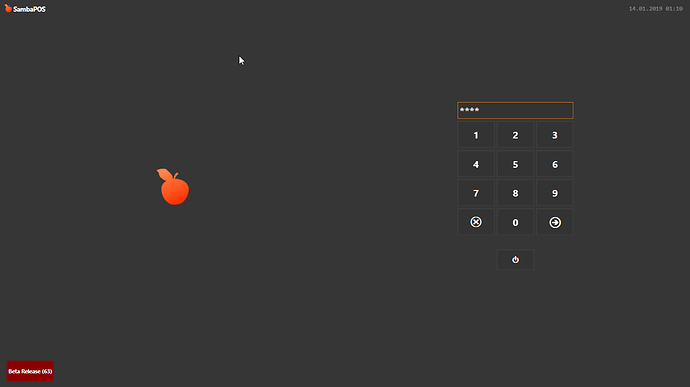
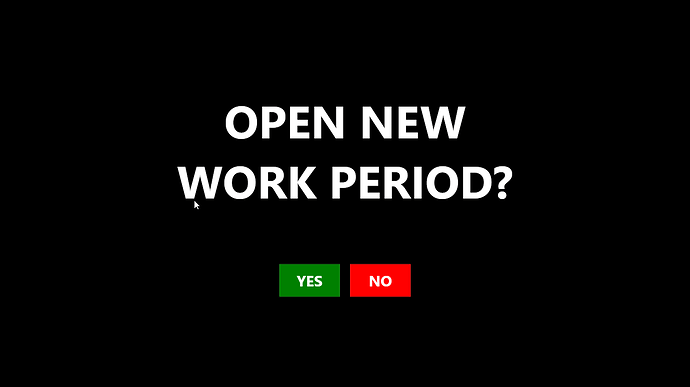
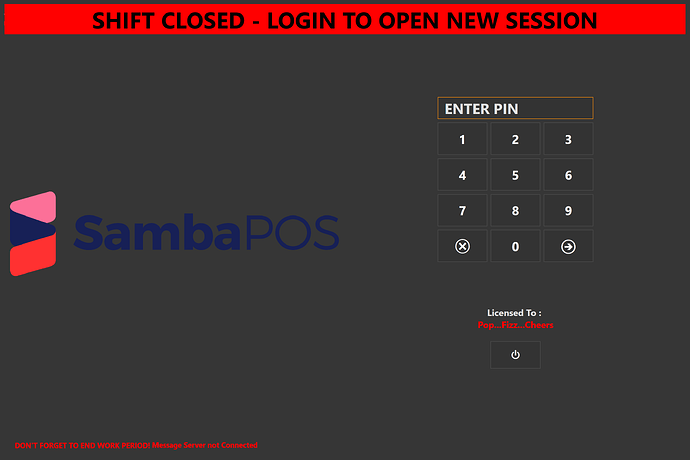
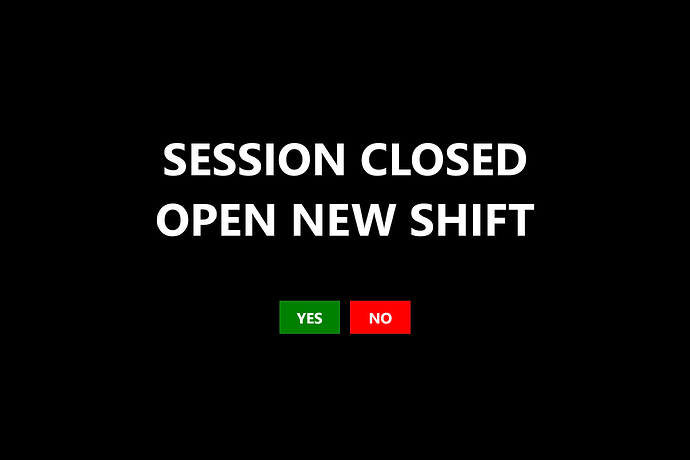
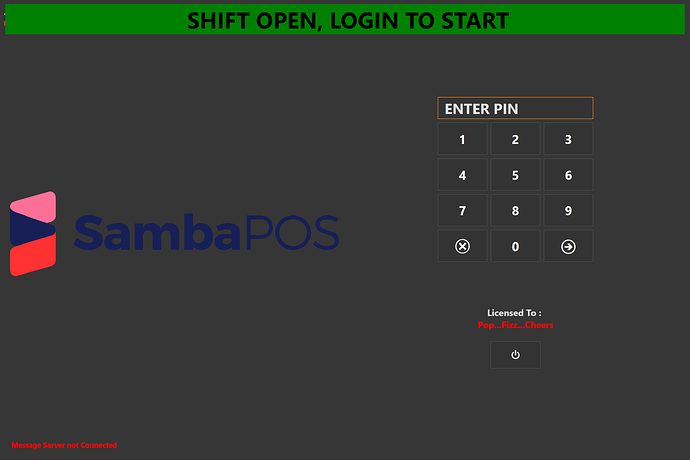
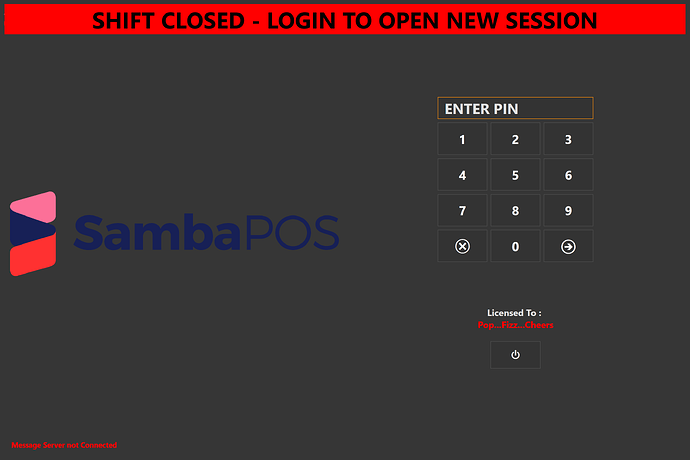
User logs in and is prompted to open new work period
Selecting NO logs user into navigation menu without opening a work period
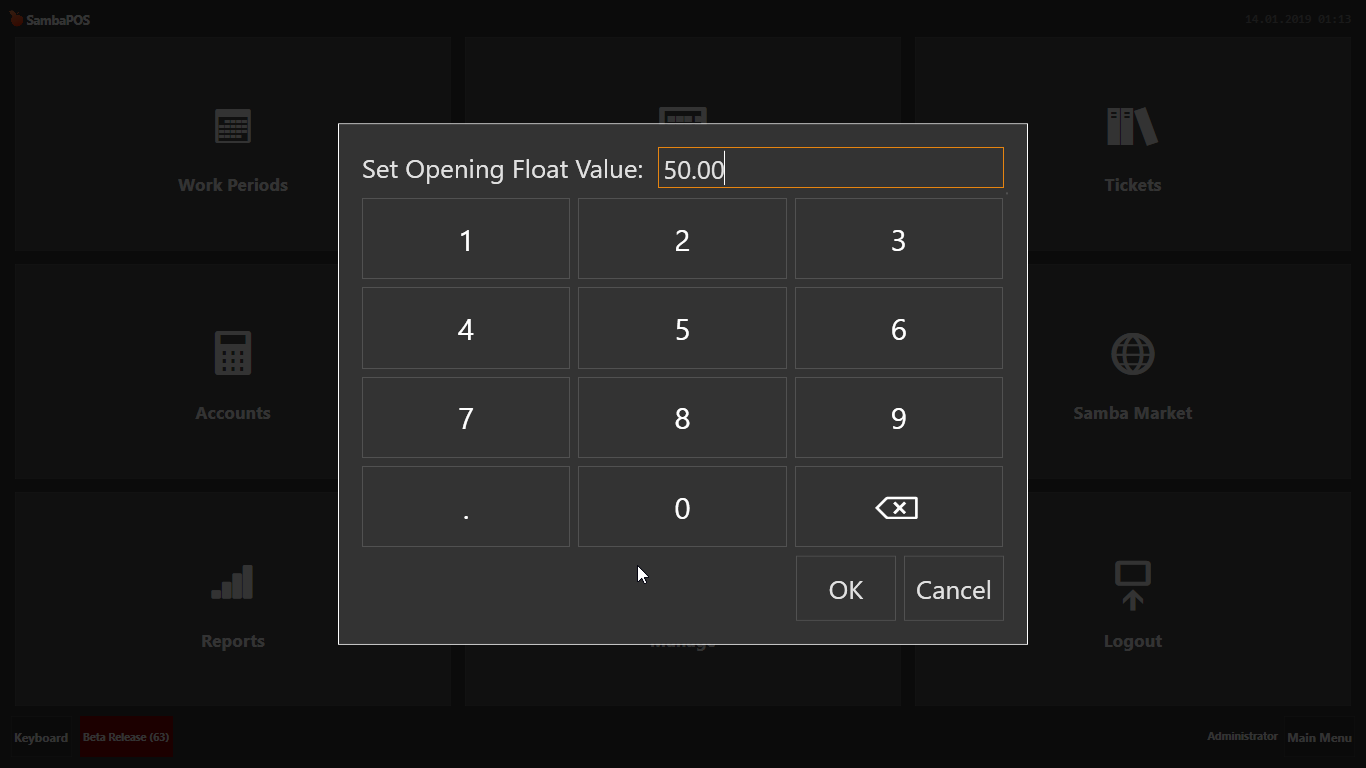
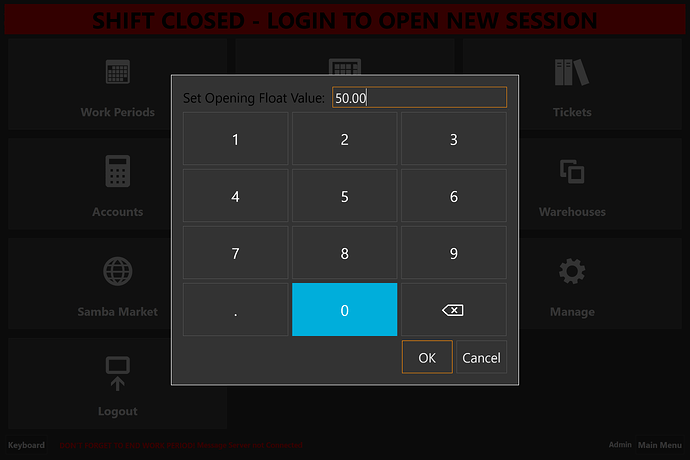
Selecting YES opens a work period, prompts for Float value to be entered and then logs the user out
Till is now setup ready for the day
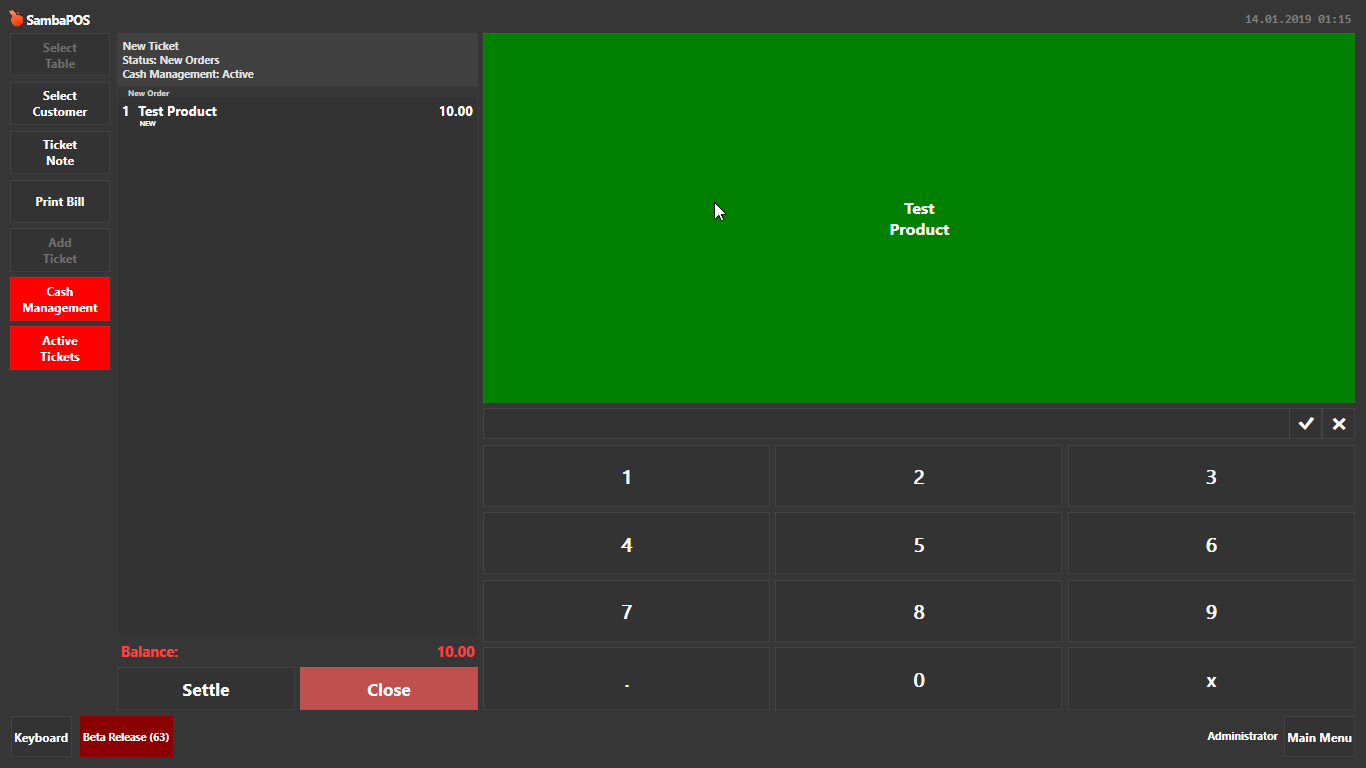
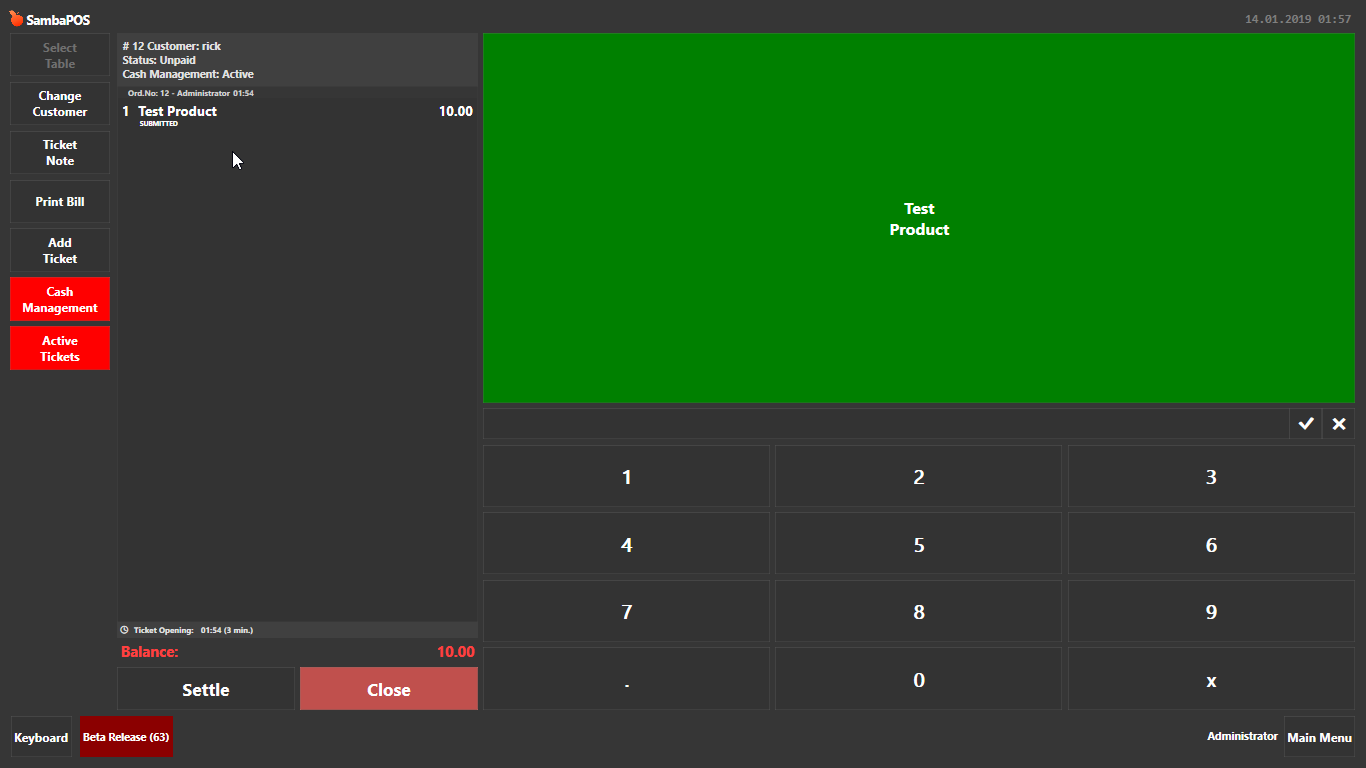
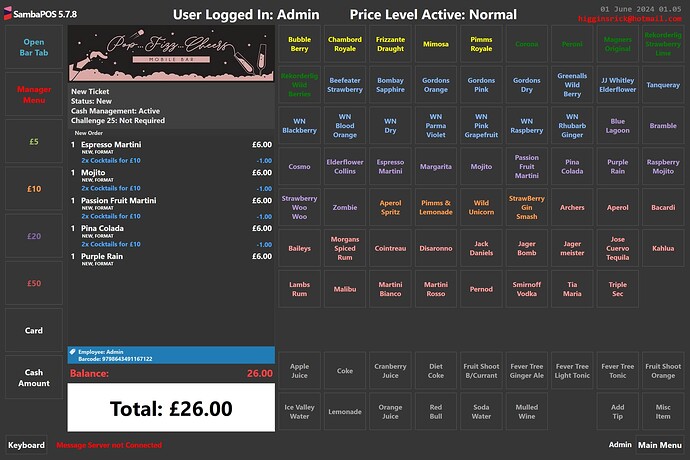
User logs in to make a sale as normal and settles as cash
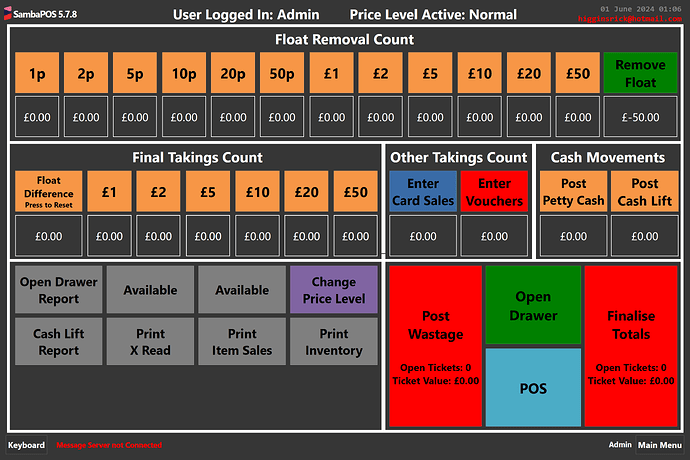
Press Cash Management Button to print X Read, Perform a Cash Lift, or Cash up and Close the Work Period
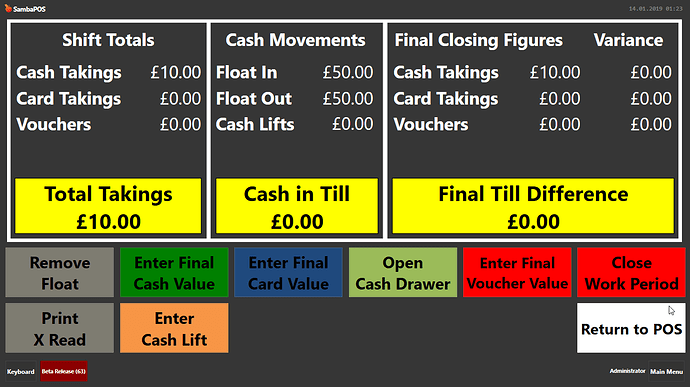
Cash Management Screen
So here we can see that the cash sale we just did has logged £10 under cash takings, it has increased the Cash In Till balance to £60 (£50 float entered plus the £10 cash sale)
We can also see that as we have not cashed up yet we have a Final Closing Cash Figure of MINUS £10
So if we were to now cash up this work period:
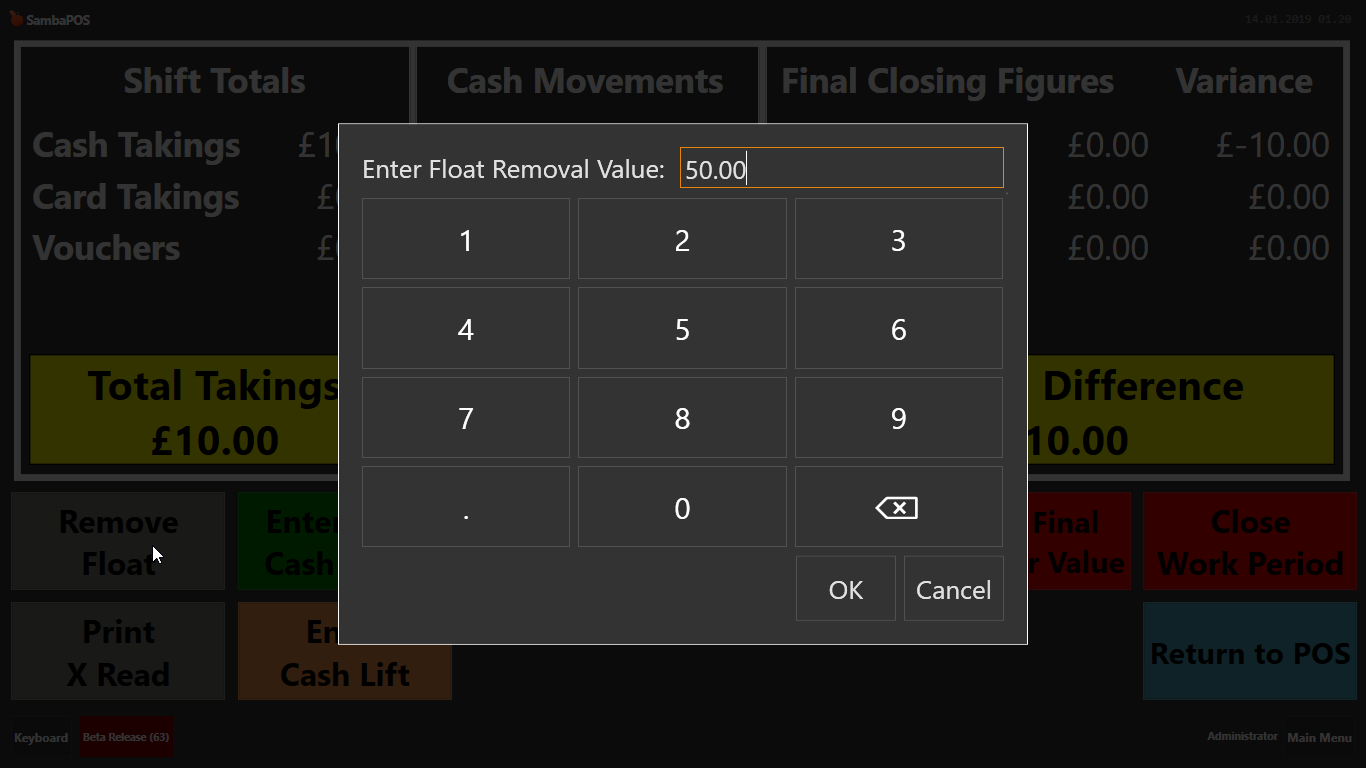
- Remove the float, press remove float and enter the float value
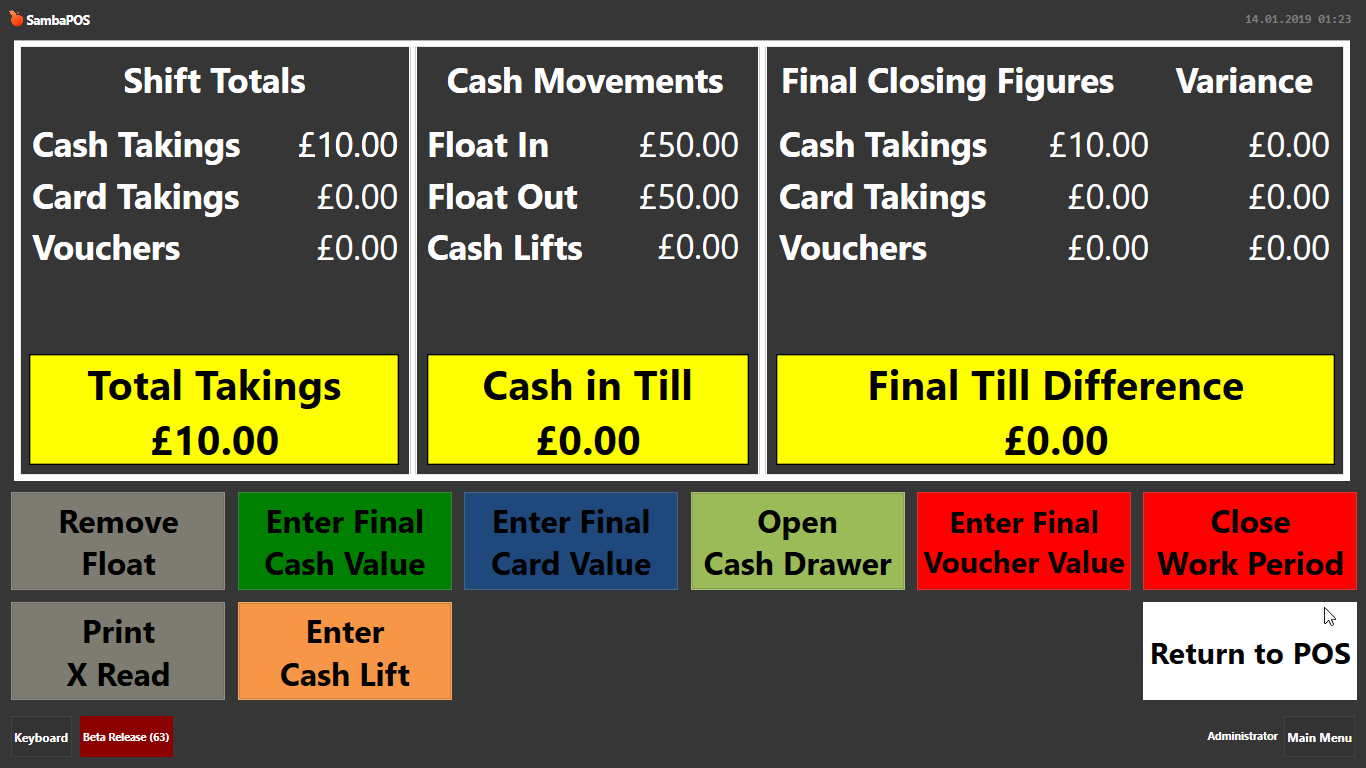
You will now see that Cash In Till Figure has reduced to £10
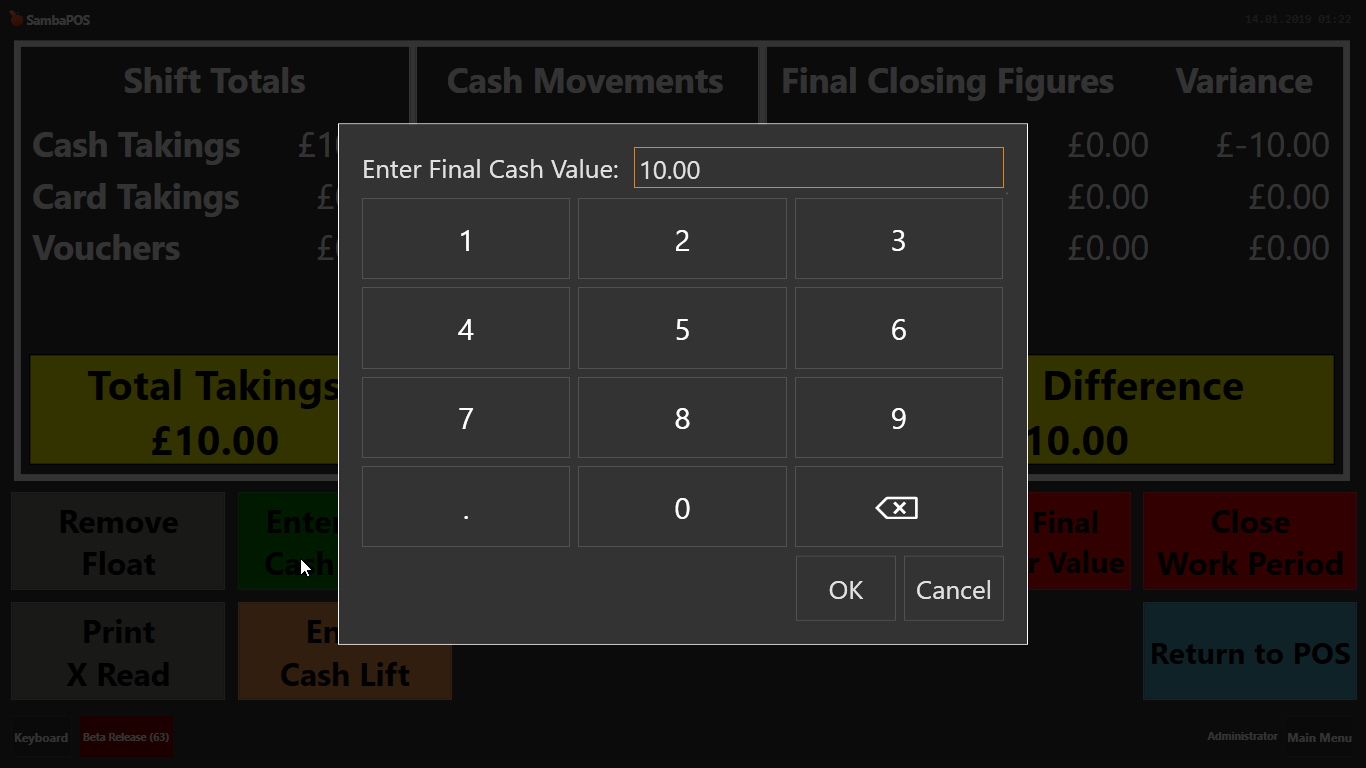
2. Now we need to enter all Cash, Card and Voucher takings we count from the cash drawer. As we only did a £10 Sale we should only have £10 to enter in cash. Press the Enter Final Cash Value button and enter the amount of cash you have
You can see that the cash takings figure under final closing figures has updated to £10 and we no longer show a £10 short. If you had card and voucher sales follow the same process above when pressing the enter final card and voucher buttons
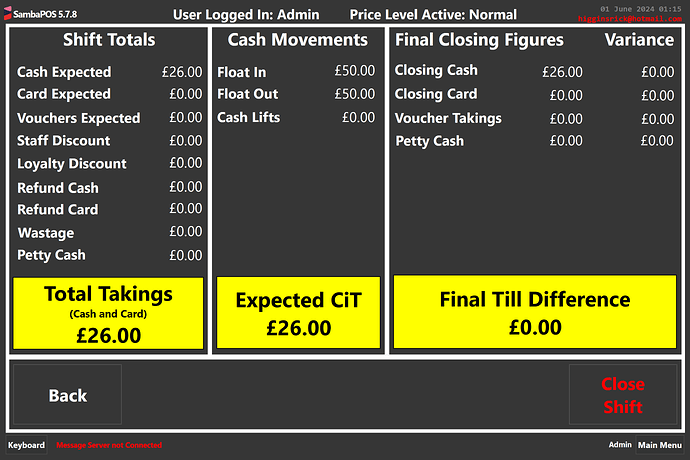
Now the cashing up is complete we press the end work period button to close the work period
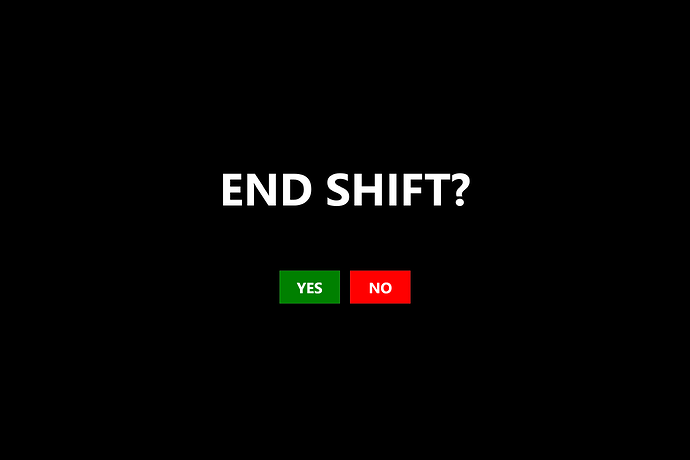
- Press Close Work Period, then select NO to go back to cash management screen or yes to end shift, I selected YES
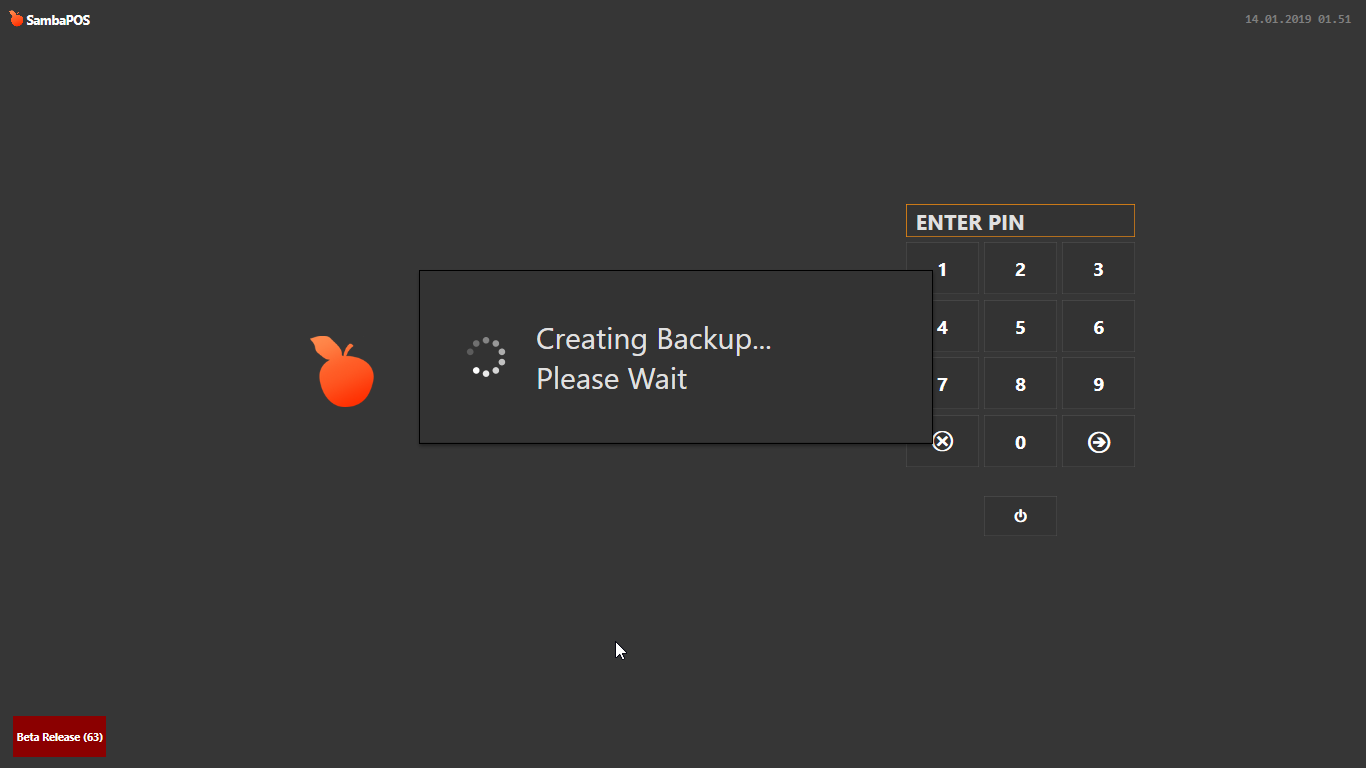
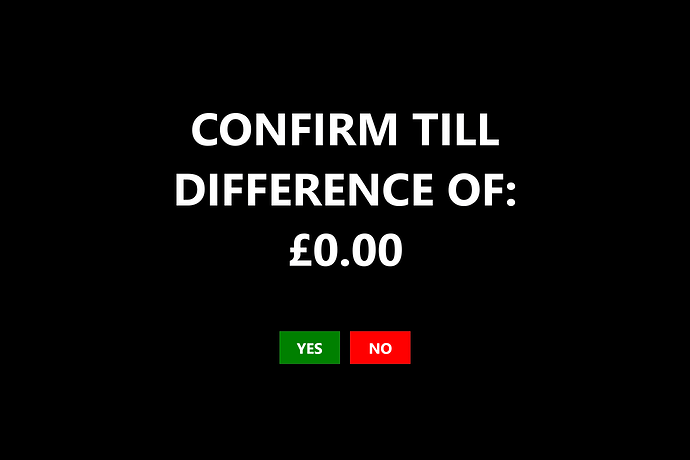
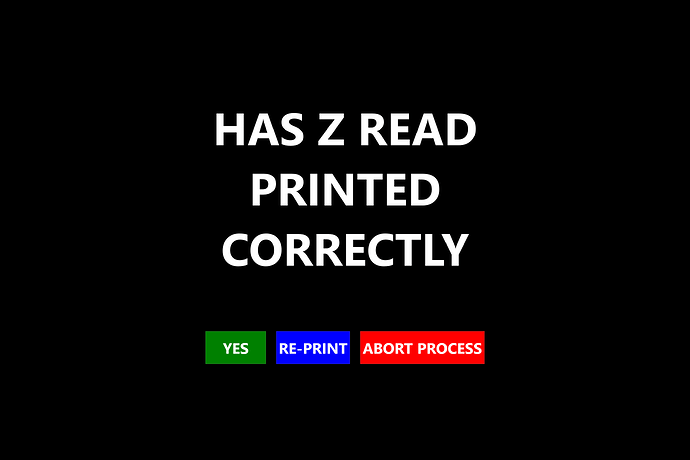
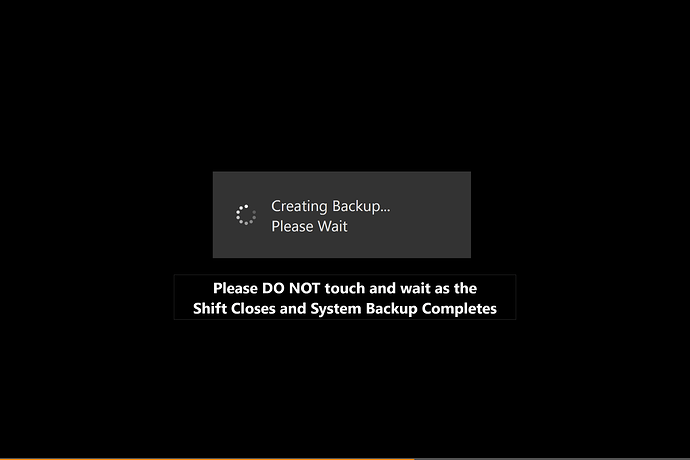
- Now confirm Till difference is correct, pressing NO will return you to the Cash Management screen, pressing YES will confirm till difference, close work period, print work period report, backup database and log user out, ready to start next work period
CASH LIFT FUNCTION
So youve taken a lot of cash and need to remove some from the cash drawer as its getting full and put it in the safe (*An additional to be added to this system is a notification on the POS screen to inform you when theres is too much cash in the till)
To remove money from the drawer Press Cash Management and then press the Cash Lift Button (in this case ive processed a large cash sale so the system thinks theres a lot of cash been taken)
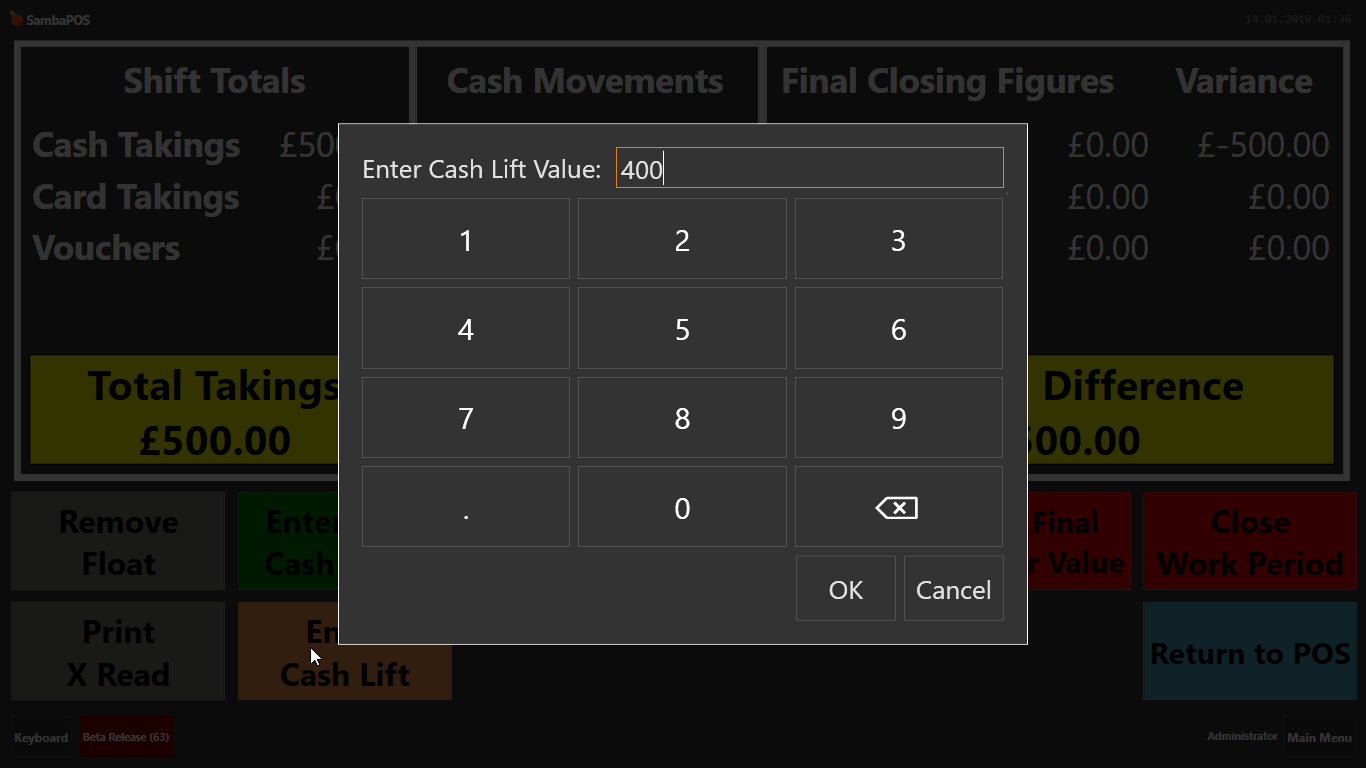
Press Enter Cash Lift and enter the amount you remove from the cash drawer, here we will take £400
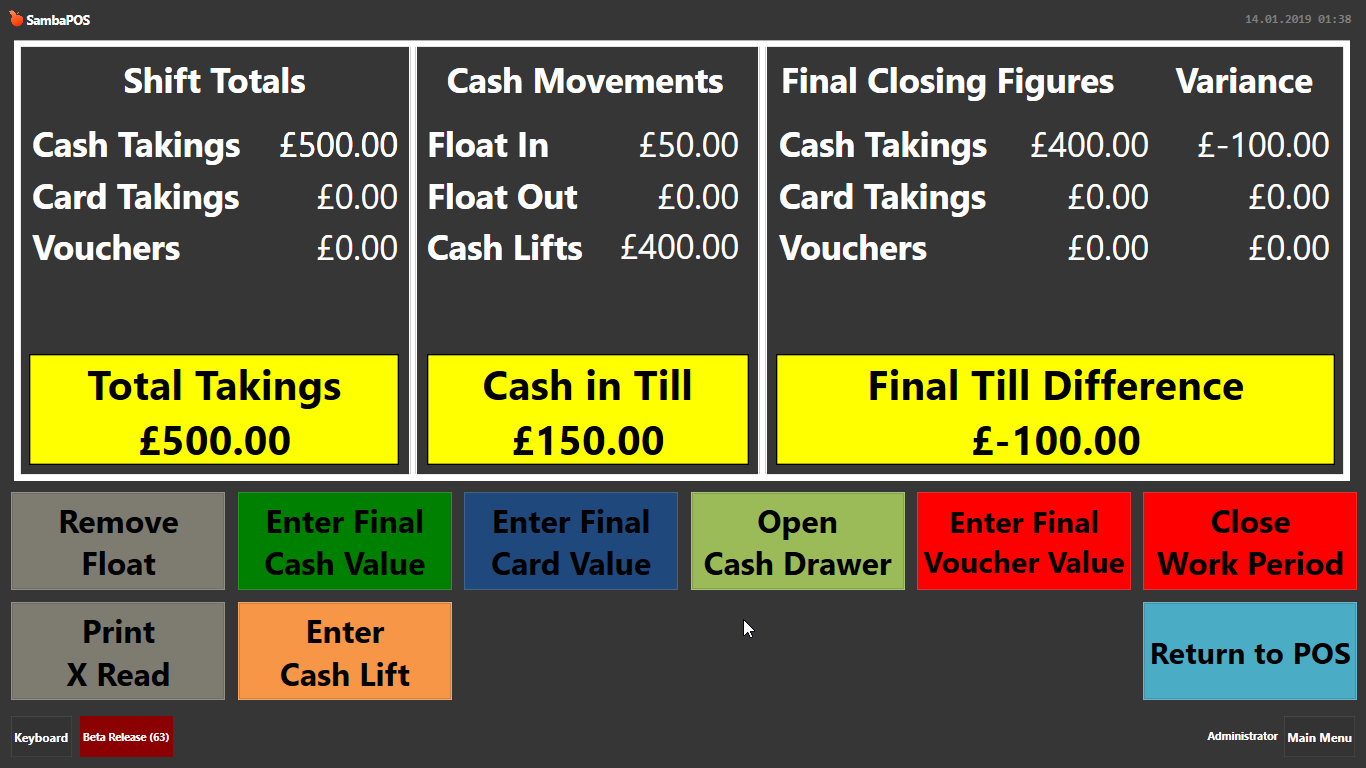
Once entered this is the updated cash management screen
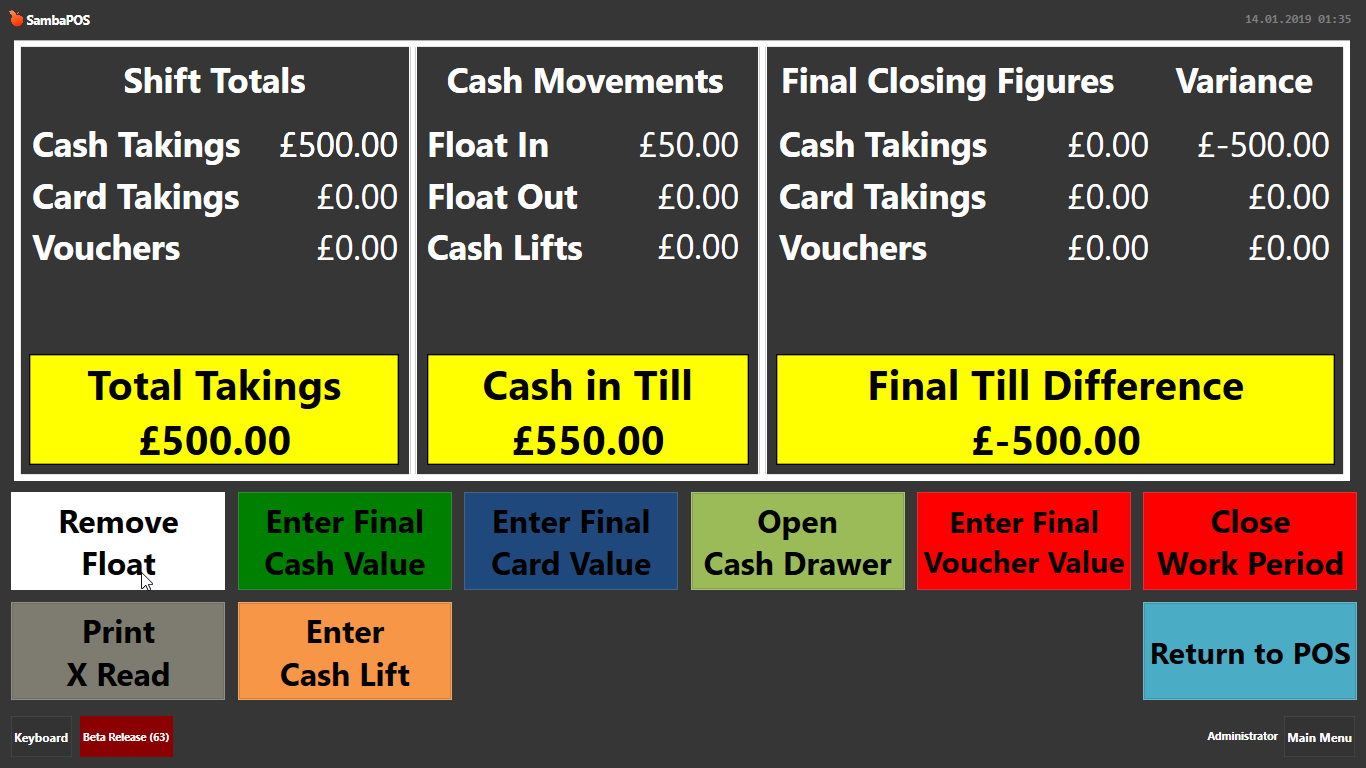
- You can see under cash takings on the left we expect to have £500 in cash
- We cash lifted £400 so the cash in till now shows as £150 (£100 remaining from the £500 cash sale and the £50 float) so at a glance we can see how much money we have in the cash drawer during trade
- Cash takings has on the final closing figure column has updated to £400, since we have already counted this amount and moved to safe we have “cashed this amount up”
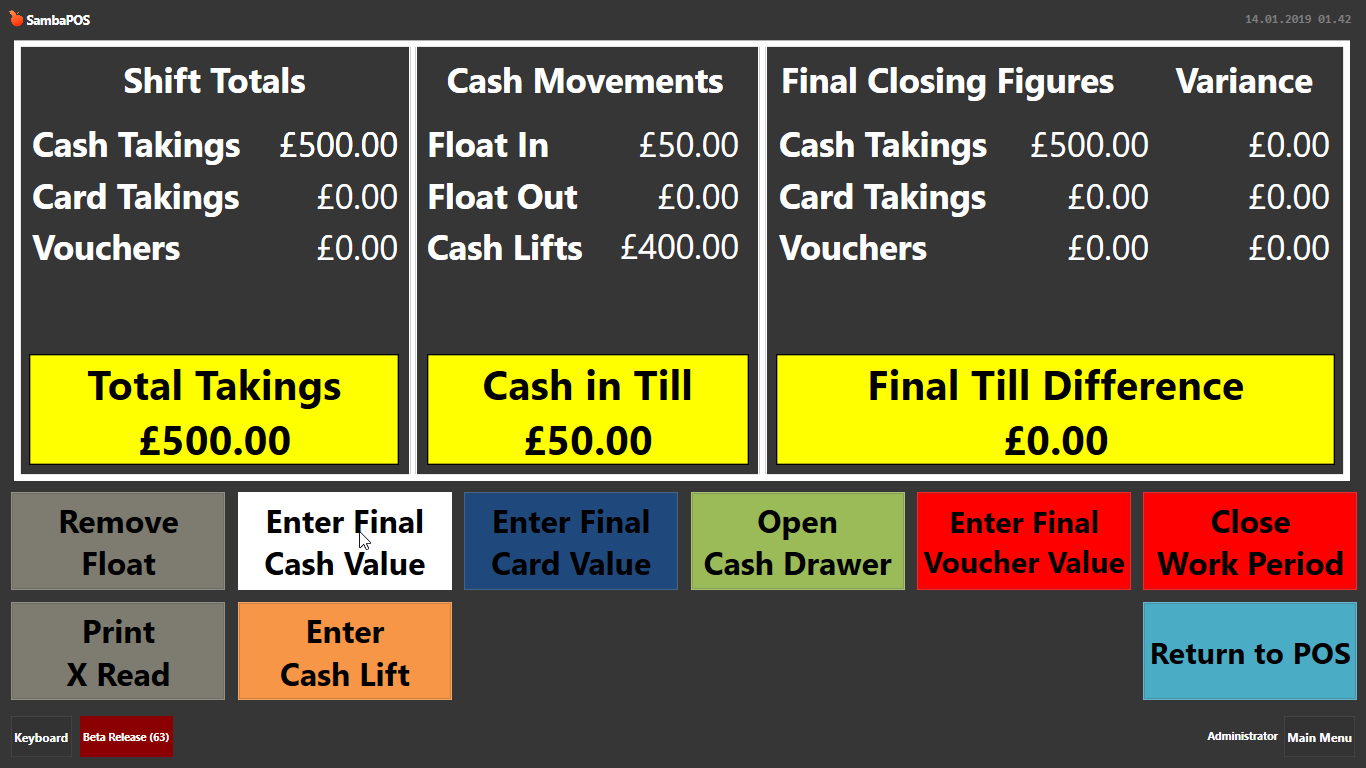
- All that remains now is to finish a final cashup and enter the remaining cash figure, press enter final cash value button, enter £100 and this will balance the drawer
This added £100 to final closing figure and balanced the till to ZERO difference
**Note to remember: all the buttons to enter cash, card, voucher, cash lifts etc are UPDATE buttons NOT additional. So if you do two cash lifts one for 200 and the second for 300 when entering the second one you would add the two together and enter 500 to update the figure to the total lifted
So if you made a mistake entering a cash figure for example you could just retype the correct figure to update
REMOVE FLOAT FUNCTION
Now to ensure a “clean” cash management screen we need to reset the cash drawer to zero before closing work period. If you forget to press the remove float button and instead press close work period you get the following error message
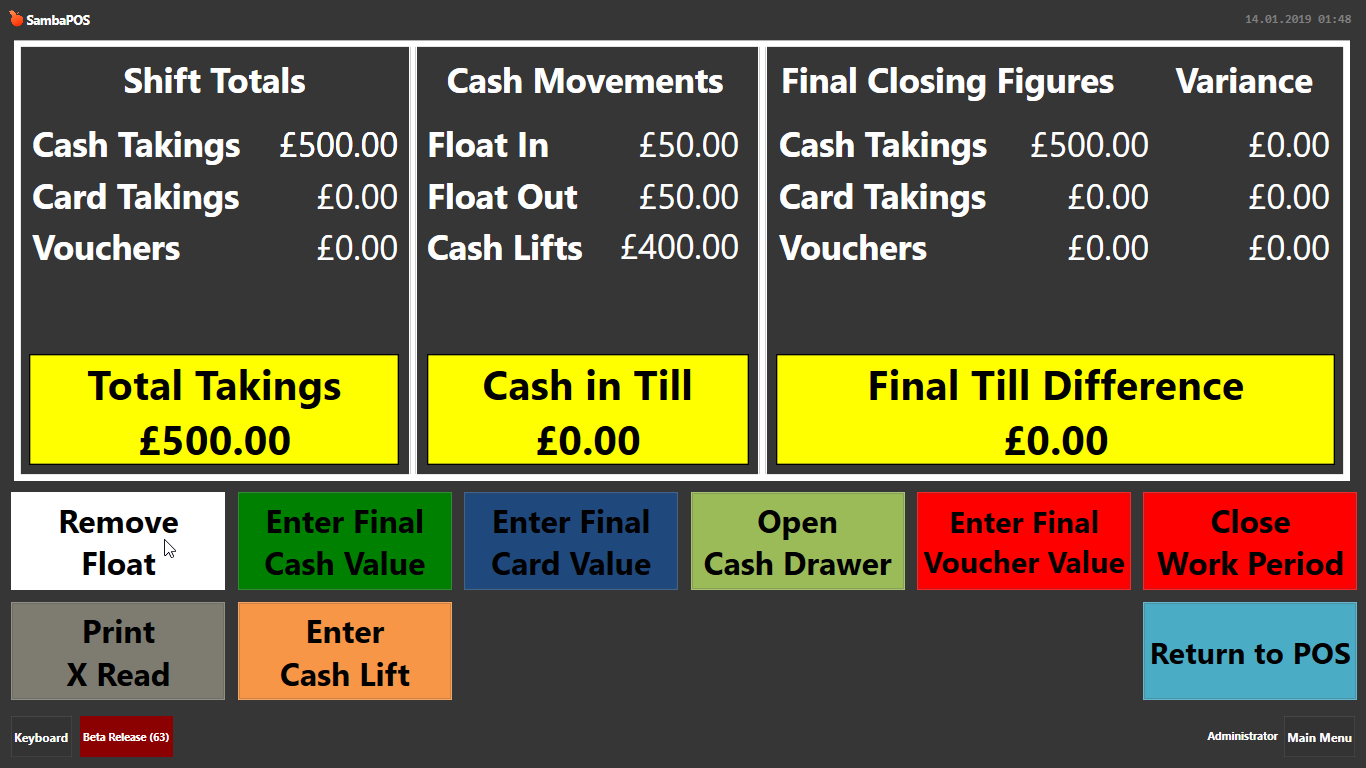
Press OK to go back to cash management, then remove the float, you see my cash in till balance is now zero
I can now press close work period and finish the closing of the work period as before
BLOCK CLOSING OF WORK PERIOD WITH UNPAID TICKETS
So as we are automating the closing of the work period there is no built in function to provide an error message if you try to close the work period with unpaid tickets, pressing close work button will just appear not to work
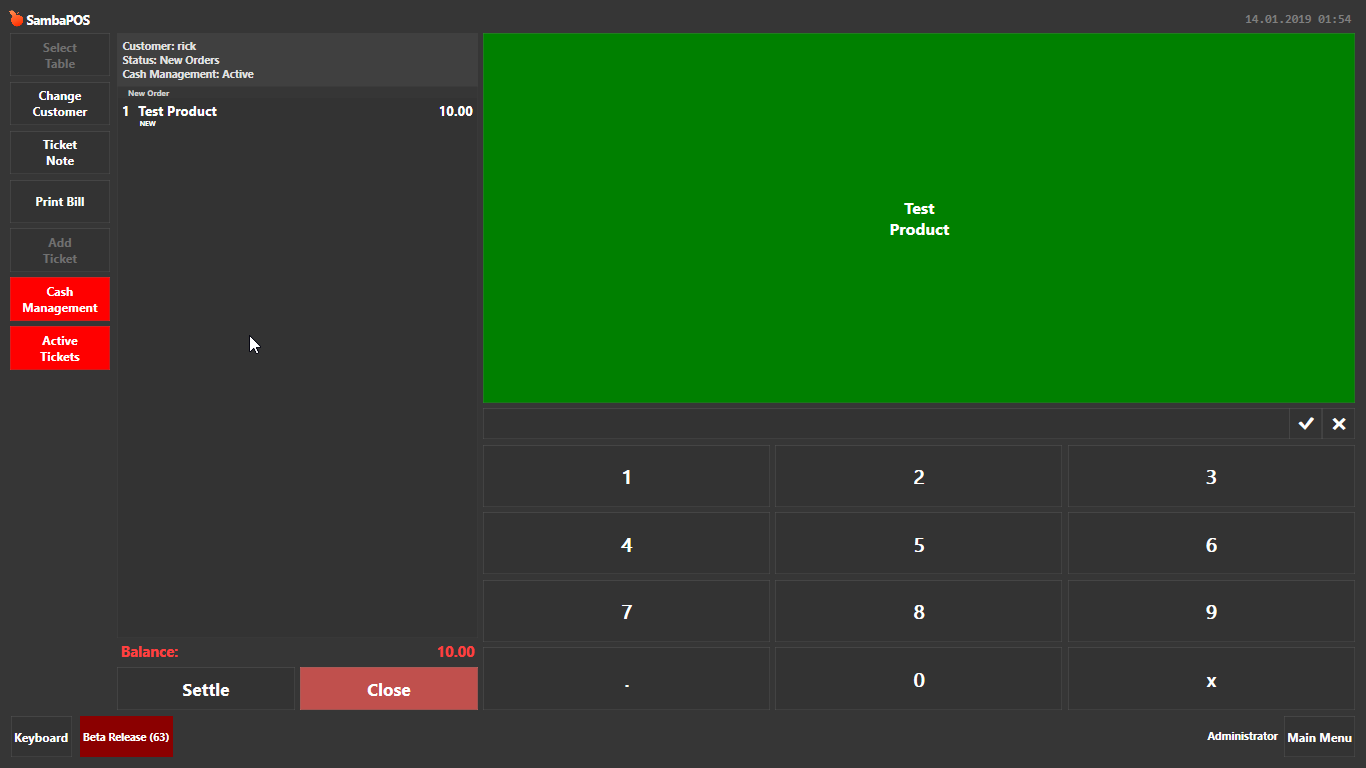
So i have automated this process too, in the below screen shot i have added an order and added a customer entity and then closed the ticket so it is now unpaid. i have created a new state flow so that every ticket opened is marked as active and when fully paid it gets marked as inactive as can be seen below
Now ive pressed close the ticket is not paid, if i now try to close the work period whilst having unpaid tickets this is what happens
- Press close work period button
- following error message appears
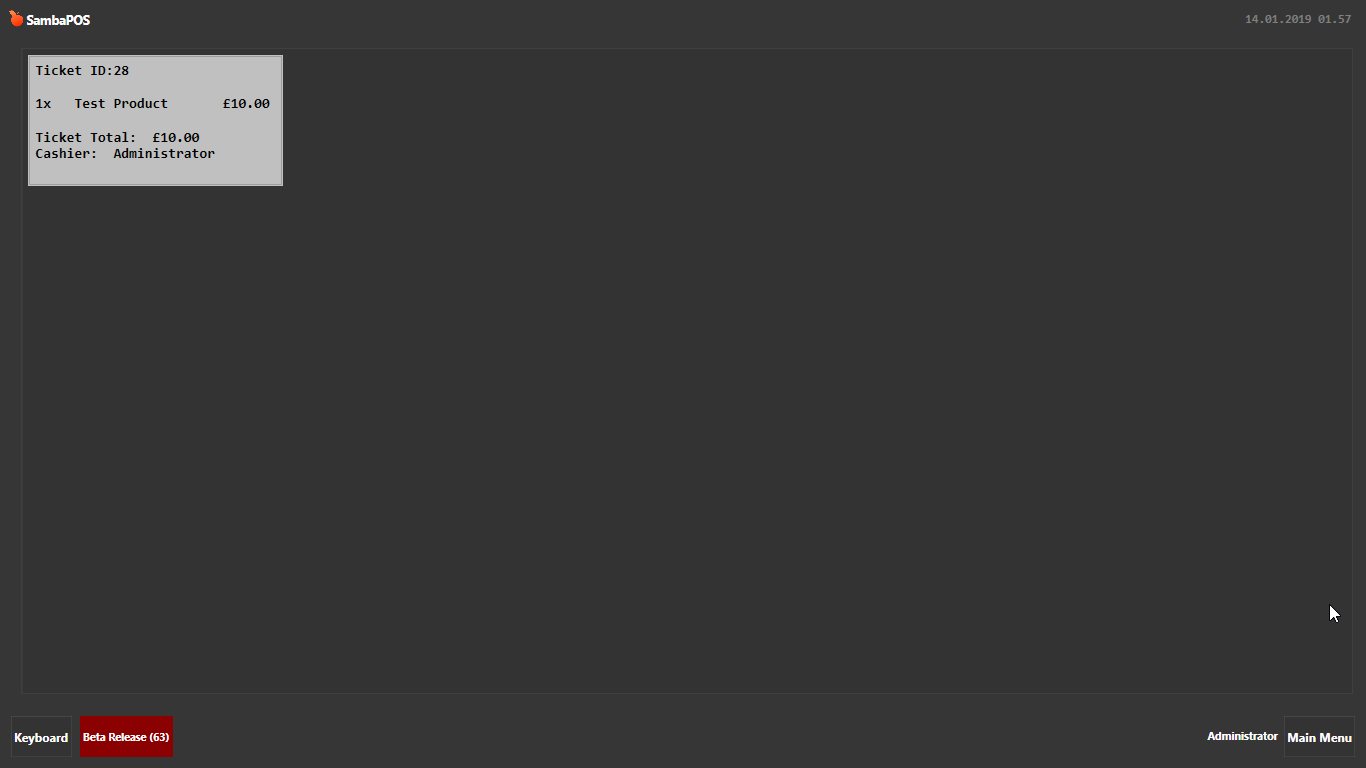
- press the clear unpaid tickets button to be taken to a ticket lister screen of all unpaid tickets
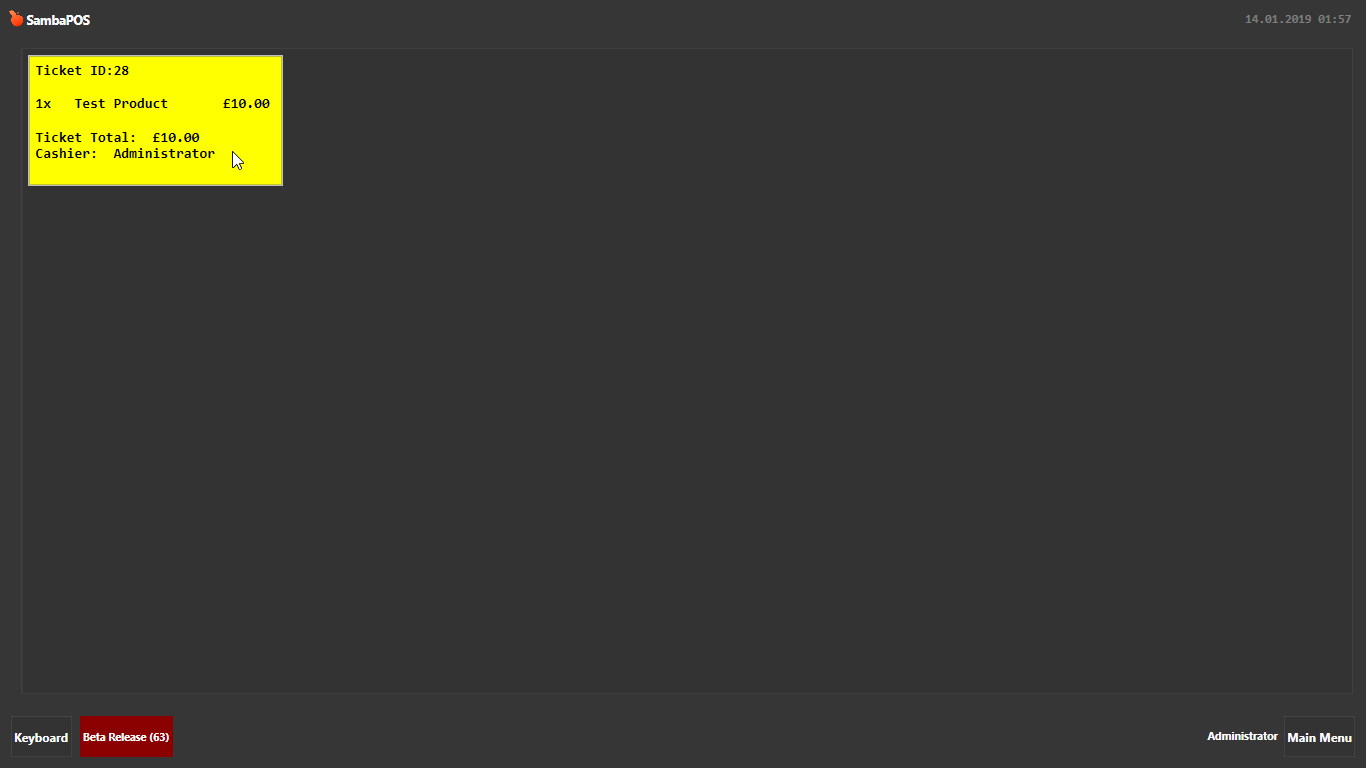
- Press the ticket on screen to select and open it on the pos screen
- now settle it as normal so it becomes paid and “inactive”
- go back to cash management screen, cash up as normal and then end the work period
heres the export file, ive tested the import on a blank database and it seems to work fine
Cash Management Setup.zip (6.3 KB)
