Hi All.
i followed the steps below to add a eat in and take out tag to my orders.
however i would like to be able to add both eat in and take out to one ticket,
for example if a customers would like a pizza and orange juice to eat in, and also a bottle of water to take out.
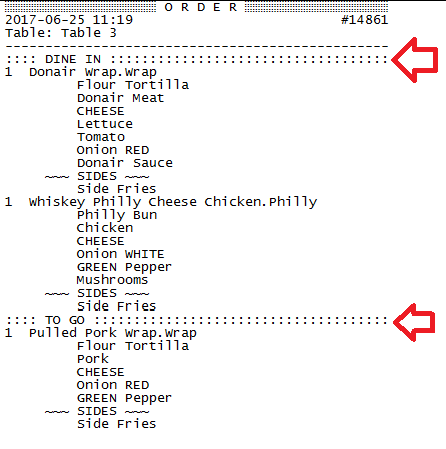
i want to be able to show this clearly on my ticket like this.
any help will be appreciated
This is a simple implementation of a Ticket Tag that I use to toggle between “Dine-In” orders and “To-Go” orders. I prefer this method instead of separate Departments and Ticket Types, since it’s implementation is very easy to do and simple to observe.
Operational Flow:
[image]
Tickets showing Ticket Tag:
[image]
Automation Command to toggle the Ticket Tag value:
[image]
Action to set the Ticket Tag value. In this example, the Ticket Tag is named “SG” (StayGo).
[image]
Action t…
QMcKay
June 25, 2017, 2:44pm
2
That Tutorial uses a Ticket Tag which is not specific to an Order, but the entire Ticket.
For Order-level indicators you could use Order Tags, or Order States.
Using Order States is probably the more flexible solution and would be easy to implement. Your Ticket prints already support grouping by Order State as demonstrated by the Void and Gift States, and you can use Group Headers in your Template as well. As for visual grouping on the Ticket Screen, there is also Grouping feature that you could use.
Take a look to see how Void and Gift Order States (GStatus) work, and how the associated buttons (Automation Commands) and Rules/Actions are implemented.
QMcKay
June 25, 2017, 6:11pm
3
#Order States
#Automation Commands
Pay special attention to the Mappings for these buttons.
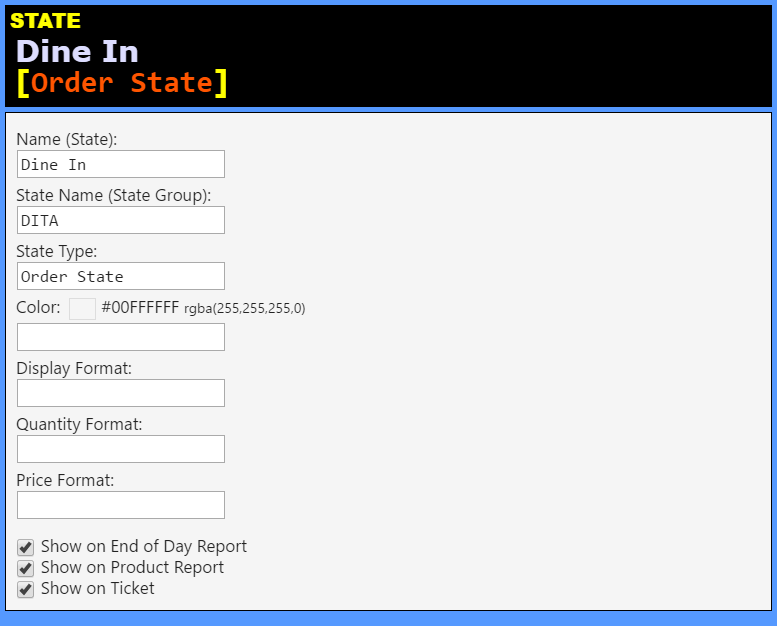
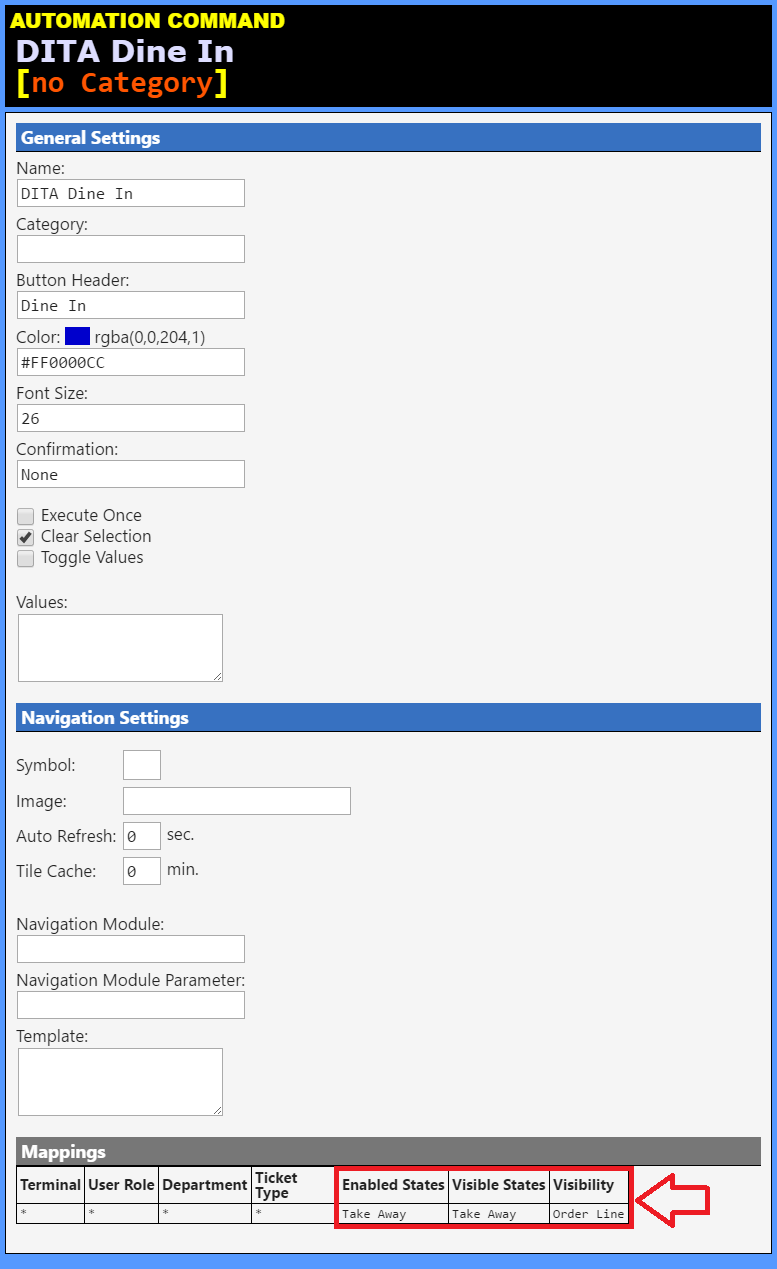
##Dine In
This button will only be Visible and Enabled when the current Order State is Take Away .
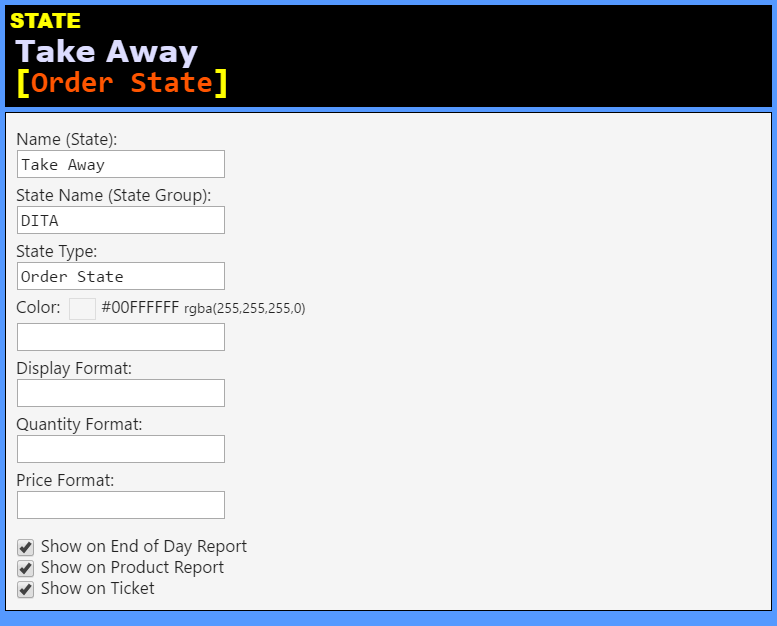
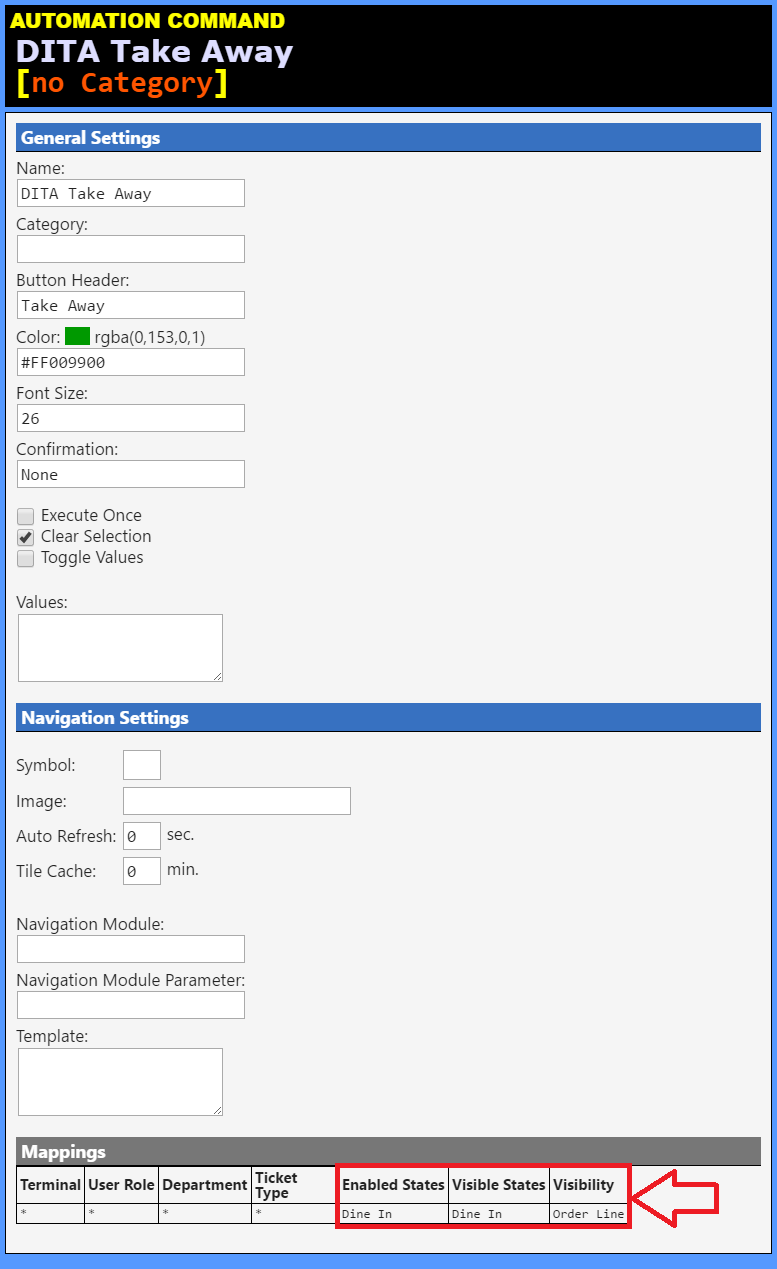
##Take Away
This button will only be Visible and Enabled when the current Order State is Dine In .
#Actions
##Update Order State
##DITA Update Order State [Update Order State] (Action)##
Action Name: DITA Update Order StateAction Type: Update Order State
###Parameters:###
State Name: DITAGroup Order: Current State: State: [:Dine In or Take Away]State Order: State Value:
##Update Order Group
##DITA Update Order Group [Update Order Group] (Action)##
Action Name: DITA Update Order GroupAction Type: Update Order Group
###Parameters:###
Group Tag: [:groupTag]Key: [:key]Format: [:format]Background Color: [:bgColor]Auto Key: [:autoKey]Reset Key: [:resetKey]
#Rules
##Order State Updated
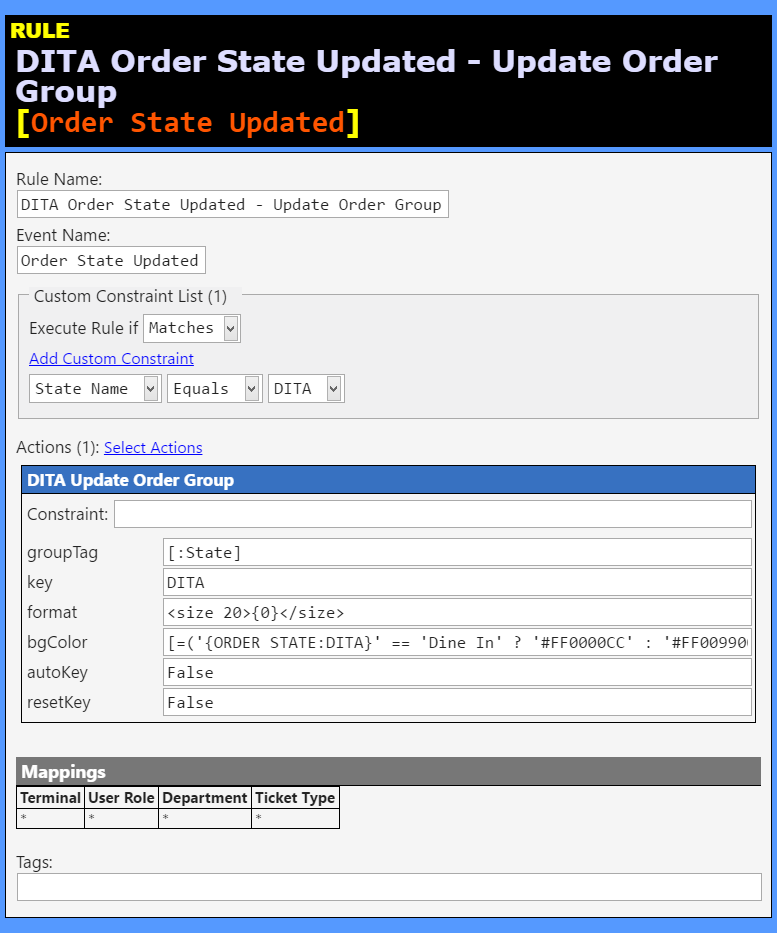
##DITA Order State Updated - Update Order Group [Order State Updated] (Rule)##
Rule Name: DITA Order State Updated - Update Order GroupEvent Name: Order State UpdatedRule Tags:
Custom Constraint List (1):
##Actions (1):##
DITA Update Order Group Constraint: (none)
groupTag: [:State]key: DITAformat:
{0} bgColor: [=('{ORDER STATE:DITA}' == 'Dine In' ? '#FF0000CC' : '#FF009900')]autoKey: FalseresetKey: False
##Order Added
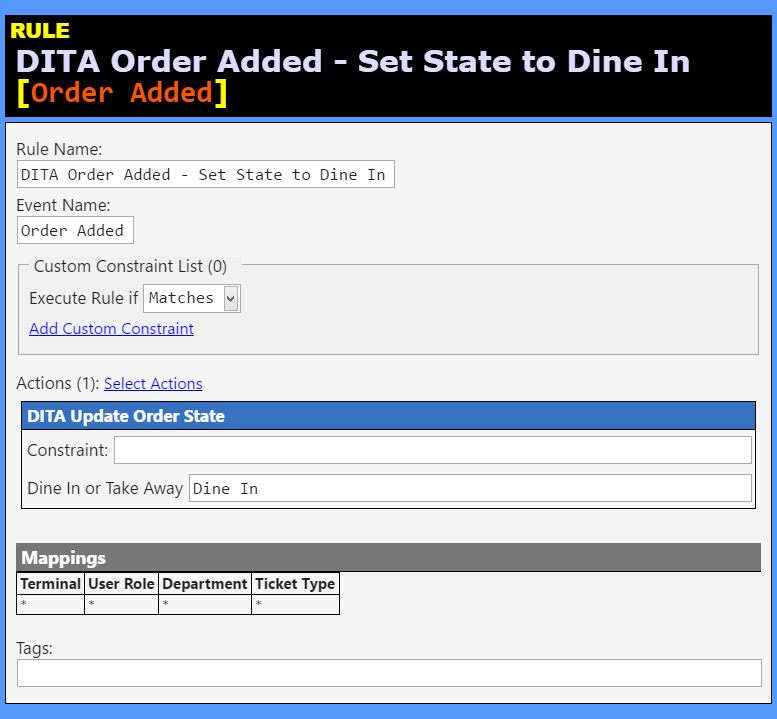
##DITA Order Added - Set State to Dine In [Order Added] (Rule)##
Rule Name: DITA Order Added - Set State to Dine InEvent Name: Order AddedRule Tags:
Custom Constraint List (0):
##Actions (1):##
DITA Update Order State Constraint: (none)
Dine In or Take Away: Dine In
##Automation Command Executed
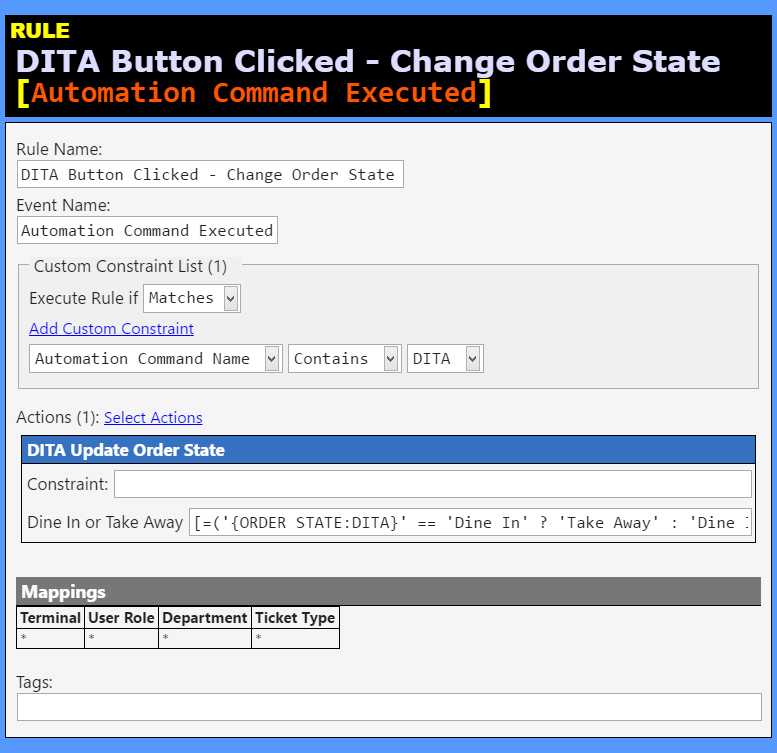
##DITA Button Clicked - Change Order State [Automation Command Executed] (Rule)##
Rule Name: DITA Button Clicked - Change Order StateEvent Name: Automation Command ExecutedRule Tags:
Custom Constraint List (1):
Automation Command NameContains DITA
##Actions (1):##
DITA Update Order State Constraint: (none)
Dine In or Take Away: [=('{ORDER STATE:DITA}' == 'Dine In' ? 'Take Away' : 'Dine In')]
#Template
Put this somewhere in your Printer Template:
[ORDERS GROUP|ORDER STATE:DITA]
<EB>
<L>[=(':::: ' + '{GROUP KEY}'.toUpperCase() + ' :::::::::::::::::::::::::::::::::::::::::').substr(0,48)]
<DB>
Or use the <T>itle Tag:
[ORDERS GROUP|ORDER STATE:DITA]
<EB>
<T>{GROUP KEY}
<DB>
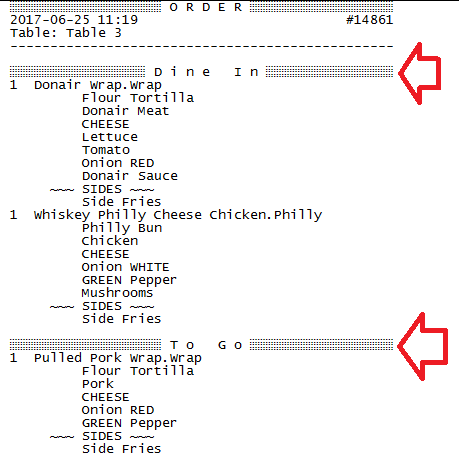
The first example will produce something like this:
The second example will produce something like this:
#DB Tools File
Contains States, Automation Commands, Actions, Rules. Everything is prefixed with “DITA ”.
Does not contain Printer Template.
DITA_States_Automation.zip (1.3 KB)