Receipt printer margins problem with Document Printer

I’m using Document Printer printer type to print kitchen tickets so I can have better formatting control. However, a left and right margin are being added to the printout and I can’t work out how to remove them. I was wondering if anyone else has had this problem and managed to somehow resolve it?

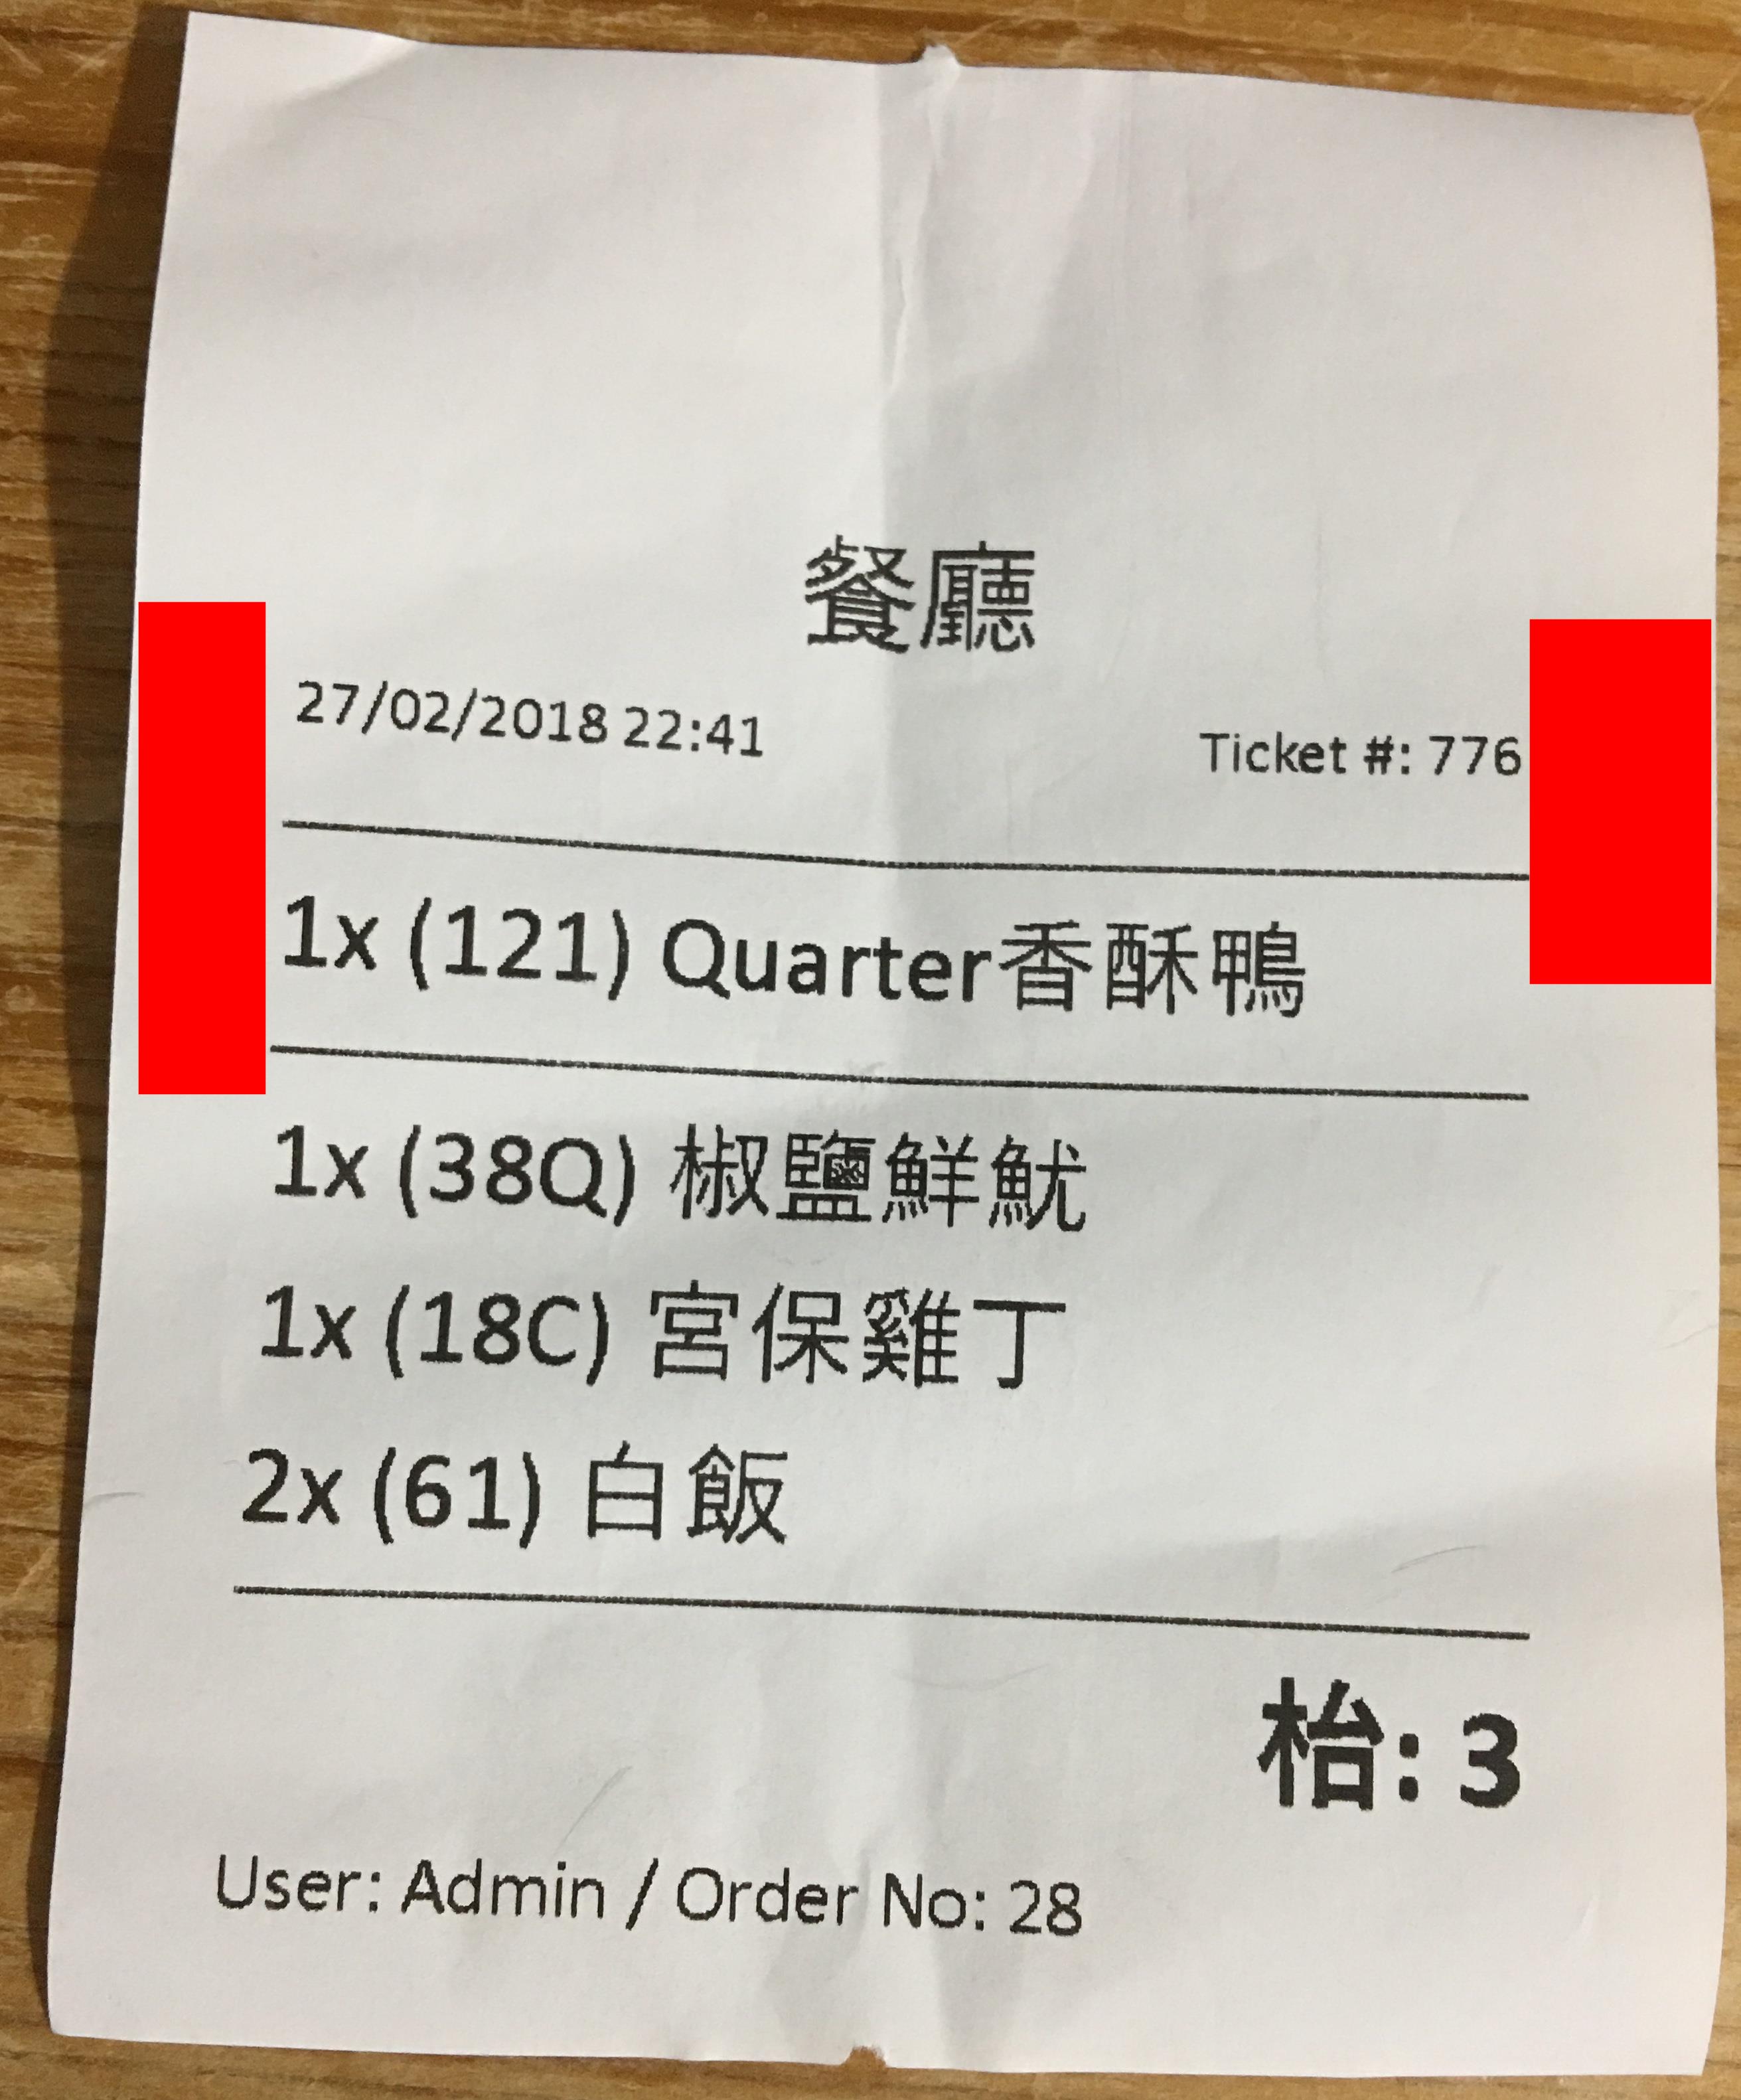
It would appear the margins are coming from a setting in the Windows driver, however there is no setting anywhere in the driver to allow me to alter the margins. See the image below, the margins highlighted by the red boxes.

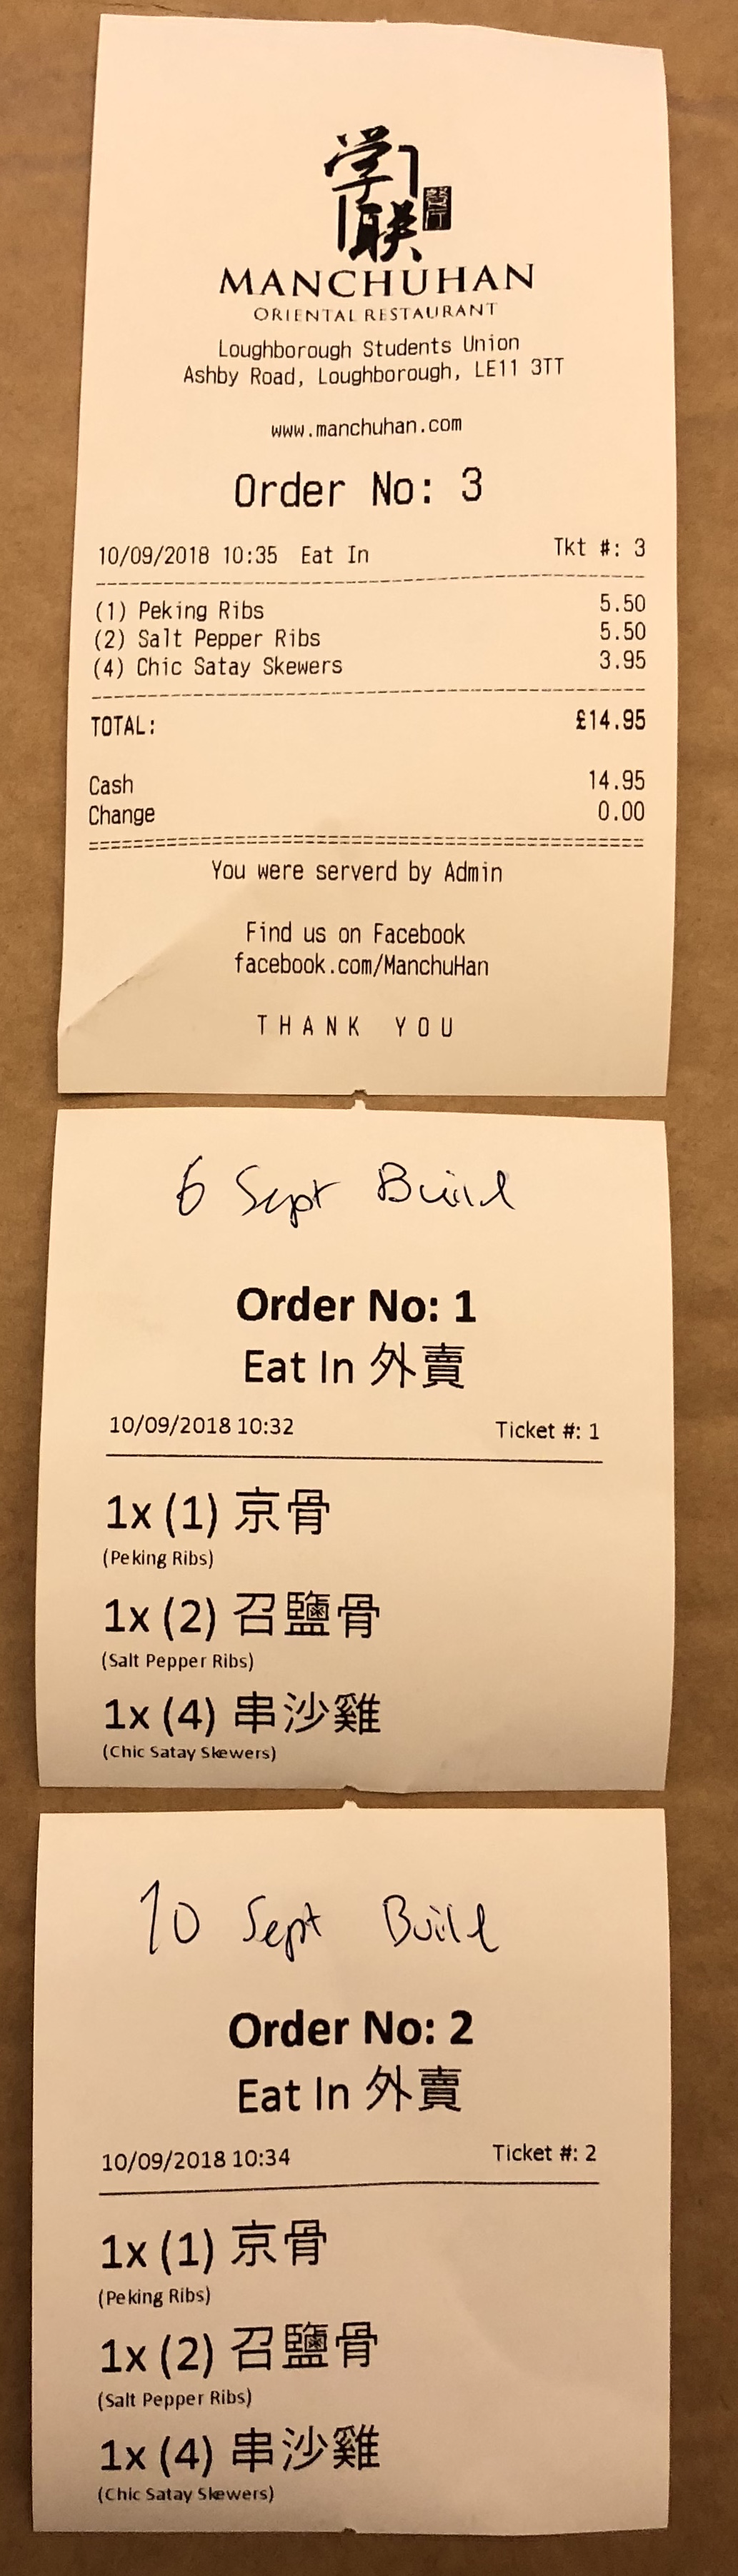
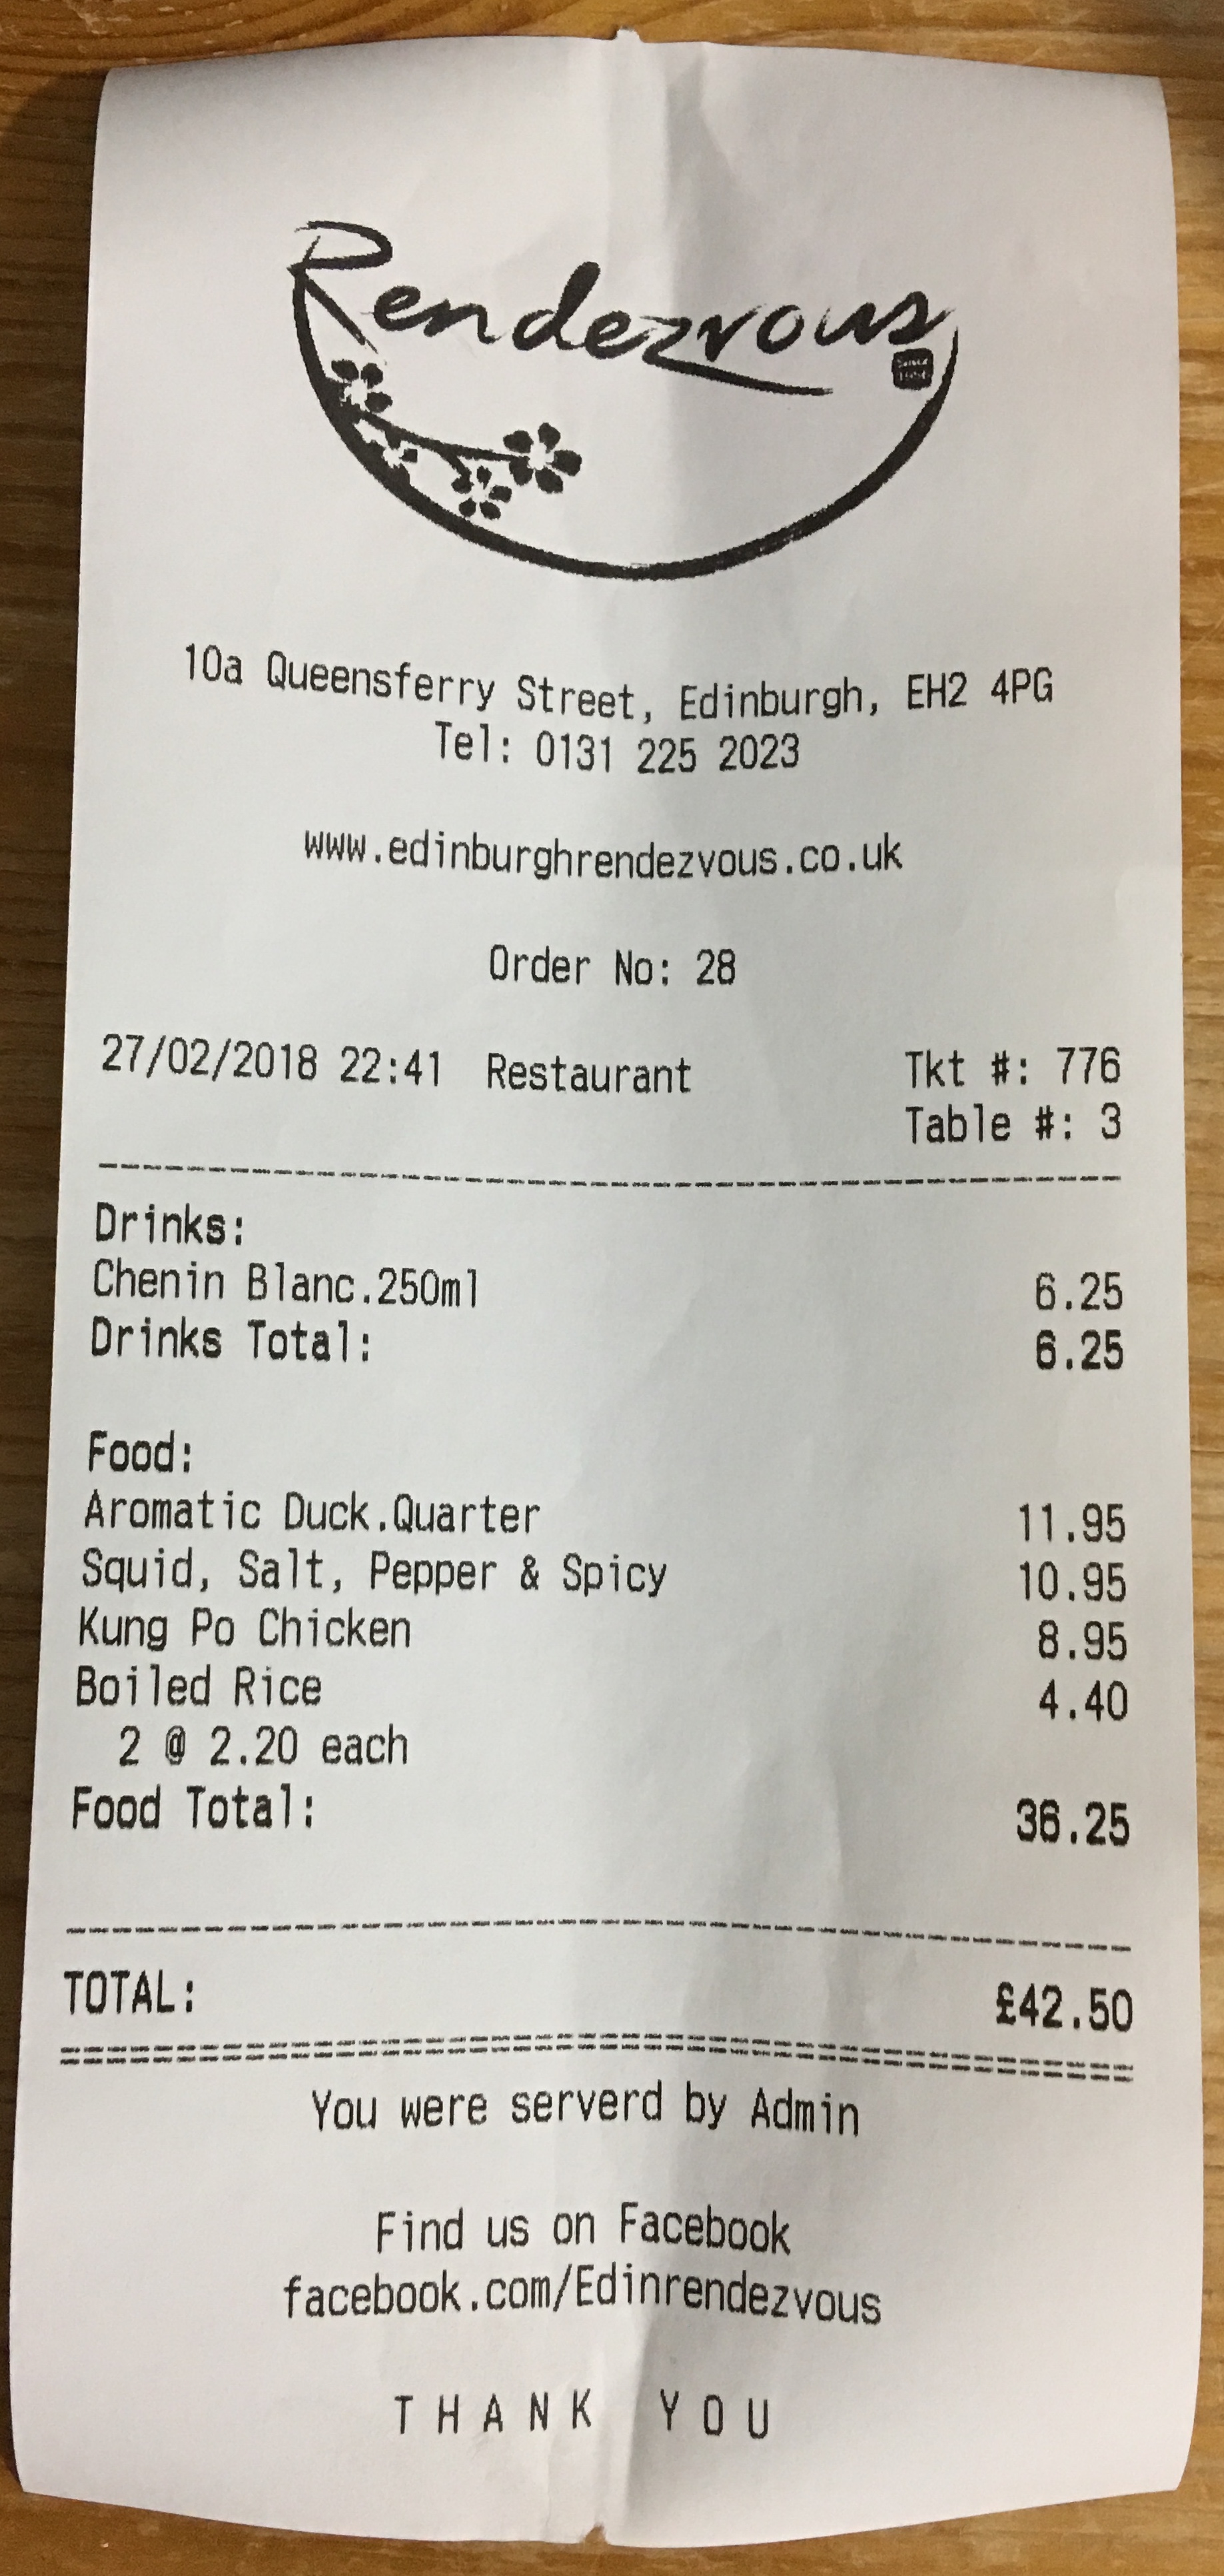
I use a ESC/POS Printer to print the customer ticket and as you can see in the image below, there are no excessive left / right margins added. This is of course because ESC/POS mode bypasses the Windows driver settings so the margins are set by the printer, not the driver.

Both these were printed on exactly the same printer. I have also tried 2 other models of printer, same result. All the printers are “no brand” Chinese models. I have tried using different drivers for the printer (even I tried using Epson and POS-X drivers with the printers - which prints ok but gives different results, with a smaller left margin but then a larger right margin.). Trying the different drivers proves to me it is definitely a Windows printing issue.

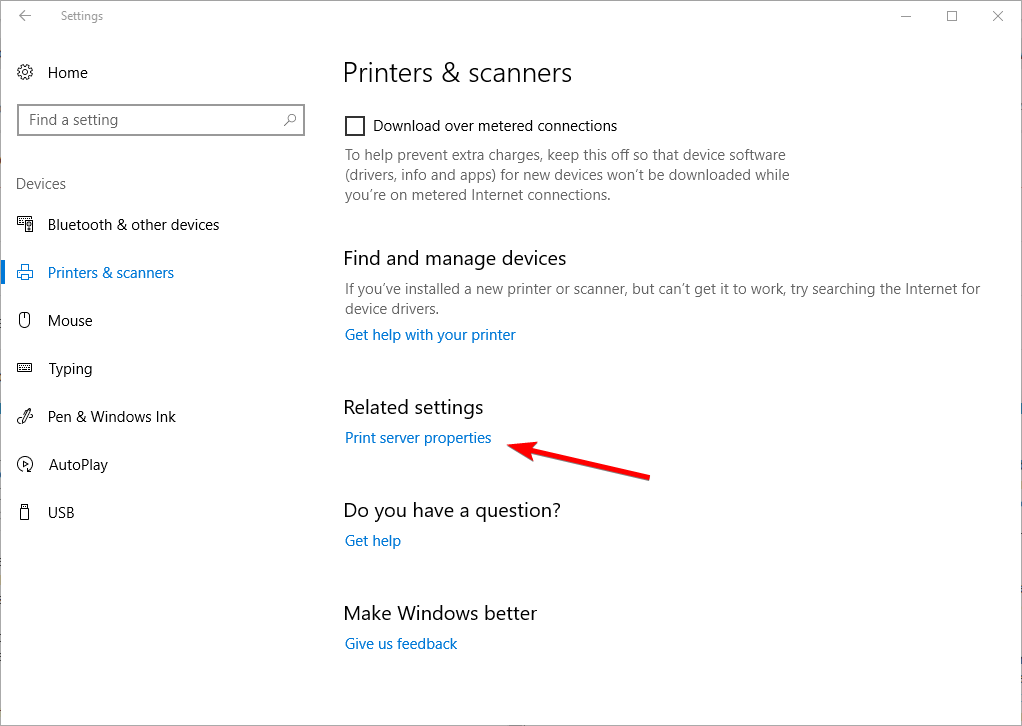
I have tried going into “Print server properties” in Windows 10 - Settings > Devices > Printers & scanners.

image

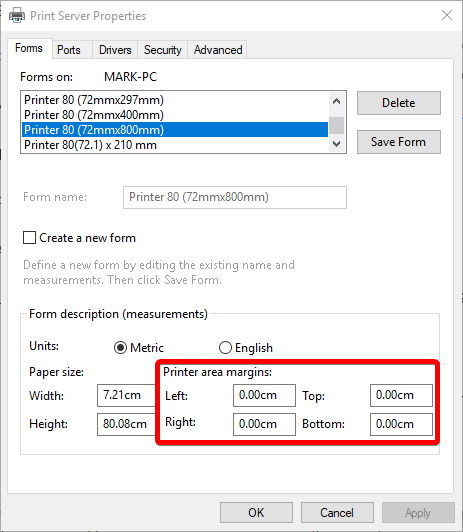
This lets you tweak the page sizes (and add new ones, which just get ignored by receipt printers :angry: ). But as can be see here, there are 0cm margins set for both left and right on the paper size I am using, and if I increase the width, it just crops off the right edge of the printout and retains the same margins.

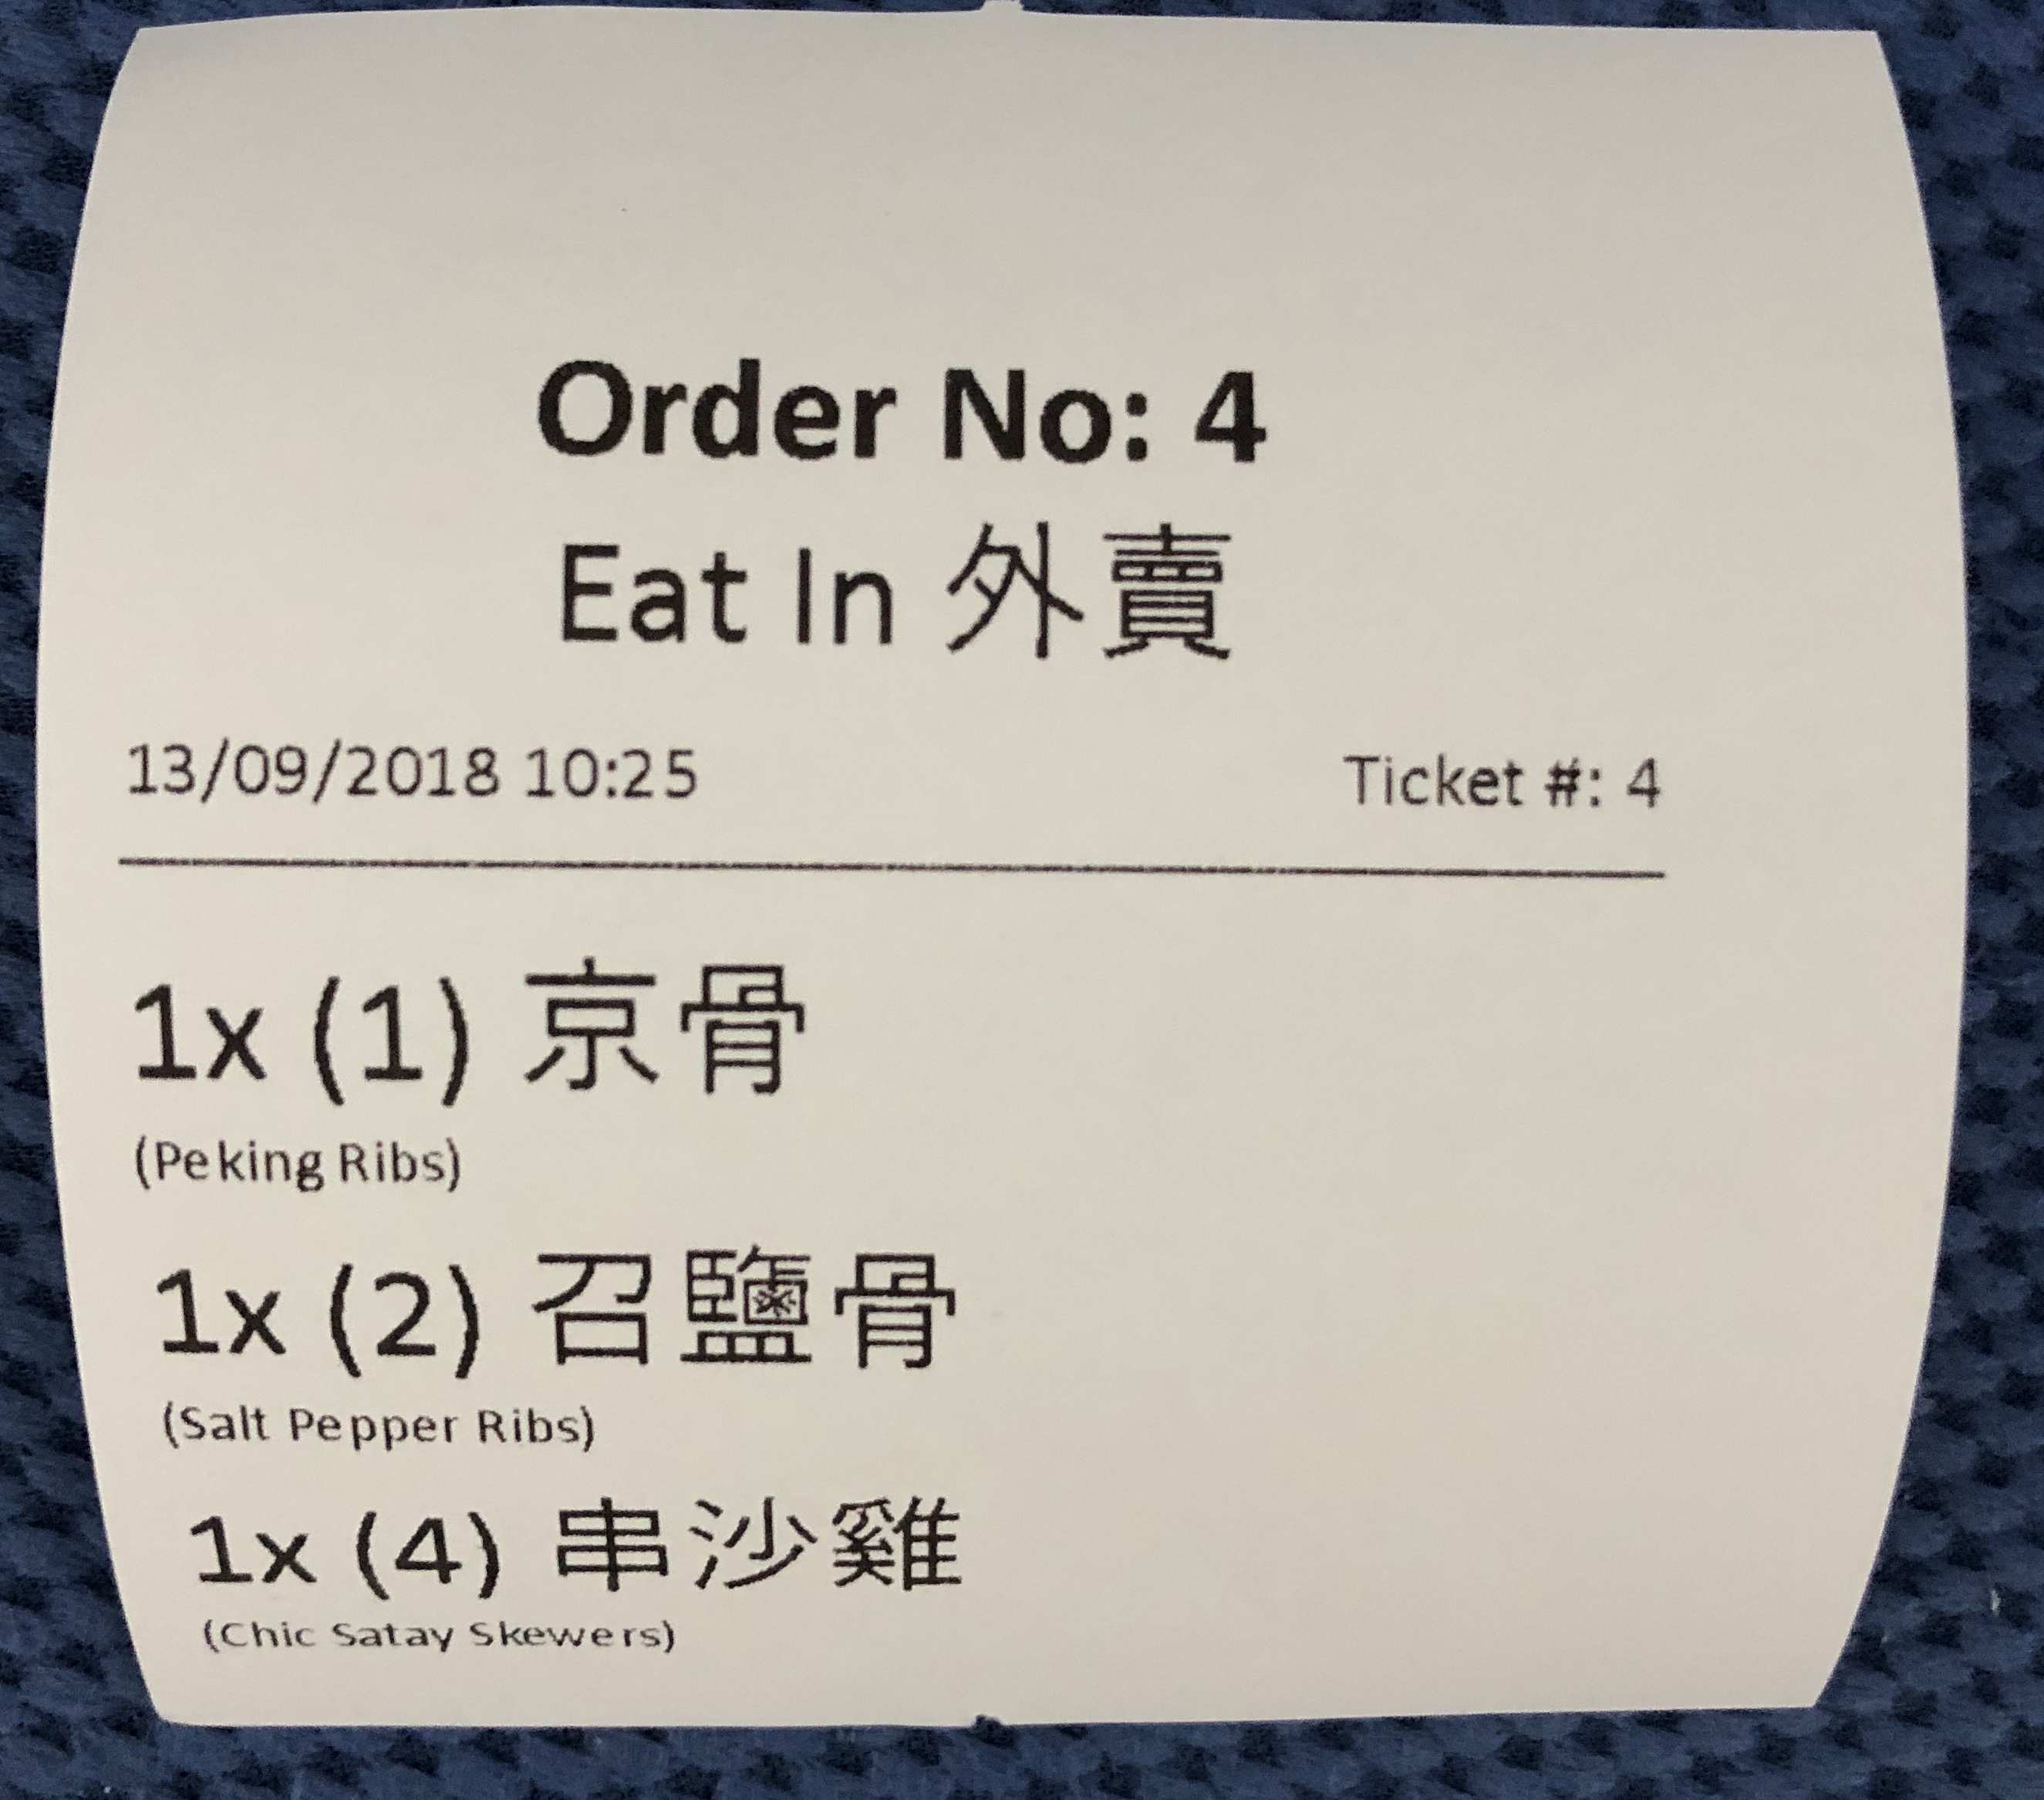
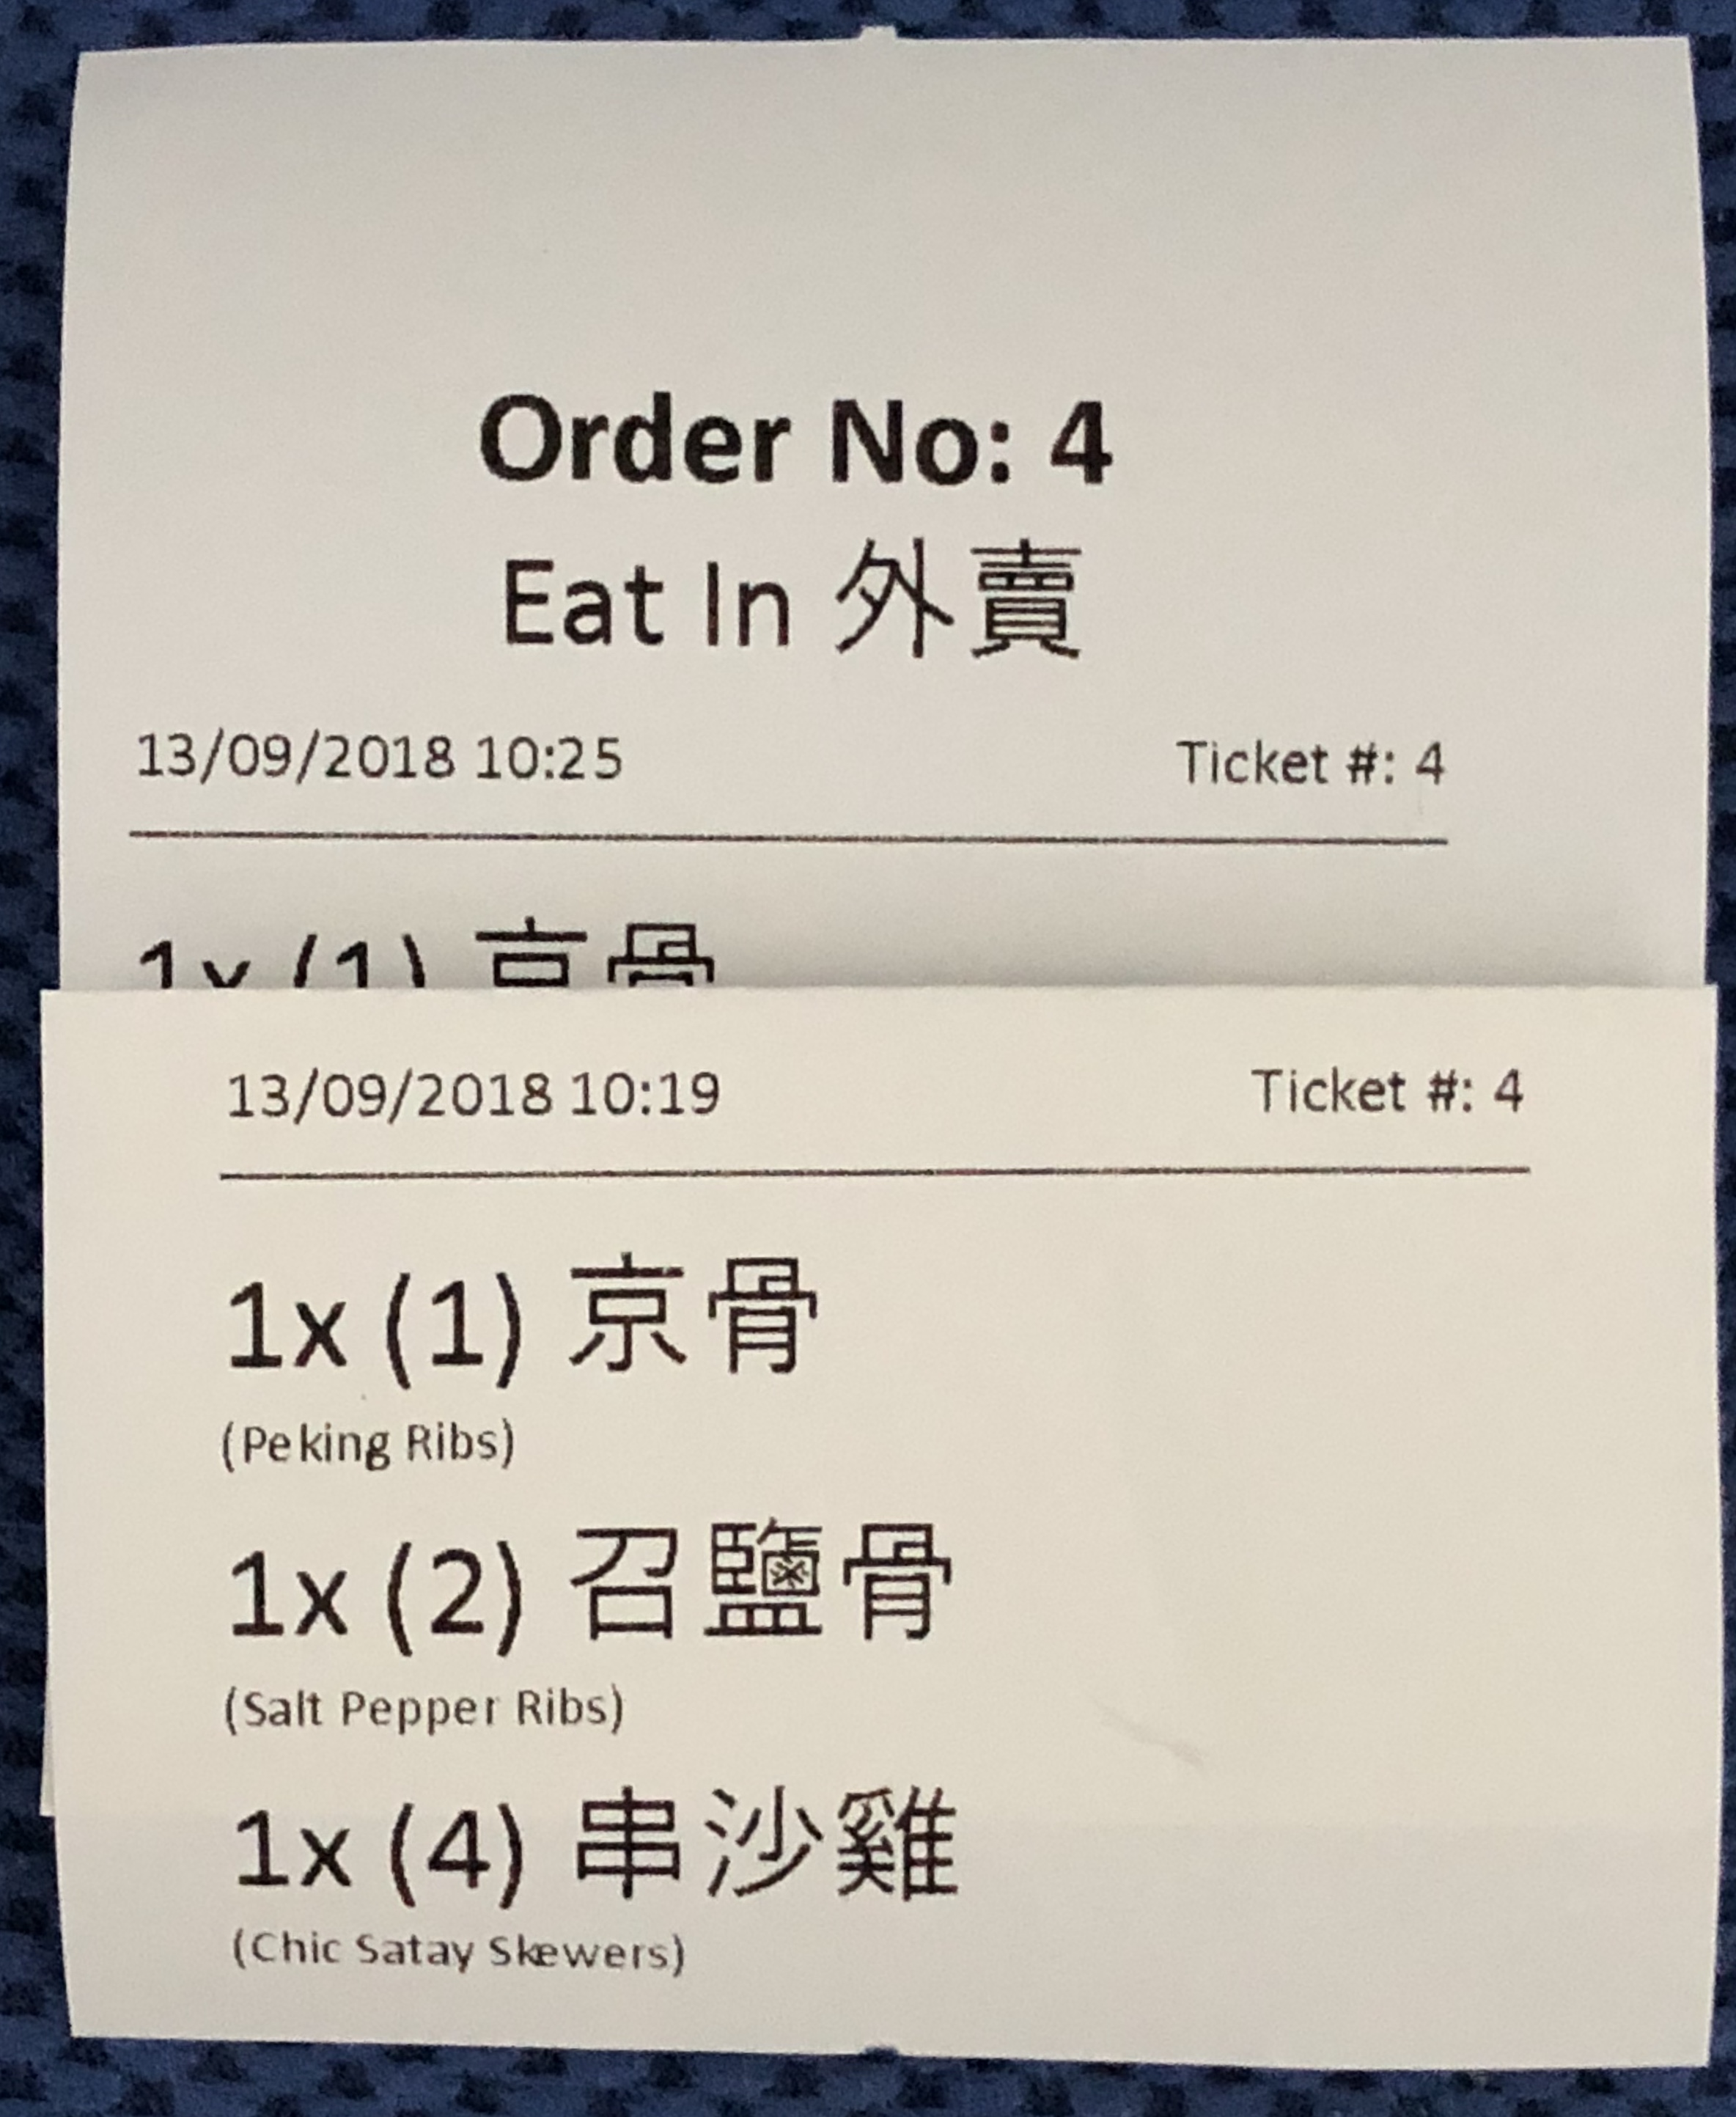
I have also tried changing the DIP switch setting on the printer from 48 characters to 42 characters, this makes the situation worse as the printer them appears to add its own additional margin on the printout.

I’m have really been pulling my hair out because of this, it doesn’t matter as much for kitchen tickets like what I used in the example but I am designing a new customer receipt format where a lot more information is being displayed, and I really need that extra space the margins are taking up.

Have you tried increasing the page width setting there, up from 72mm?

Yes…tried that already…

How big are the margins if you print from notepad or similar?
Are they similarly large?

Interestingly, at first yes, however Notepad page setup lets you set margins to 0, and that appears to override the defaults.

image

Then it prints perfectly… without excessive margins…

So it could be a SambaPOS hardcoded setting, or a Windows default setting for XAML documents…

Any idea what Windows / SambaPOS uses to process and print the XAML document generated by the Document Printer?

Would look like xaml has margin type paramitsrs, couldn’t find page margin but sugestions it may be coded like you say OR double perhaps to put in an overide similar to xct codes?

XCT codes don’t work in XAML templates, they will just throw an error.

From what I can tell, we have to start the template with a <Section> or similar tag, but the template is then being wrapped into the final document, and I guess that piece of code that wraps it has some definition for the margins (or at least, that is where we could change it). I tried creating a new wrapper inside the template, using <FlowDocument> but it just throws an error.

If I look at the Custom Printer -> Save Document to File, there is an option there “Fit to Page”. If I create an XPS file using that printer, without “Fit to Page” I get the margins, but with it, I get less margins but the whole template is reduced in size. Of course this is no use when I want to print to the printer and not a file, and this isn’t any use directly but at least it shows there is an option there which we can’t access.

@JTRTech thanks for that link, it has better code samples in XAML. I was looking mainly on MSDN and most of the samples there don’t show the XAML rather the C# code (which isn’t really a big issue since the properties are the same, but still nice to have actual XAML examples).

Sorry, I didn’t mean to use xct codes I was comparing the xaml codes as didn’t see a margin one but was thinking maybe there was a margin xaml code.

1 Like

Yeah there is, similar as in HTML you can add a Margin="..." attribute on many elements. However I already did that on the top level <Section>, but would most likely need to apply it (or another setting) to a parent element that is not available in the template.

@emre would you be able to see if it is possible to fix this issue with the margins when using Document Printer? I use this type on most of my setups and it’s quite frustrating there are margins added that can’t be changed anywhere. I think it is related to the master settings in the wrapper document you create when printing?

I don’t remember why I’ve changed it but I’ve set padding to auto by thinking it will adjust itself for the printer padding. I changed it back to 0 for next update.

1 Like

How about Margin? Is that defined at all? Not sure if it uses a default value and possibly needs to be set to 0 as well?

@emre is this in the build released today?

I just did a test with 6 Sept build compared to today 10 Sept build, the margins are the same on Document Printer. 3 receipts below, ESC/POS print at the top for comparison.

No seems like I was a little late to post it to server. It will be released on next update.

1 Like

Just updated to latest build. So now it removes the left margin but the width of printing is the same (i.e. the right margin is now larger and document not centred now).

Compared to before change:

This is what printer driver reports as the printable page size. If you use a different printer (for example XPS printer) you can see it adjusts itself for the page size.

From your comparison I think changing margins from auto to zero was not a good idea.

I agree, this looks worse. If it can’t be improved I think it’s best to put it back like it was before.

Yes I know XPS printer will fit to width.

Is there another setting we can tweak to ensure it is printing to 100% of the available page width?

I found this before:

Having it reduce size is not what you’d want for a receipt, but what is happening differently when you set “Fit to page” on the custom printer? Is there something similar that can be enabled in the FlowDocument.

Do you have PagePadding="0" set?

Also found this, possibly this might be causing it, because we don’t know the page size?

But of course you can’t make assumptions as to what the page size would be. Just thought I’d share the above to see if anything is there that can be implemented.

Most inkjet printers available width is larger than the actual page width. To be able to do what you want we need to configure page dimensions, margins, etc from SambaPOS and entirely override driver’s page settings. That is not a simple thing to implement for now.

You can try to adjust page width from driver’s settings.

Mark I believe this is not a correct way to find solutions to issues. Not to waste your time leave finding related stackoverflow topics to me.

Sorry I was just trying to understand more about it myself and just shared what I found.

I tried this before when I was testing, there is no control over this.

I just thought it was some parameter being set in the document being printed. What is frustrating is if I print to XPS either using Print to XPS or your custom document printer, then print from XPS Viewer, it is fitting to page but making it very small - but it uses the whole width. That is why I thought there might have been an easier way of doing it rather than having to set override values for page size in SambaPOS, which I agree is unnecessary. All I was hoping for was to get rid of the excessive margins.

I guess it must be doing “fit to page” but resizing height to fit on the 80mm width.

Printed via Document Printer then XPS Viewer:

I think it is best to have it centred on the page like it was previous if can’t be fixed, as like you say left aligned with the extra right margin looks worse.