See this for Custom Navigation basics Navigation Screen customization
This tutorial will show how to design a basic Dynamic Weather Tile and expose you to some more advanced scripting features included in V5.
This implementation uses Weather Underground API located here:
http://api.wunderground.com/weather/api/
You will need to setup an account and acquire an API key.
![]() Disclaimer: This was setup for a USA location. It will work for any country you simply just set your region and city in the tag
Disclaimer: This was setup for a USA location. It will work for any country you simply just set your region and city in the tag {CALL:weather.current('region','city','apikey')}
Your API key will be a long string of random numbers and letters.
We will be using JSCRIPT and JSON to extract data from the API
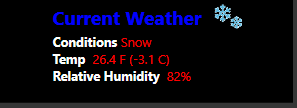
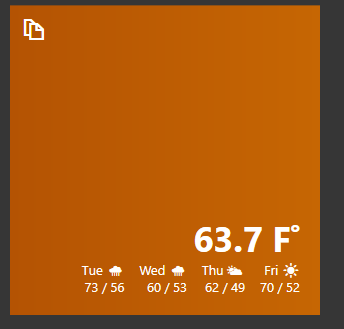
Tile Template:
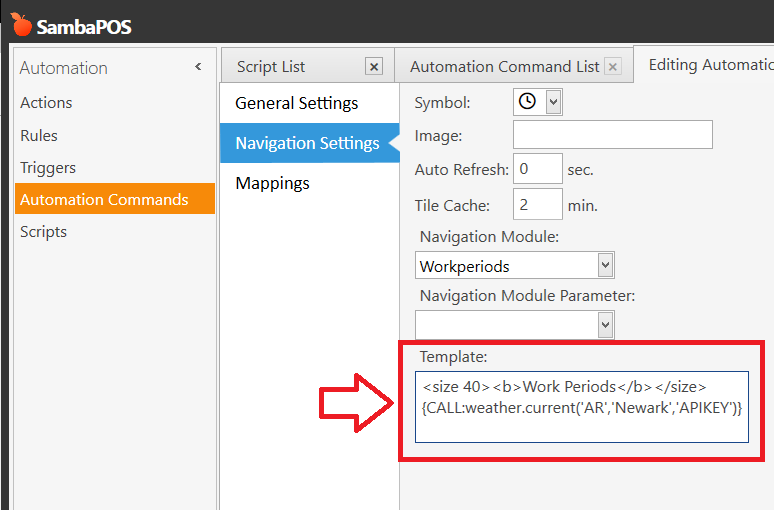
Tile Cache is to prevent it from updating the tile and hitting the weather API website an unnecessary amount of times. In the example I set it to only update every 2 minutes. Its suggested to set it longer like 5-10 minutes.
Example for the city of Newark in the state Arkansas in the USA
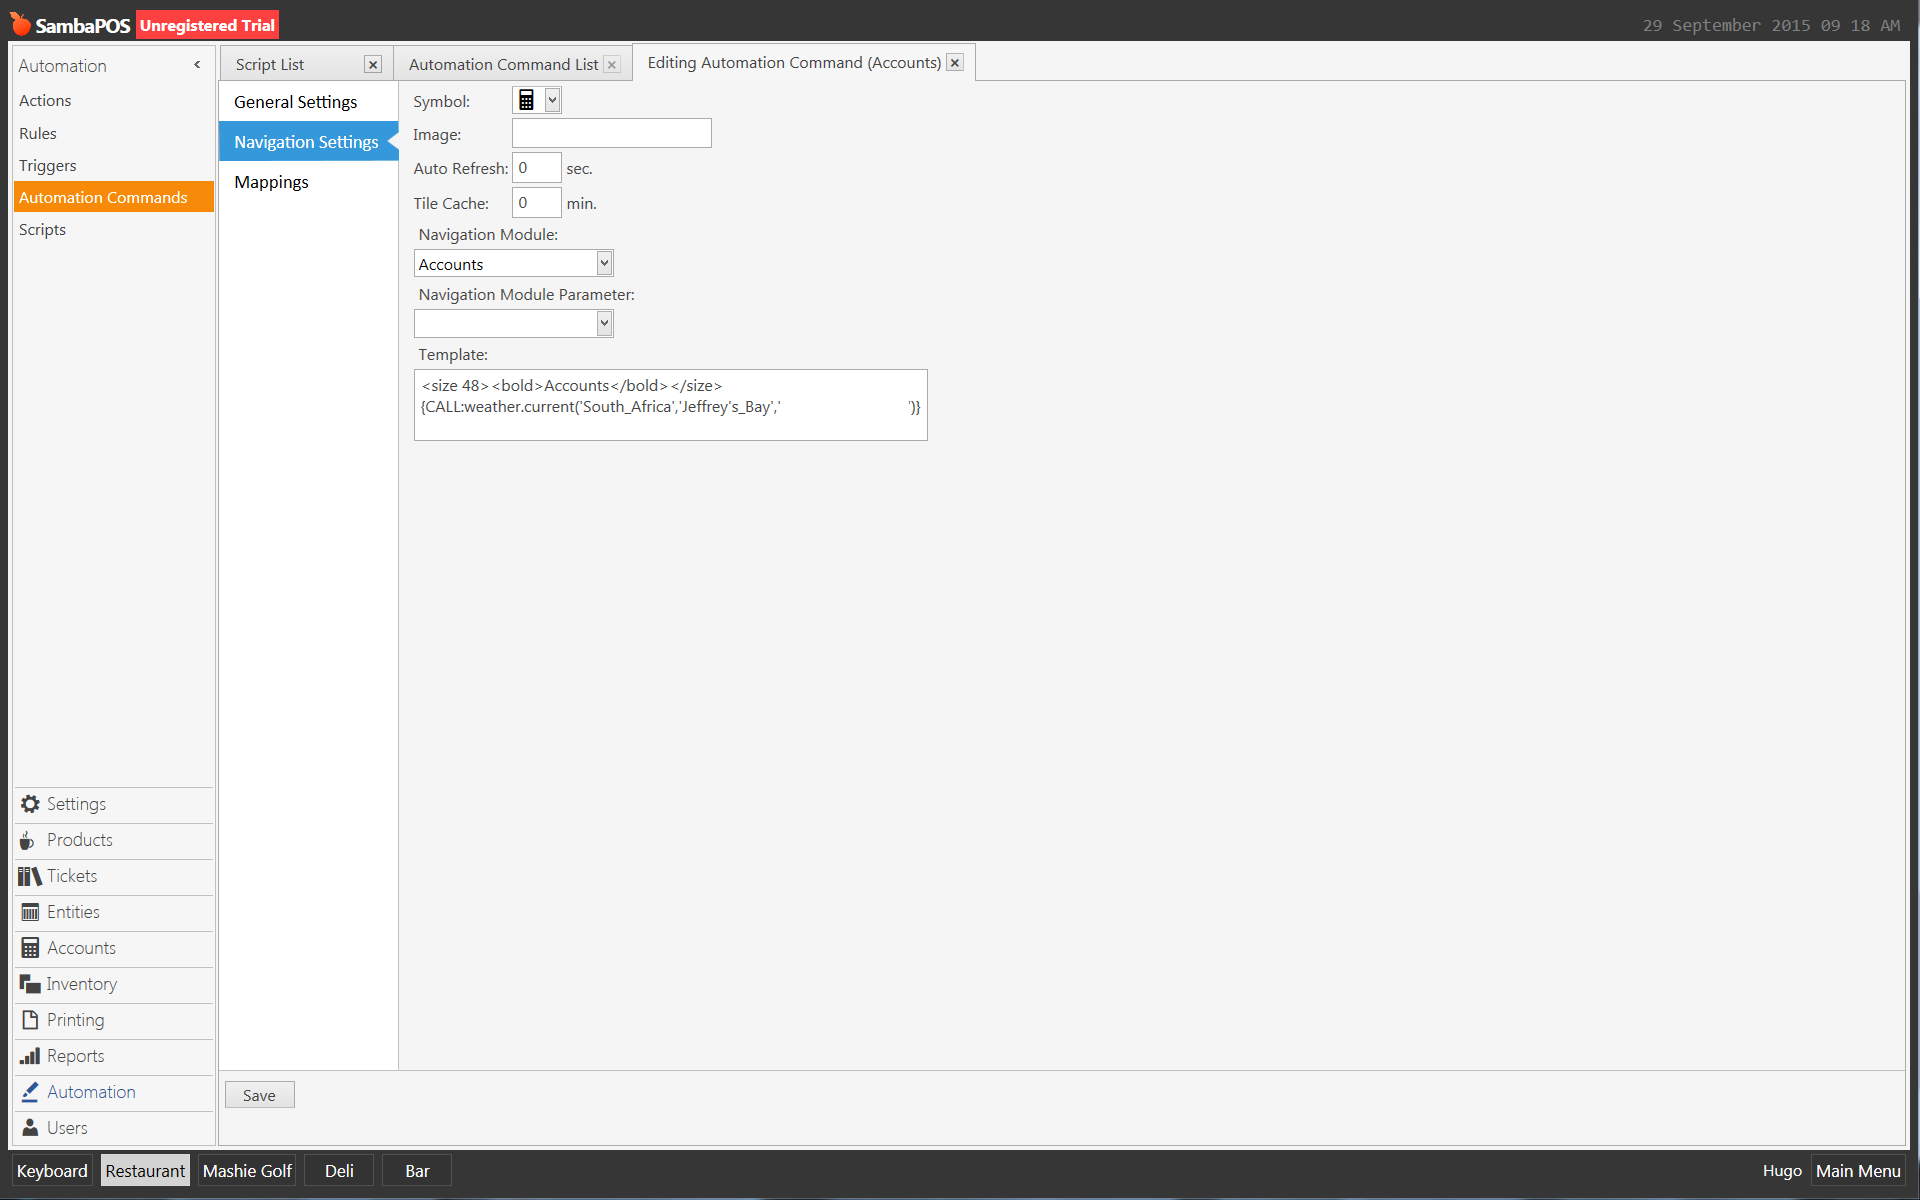
{CALL:weather.current('AR','Newark','APIKEY')}
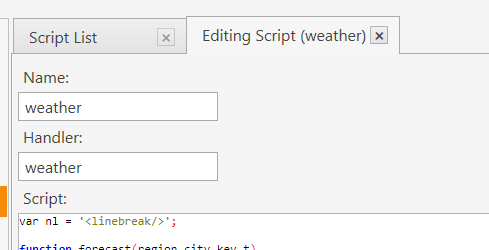
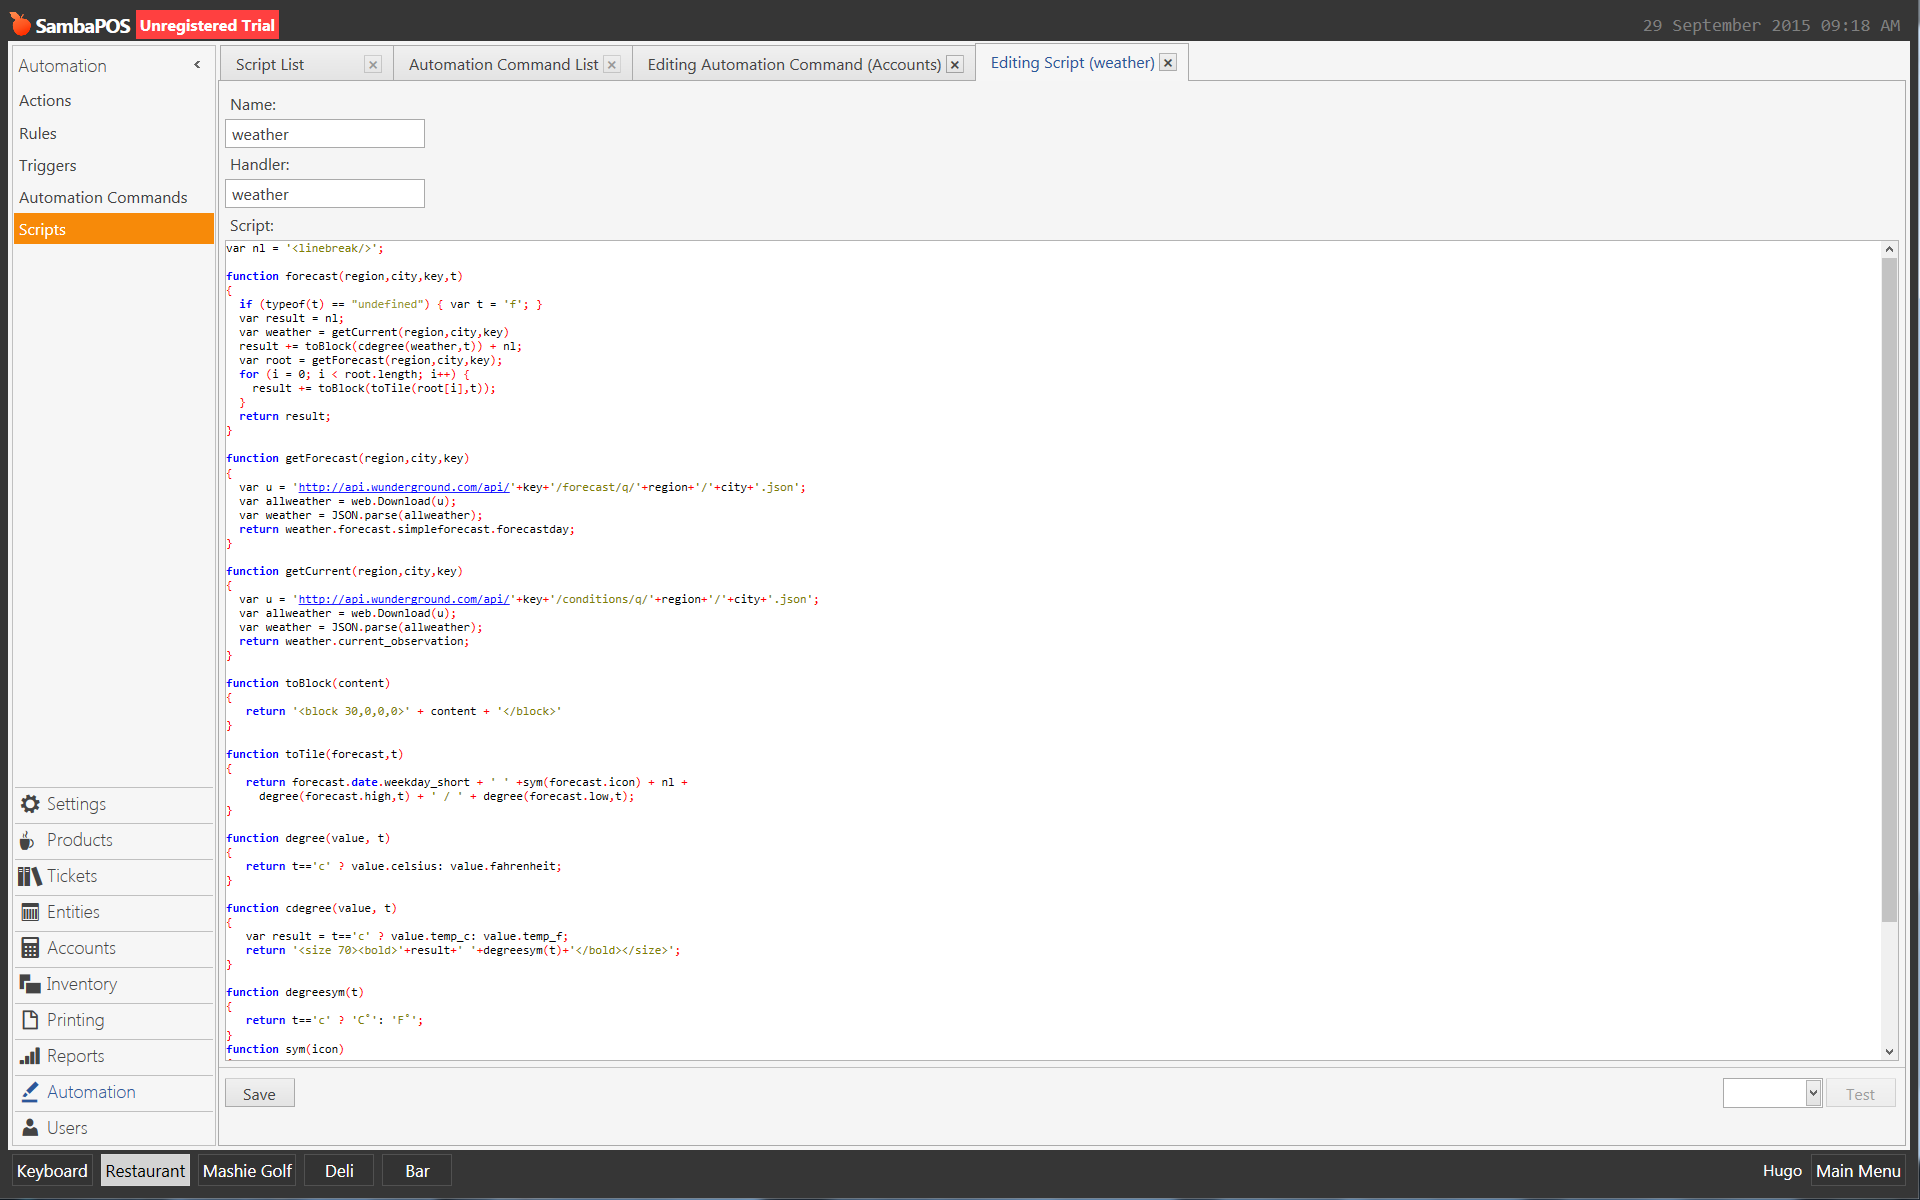
Script:
function current(region,city,key)
{
var nL = '<linebreak/>';
var u = 'http://api.wunderground.com/api/'+key+'/conditions/q/'+region+'/'+city+'.json';
var allweather = web.Download(u);
var weather = JSON.parse(allweather);
var temp = weather.current_observation.temperature_string;
var icon = weather.current_observation.icon_url;
var hum = weather.current_observation.relative_humidity;
var percip = weather.current_observation.precip_today_metric;
var cond = weather.current_observation.weather;
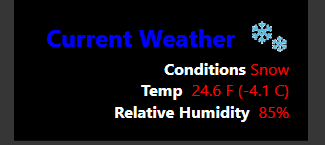
return tag.Size(30,'<b><color Blue>Current Weather</color></b> ') + tag.Img(icon) + nL + tag.Size(20,'<b>Conditions </b>') + tag.Color('red').Size(20,cond) + nL + tag.Size(20,'<b>Temp </b>') + tag.Color('red').Size(20,temp) + nL + tag.Size(20,'<b>Relative Humidity </b>') + tag.Color('red').Size(20,hum);
}
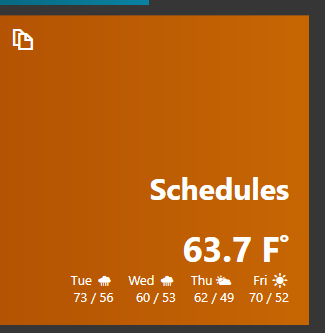
Or if you use Left Alignment for tile it would look like this: