:running: You need to install at least 5.1.51 version
##What is a Task?
If you’re using SambaPOS for a while you’ve probably wondered how you can use Task feature. A Task is a general purpose to-do like informational data that is useful to manage things we need to keep track of. We need to create a Task Type for each specific use case. For example if we need to create a todo list and another list to track utility bills we can create separate task types to separate these lists. Task Widgets used for displaying task lists.
Task Widgets are shared across terminals. All users that have permission to access task widget will see all task updates. You need to setup message server to update widgets instantly. So it is possible to use Task Widget as a nice communication tool.
##Creating a Simple To-Do List
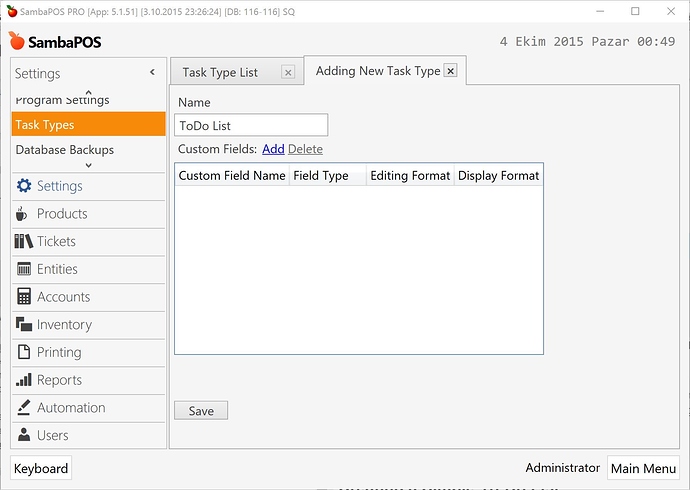
In this tutorial I’ll show creating a simple to-do list. First I need to create a new Task Type.
We can also define Custom fields for tasks here. For example if we want to track utility bills we can create a custom field for tracking due date and use that field on reporting. For now I’m leaving it empty.
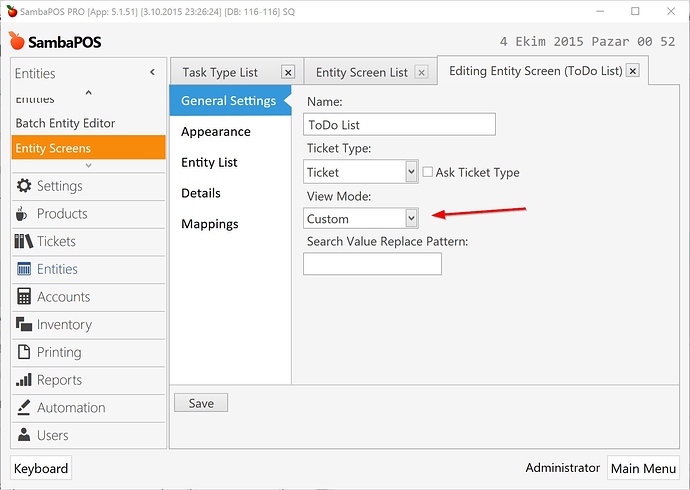
On next step I’ll create a Custom Entity Screen to create a screen for displaying todo items.
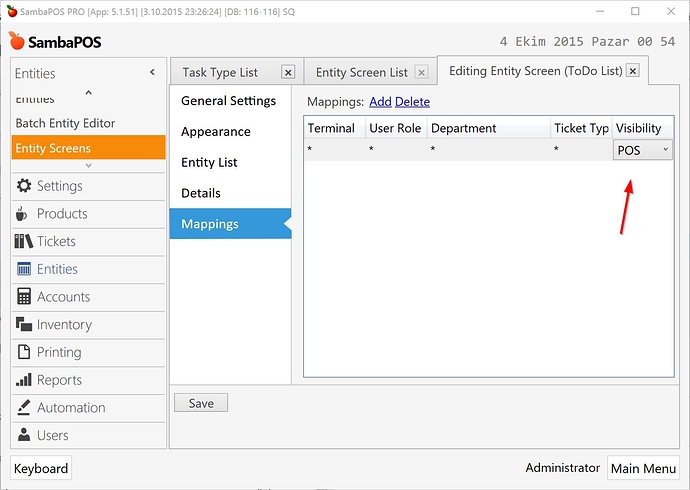
I need to add a mapping to enable this screen.
I’ve set visibility setting as POS so this entity screen won’t appear while setting / changing entities for tickets.
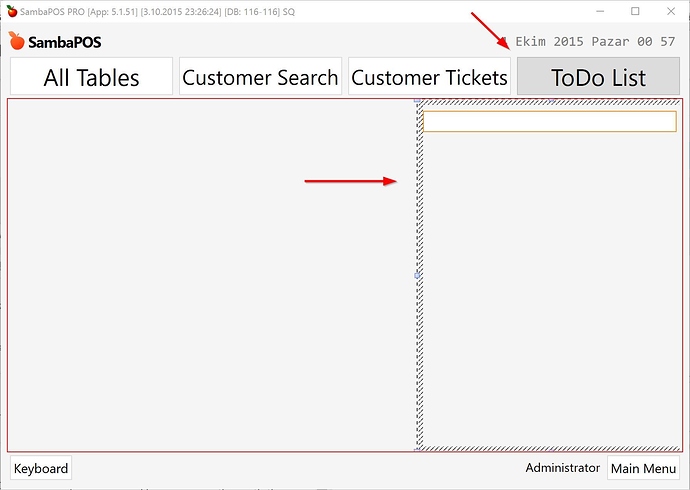
After saving Entity Screen I’ll switch to POS screen and add a new Task Editor widget on ToDo List screen.
To add a widget right click on screen, switch to
Design Mode(Shift + Ctrl +D) and from right click menu add a new Task Editor. DisableDesign Modeto save your changes.
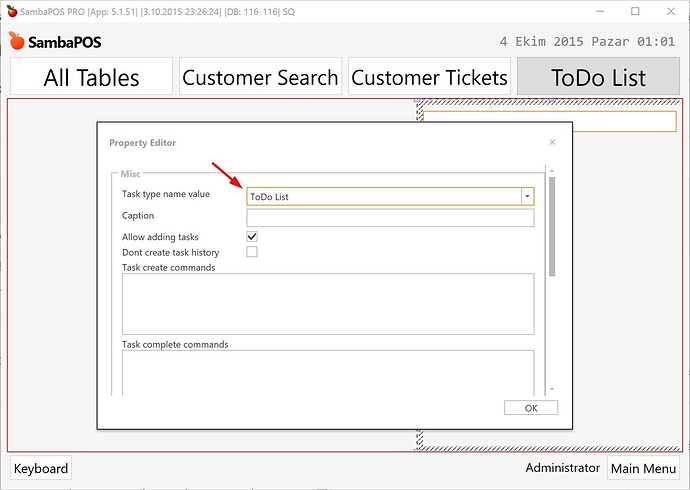
While you’re on Design Mode right click on widget and click Settings to display widget settings.
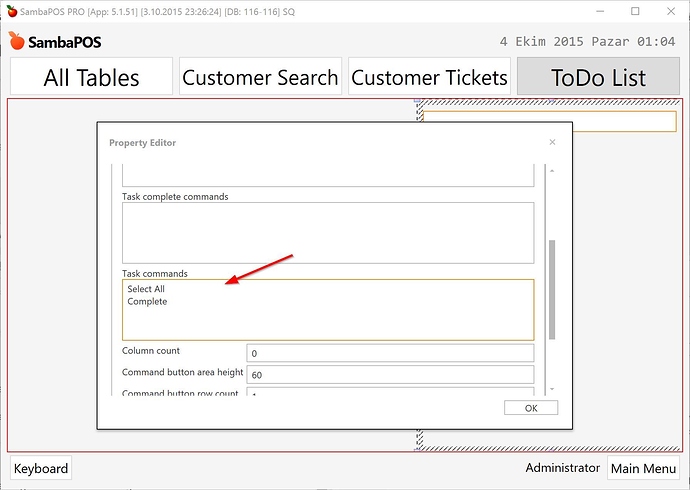
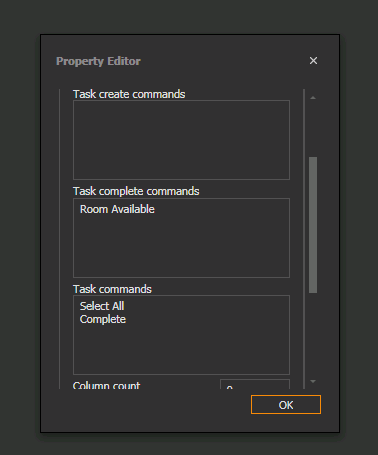
To define task type select a task type from list. After setting it scroll down to Task Commands setting.
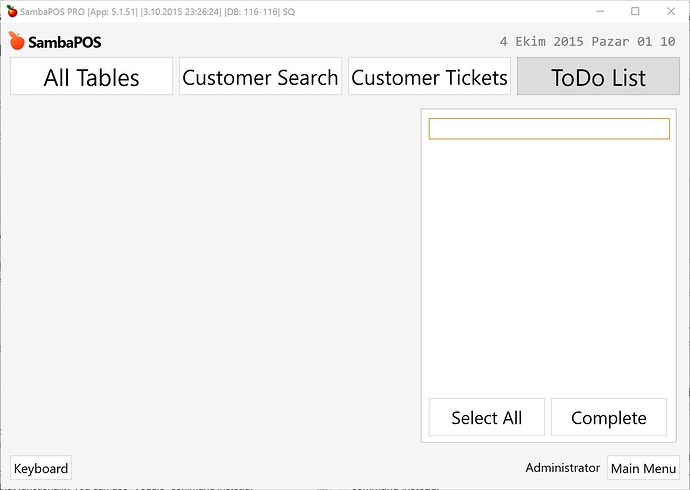
Select All and Complete commands are pre-defined commands that will appear under task list. Select All button highlights all tasks and Complete button marks highlighted tasks as completed.

Completecommand marks a task as completed but does not restores a completed task as uncompleted. If you need that functionality you can useTogglecommand instead.
Disable Design Mode from right click menu to see your updates.
When you disable design mode you you’ll see borderless transparent background instead of that white background border. I’ve added a
Label Widgetbehind Task Editor to draw that border but I’m skipping that step for keeping tutorial short.
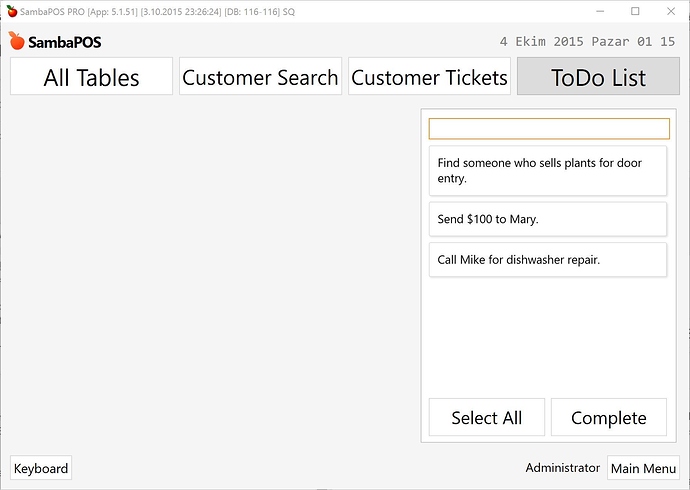
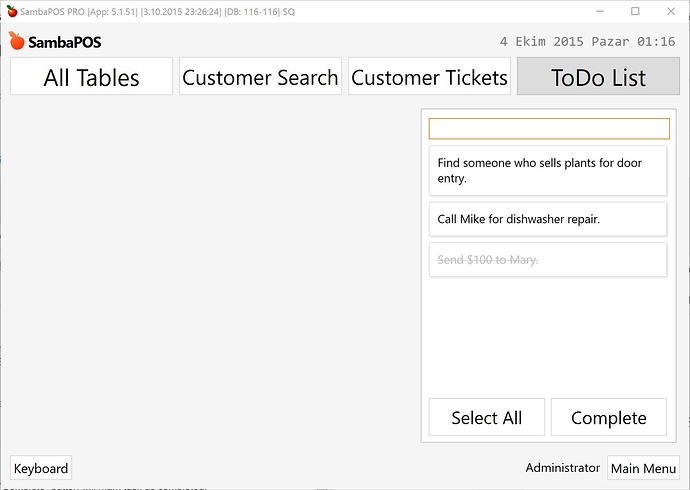
On top of the widget there is an editor to add tasks. I can type something and press enter to add a new todo task.
Selecting a task and clicking Complete button will mark task as completed.
Completing a task will move task to end of the list with dimmed font color. Completed tasks stays there until we end work period. Ending work period removes completed tasks from list.
