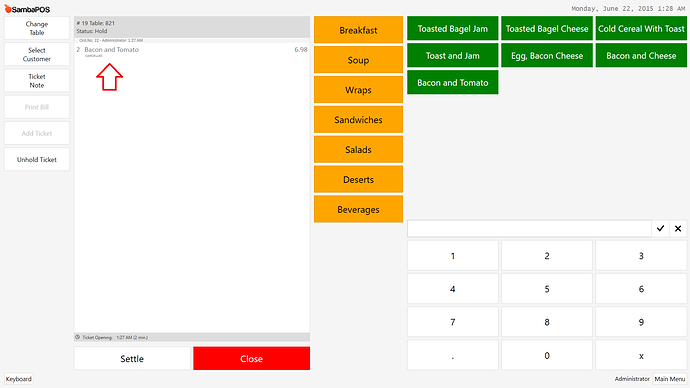
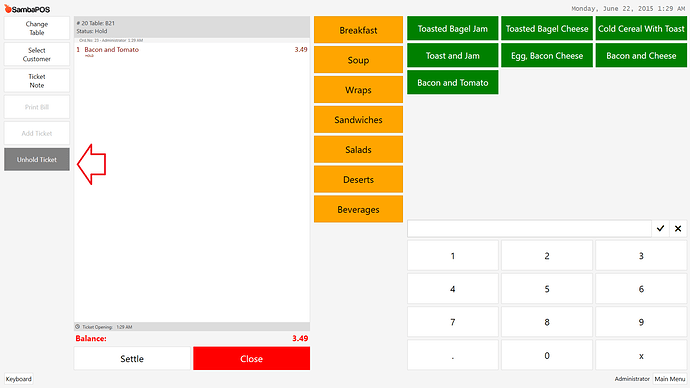
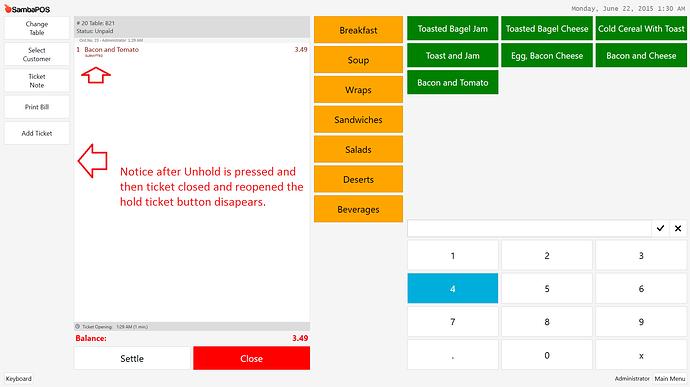
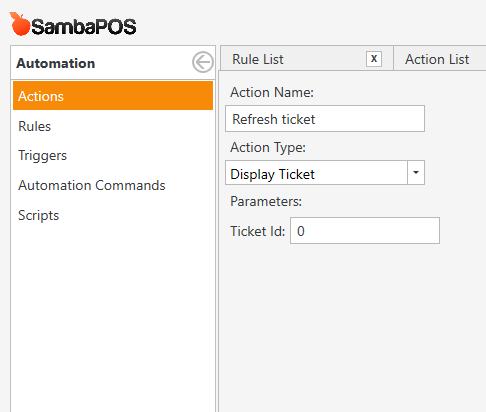
Create a Display Ticket action:
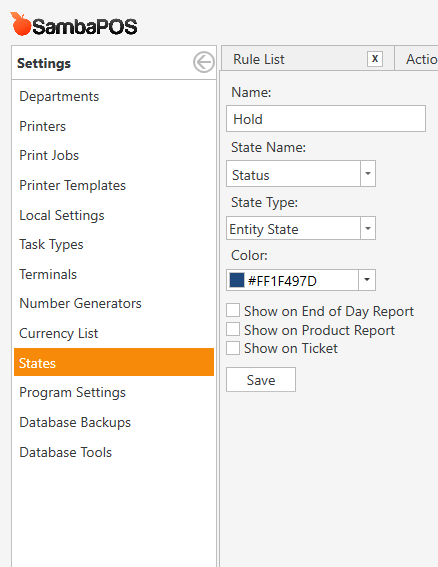
Create a Hold State:
Set your color to what you want, I set mine to Blue.
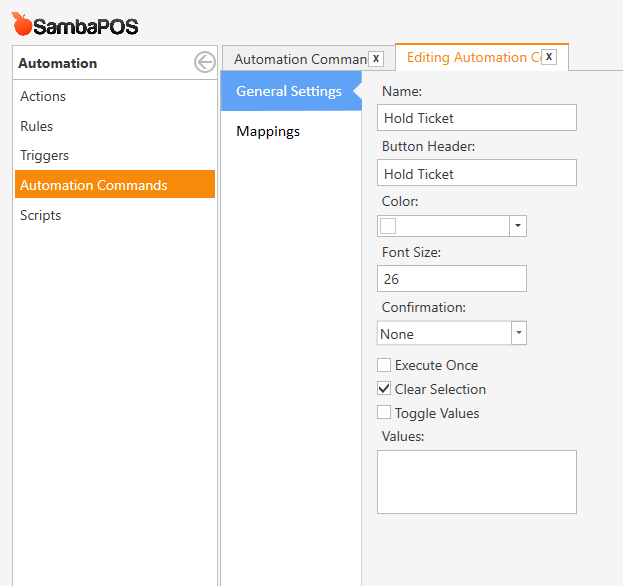
Create Two Automation Commands:
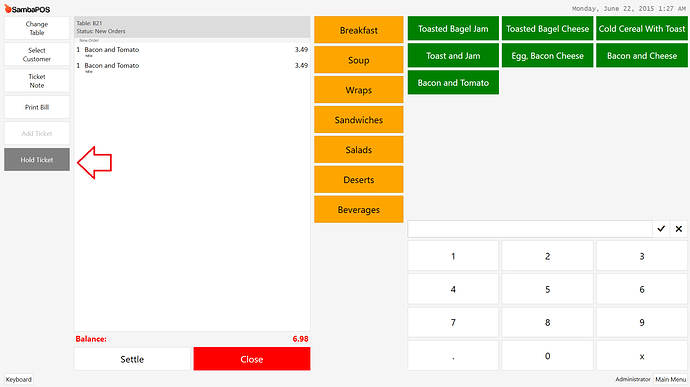
Hold Ticket command:
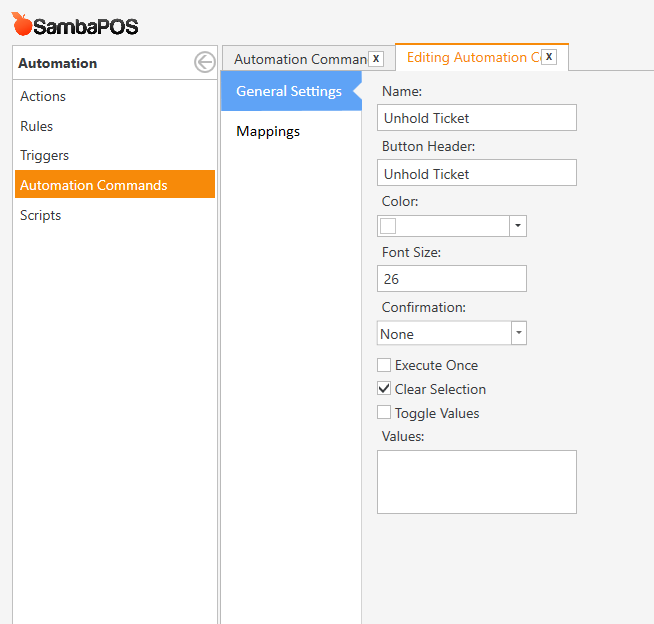
Unhold Ticket command:
Mapping for Hold Ticket command:
Mapping for Unhold Ticket command:
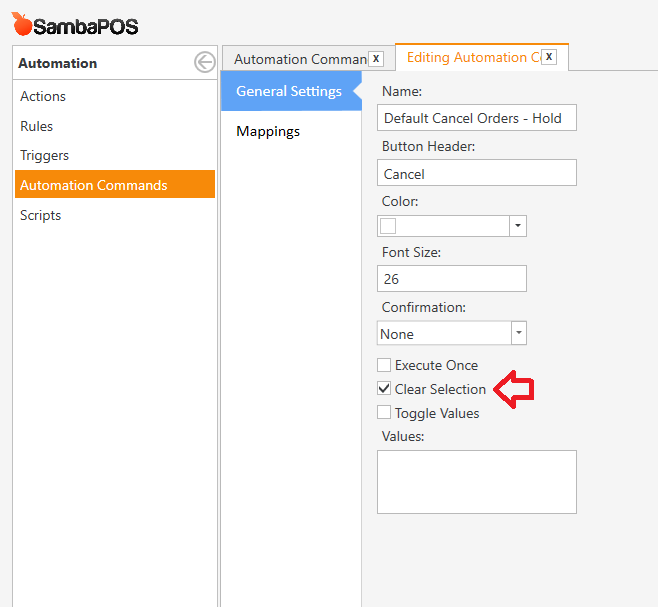
Clone the Default Cancel Orders action:
Change the name to Default Cancel Orders - Hold
Select Clear Selection box
Mapping for Default Cancel Orders - Hold command:
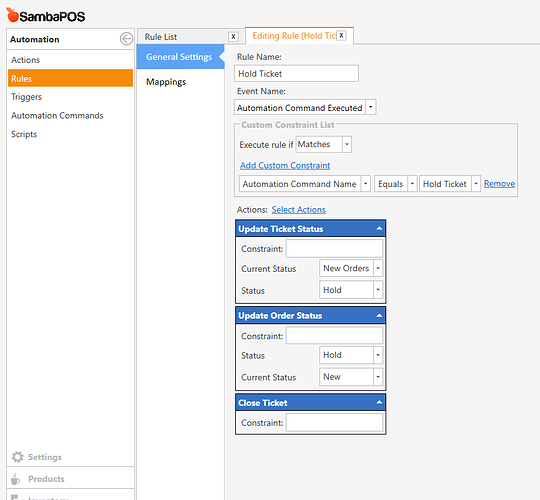
Create an Automation Command Executed rule for Hold Ticket:
Update Ticket Status and Update Order Status actions are default be sure and enter the parameters shown in the screenshot. Close Ticket action is default action.
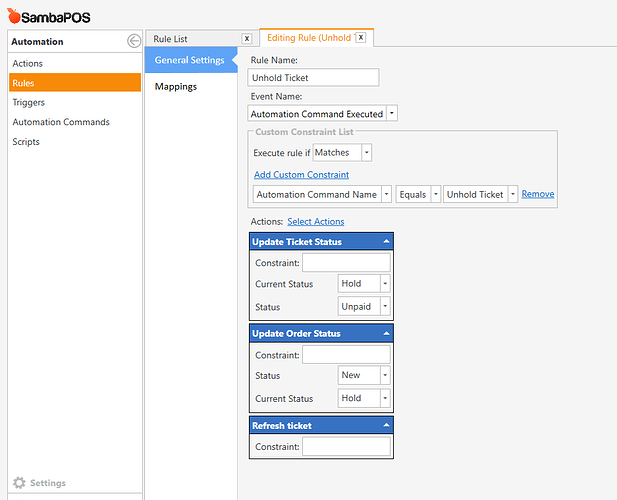
Create an Automation Command Executed rule for Unhold Ticket:
Update Ticket Status and Update Order Status actions are default be sure and enter the parameters shown in the screenshot. Refresh Ticket action is the action we made at start of tutorial.
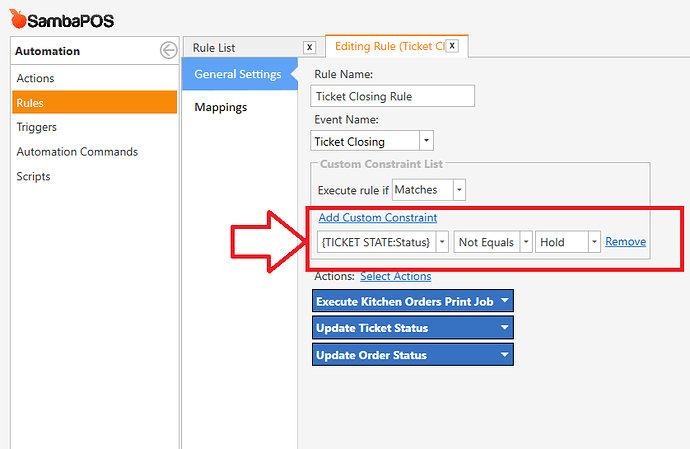
Update the default Ticket Closing Rule:
Add the following constraint to the rule do not edit anything else
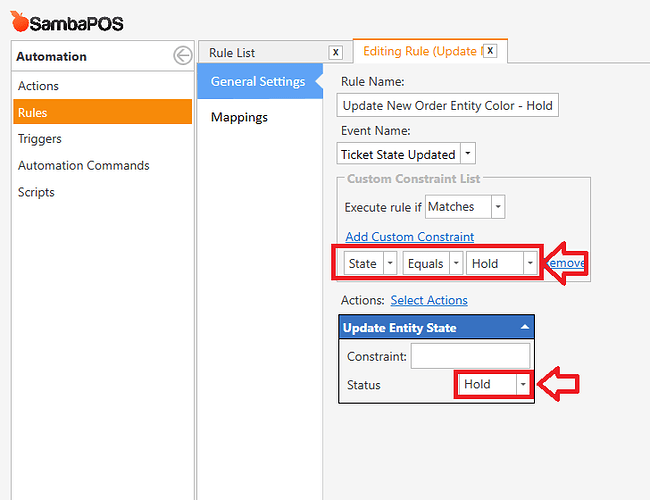
Clone the Update New Order Entity Color rule and edit it as shown in the screenshot:
Rename it to Update New Order Entity Color - Hold
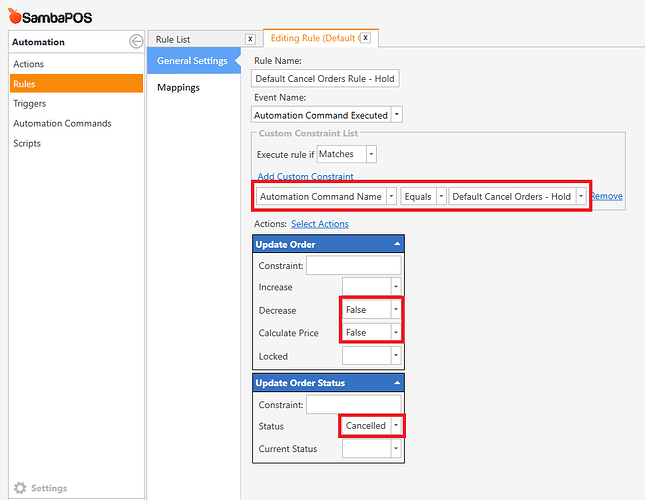
Clone the Default Cancel Orders Rule and edit it as shown in the screenshot:
Remove Cancel Orders action and add the two actions shown with the parameters as shown.
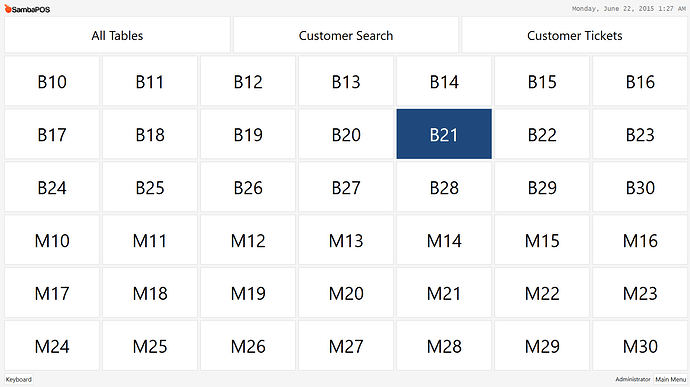
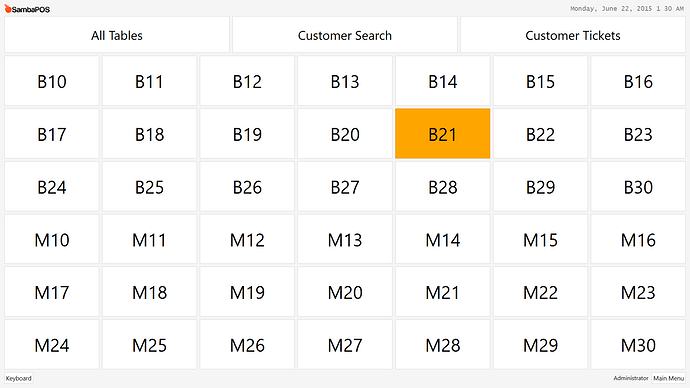
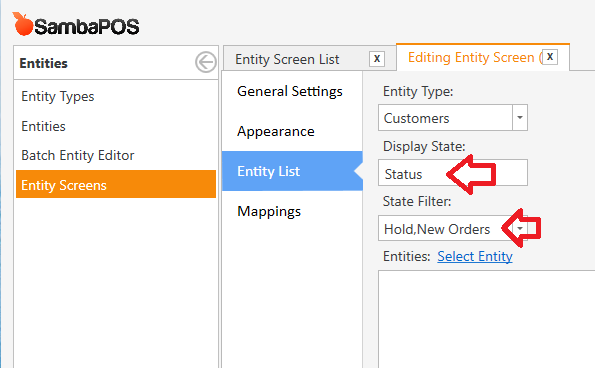
For Customer Tickets entity screen click on Entity List
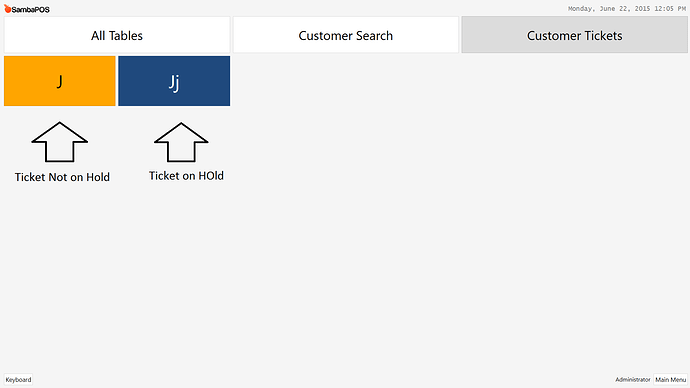
For Display State put Status and for State Filter put Hold,New Orders
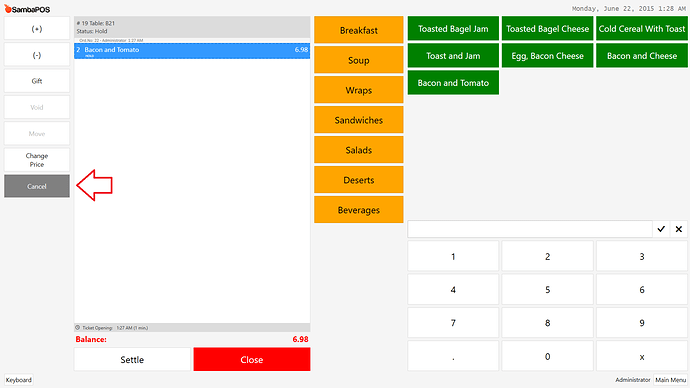
That’s it your done. There is something I should explain about the Cancel Orders button. Because there is no way to close a ticket and then truly cancel orders we have to use the custom route. The benefit of this is it will keep the tickets so you can track who has been canceling held orders but it will not affect your inventory, sales or anything else.


