Hello in this tutorial I’ll demonstrate how to create and use Reservation List of SambaPOS V5.
You need to install latest update of 5.2.13.
 The Configuration Task is in beta so don’t install it on top of production databases. I tested it with default database and few setups I have. Undoing setup and some validations are not complete so let us know if you notice conflicts with your existing setup.
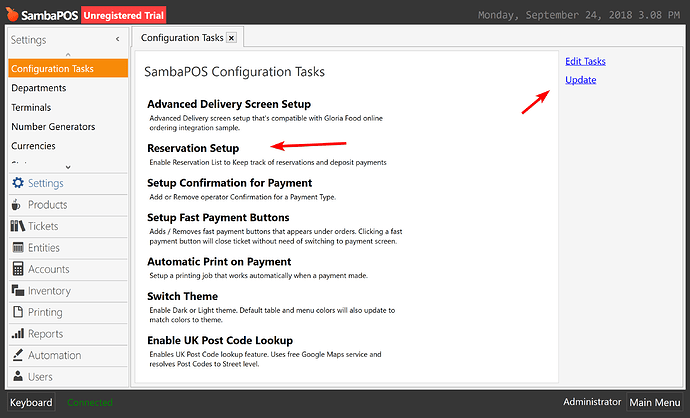
On Configuration Tasks screen click on “Update” link. Reservation Setup should appear in the list.
Click on the Reservation Setup to import related setup.
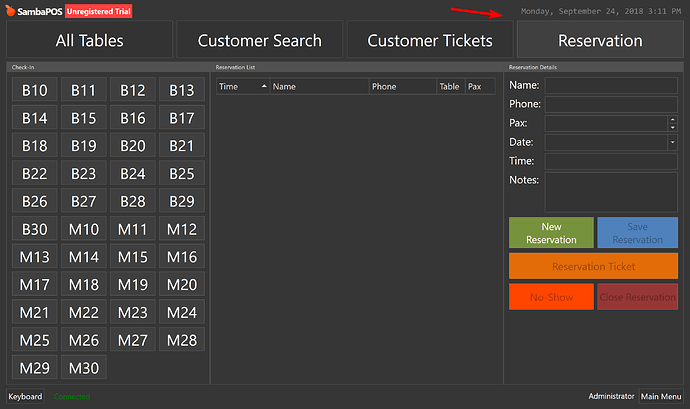
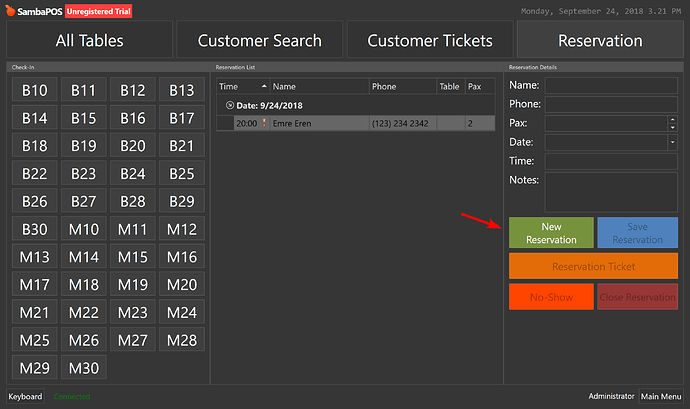
Reservation Screen should appear on the main POS screen.
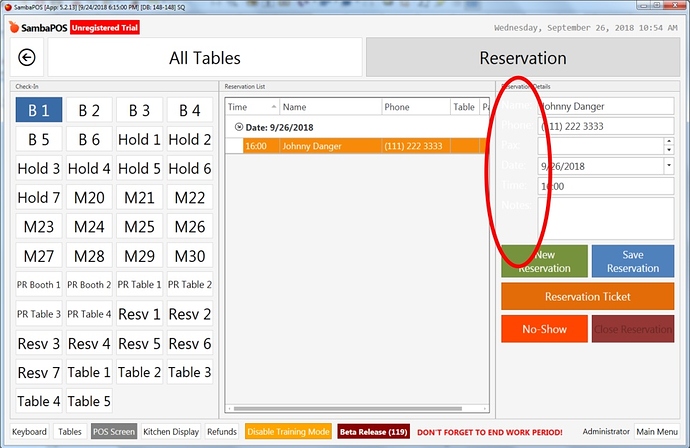
The screen divided to 3 parts. On the left side we can see occupied and reserved tables. The middle part is the list of Reservations and the right side section is the are we use to create / update reservations.
Creating a New Reservation
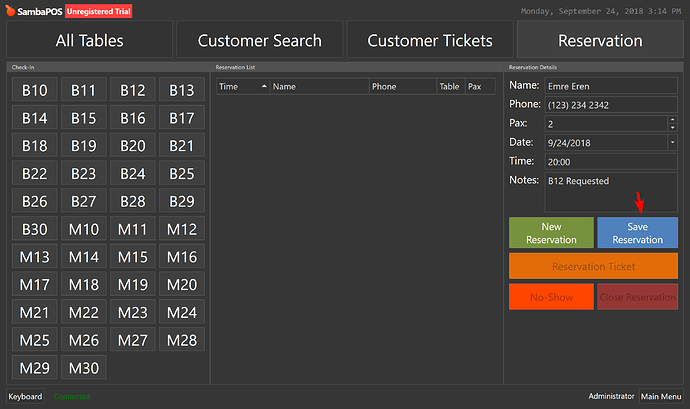
We’ll Start by Adding a new Reservation. After entering new reservation details click on Save Reservation button to create it.
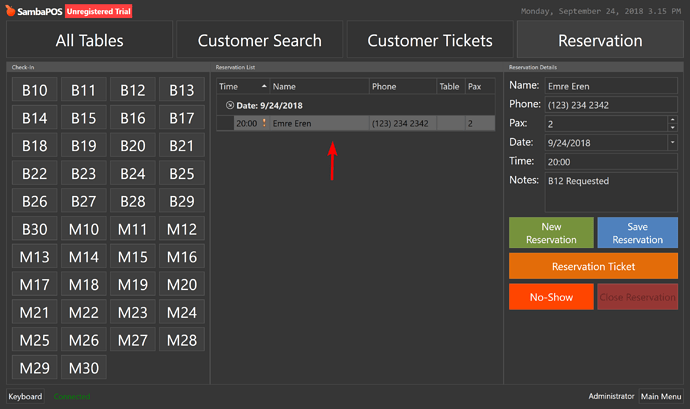
When Reservation gets saved successfully it will appear in the middle list.
 Exclamation mark means a note entered for the reservation.
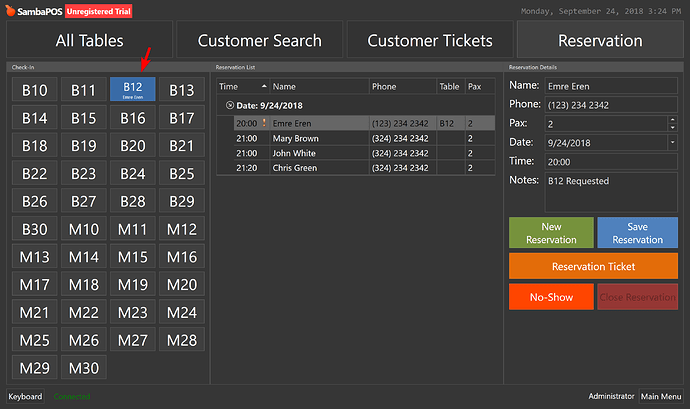
When we select a reservation on the list reservation details will also appear in the right. You can edit details and click on Save Reservation button to update reservation details.
To add another reservation click on New Reservation button. It will clear editors and wait for the new reservation details.
Create few more reservations before next step.
Check-in
Selecting a reservation on the list and clicking on an unoccupied table allocates table for the reservation contact.
Select first reservation and click on B21 table for check-in.
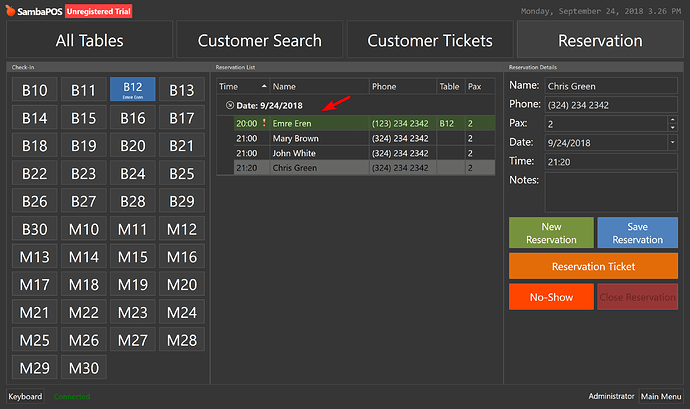
 Selected rows will appear on orange color but it appears gray here as it looses focus for the screen shot.
 Checked-in rows will appear in Green color.
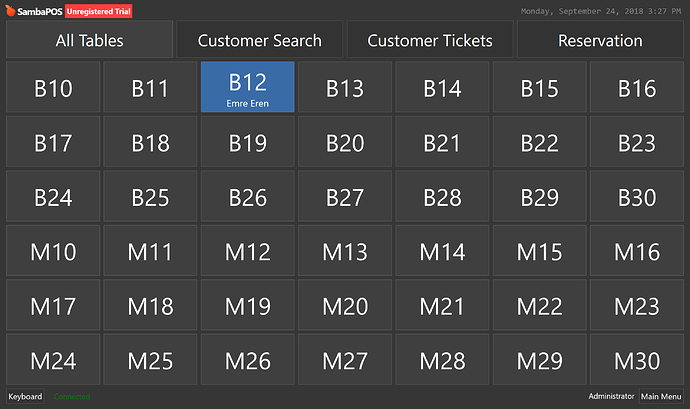
Checked-in table will also appear in blue color on Tables screen.
If you prefer to see contact names on this screen you can enable Use State Display Format setting for the All Tables entity screen.
If you want you can remove a check-in by clicking on the table button or change checked-in table by clicking other unoccupied tables.
When we create a ticket for the checked-in table, reservation will appear as completed.
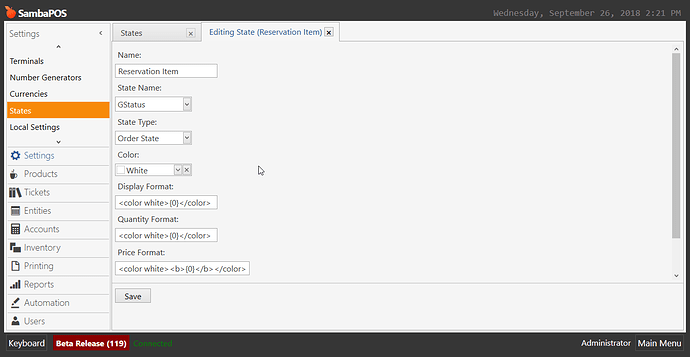
Contact name will not keep appearing on tables screens for privacy reasons but on reservation screen it will keep appearing. If you want to see contact names on all tables you can adjust New Orders state as Checkin state.
Finally closing ticket will remove reservation from the list.
Reservation Tickets
We can create a Reservation Ticket for pre-ordering. Select a contact and create a reservation ticket by clicking on Reservation Ticket button. We can create a reservation ticket anytime before creating the real ticket. I’ll create reservation tickets for first two reservations.
As you can see we can create reservation tickets for both checked-in and non checked-in reservations.
 When a reservation ticket gets created row appears in bold font.
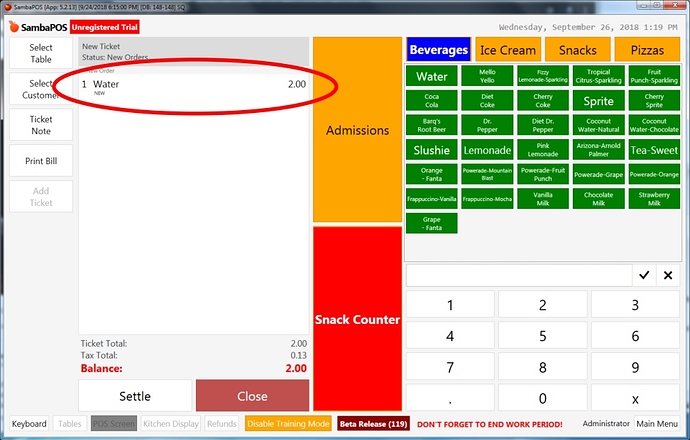
When we start creating a Ticket for a Checked-in table pre-orders automatically moves to the ticket.
Deposit Payments
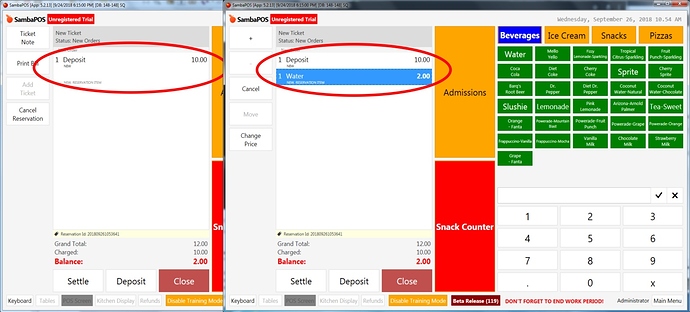
We may also receive Deposit Payments inside Reservation Tickets. To do that we can click on “Deposit” button after creating reservation ticket.
It automatically recommends %50 of the ticket amount but you can change it.
When there is a Deposit Payment on reservation ticket it reflects as a Discount on final ticket.
No-show
Clicking No-Show button marks a reservation as no-show. No-show items appears in red color. When a reservation is marked as no-show we can click on Close Reservation button to remove reservation from list.
No-show button will not enable if there is a reservation ticket. We need to cancel reservation ticket to enable it. If there is a deposit on ticket it will remain uncancelled but we’ll still be able to close reservation.
