###What is a fast payment button?
Fast payment buttons located under ticket to quickly settle whole ticket with a single payment type. Generally this feature is useful for fast food screens. In this tutorial we’ll add two payment buttons under ticket for cash and credit card.
###Configuration
We’ll start by creating Pay Ticket action.
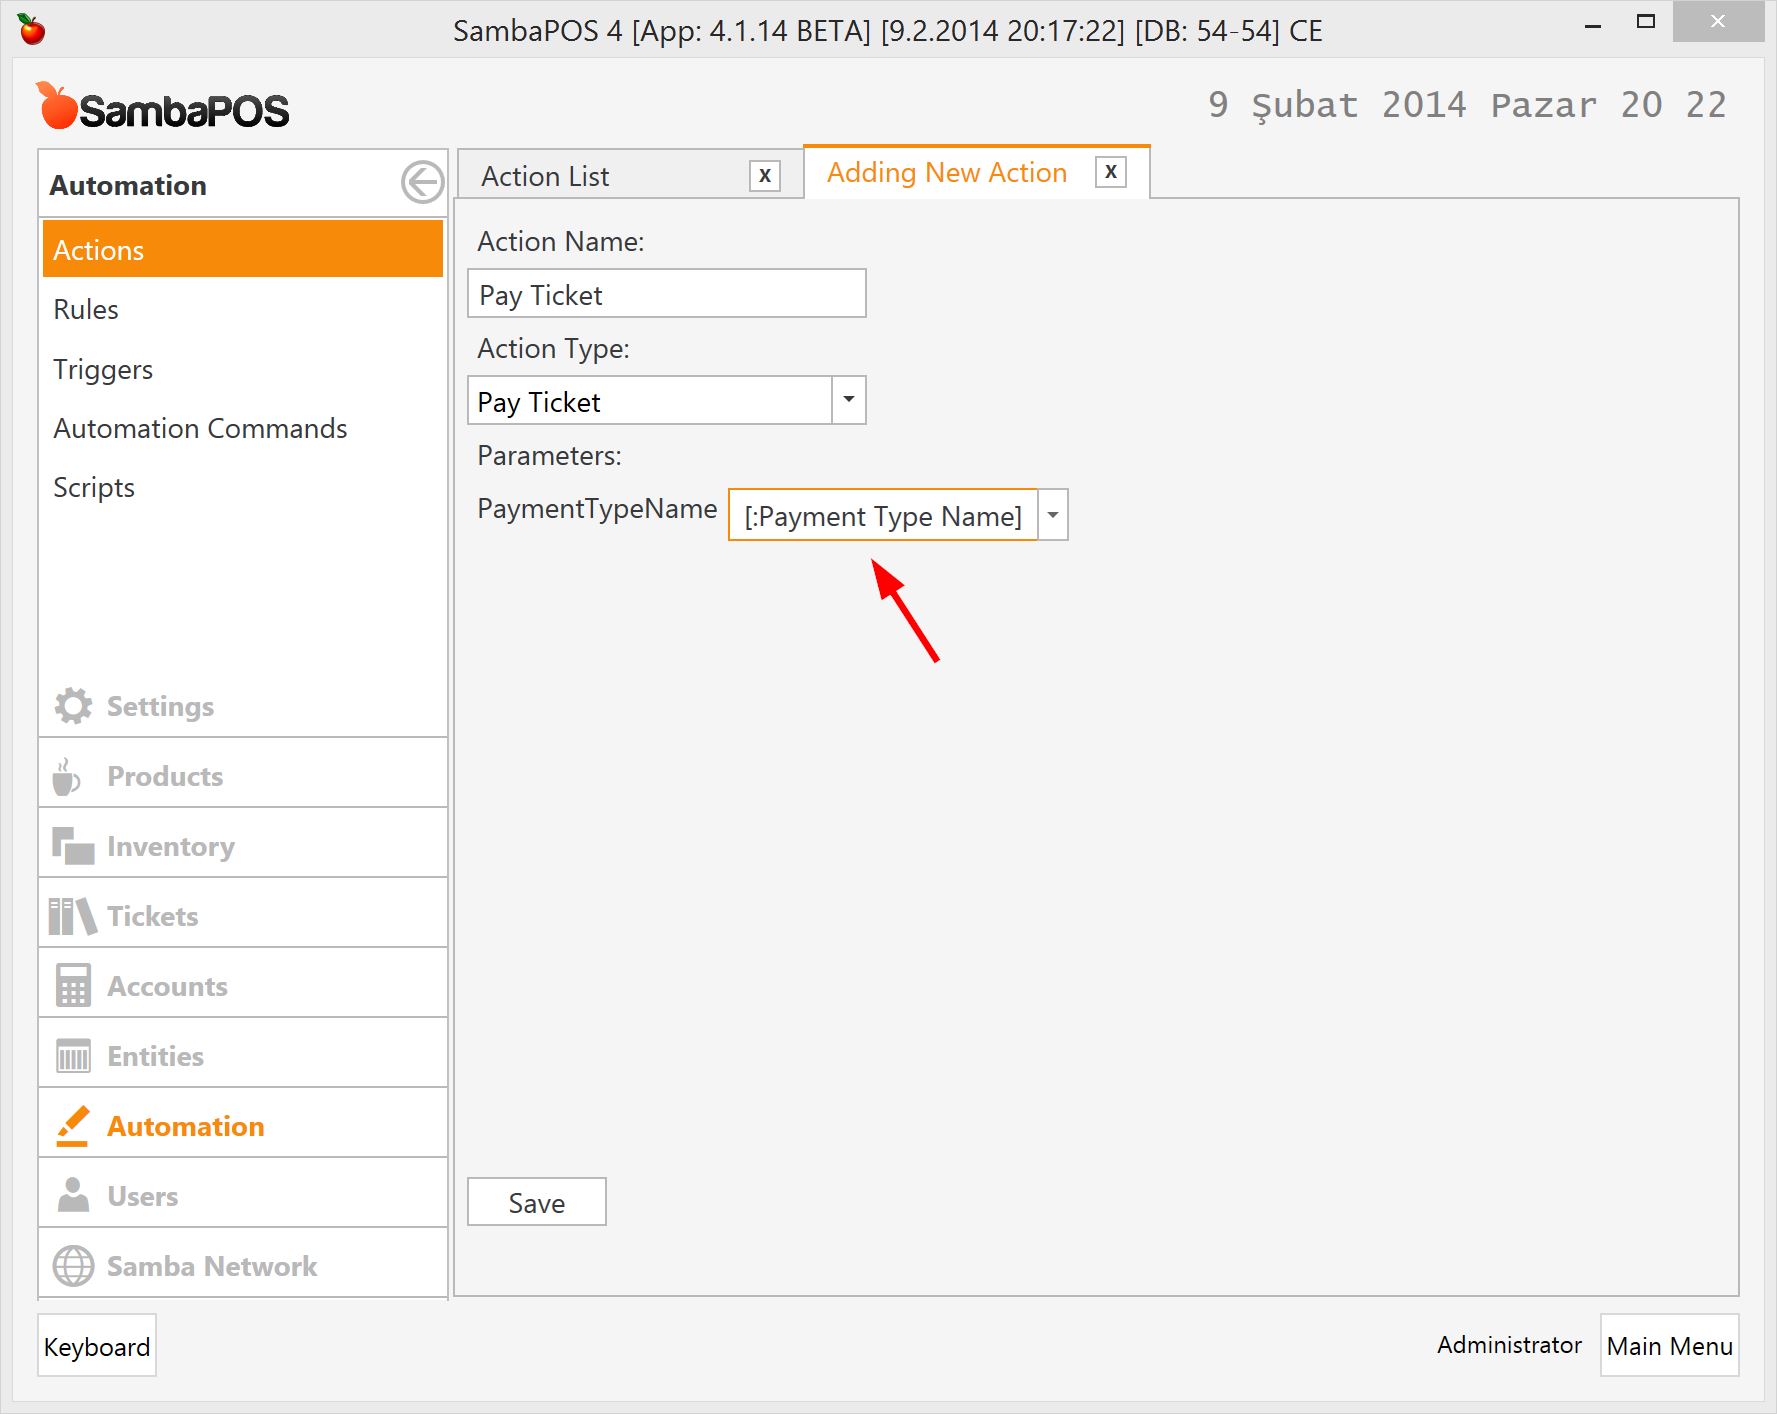
I’ve entered a variable name for Payment Type Name because I’ll use this action for different payment types (cash and credit card). If I want to use this action for a single payment type I can enter payment type name.
On next step I’ll create two Automation Command Buttons for two payment types.
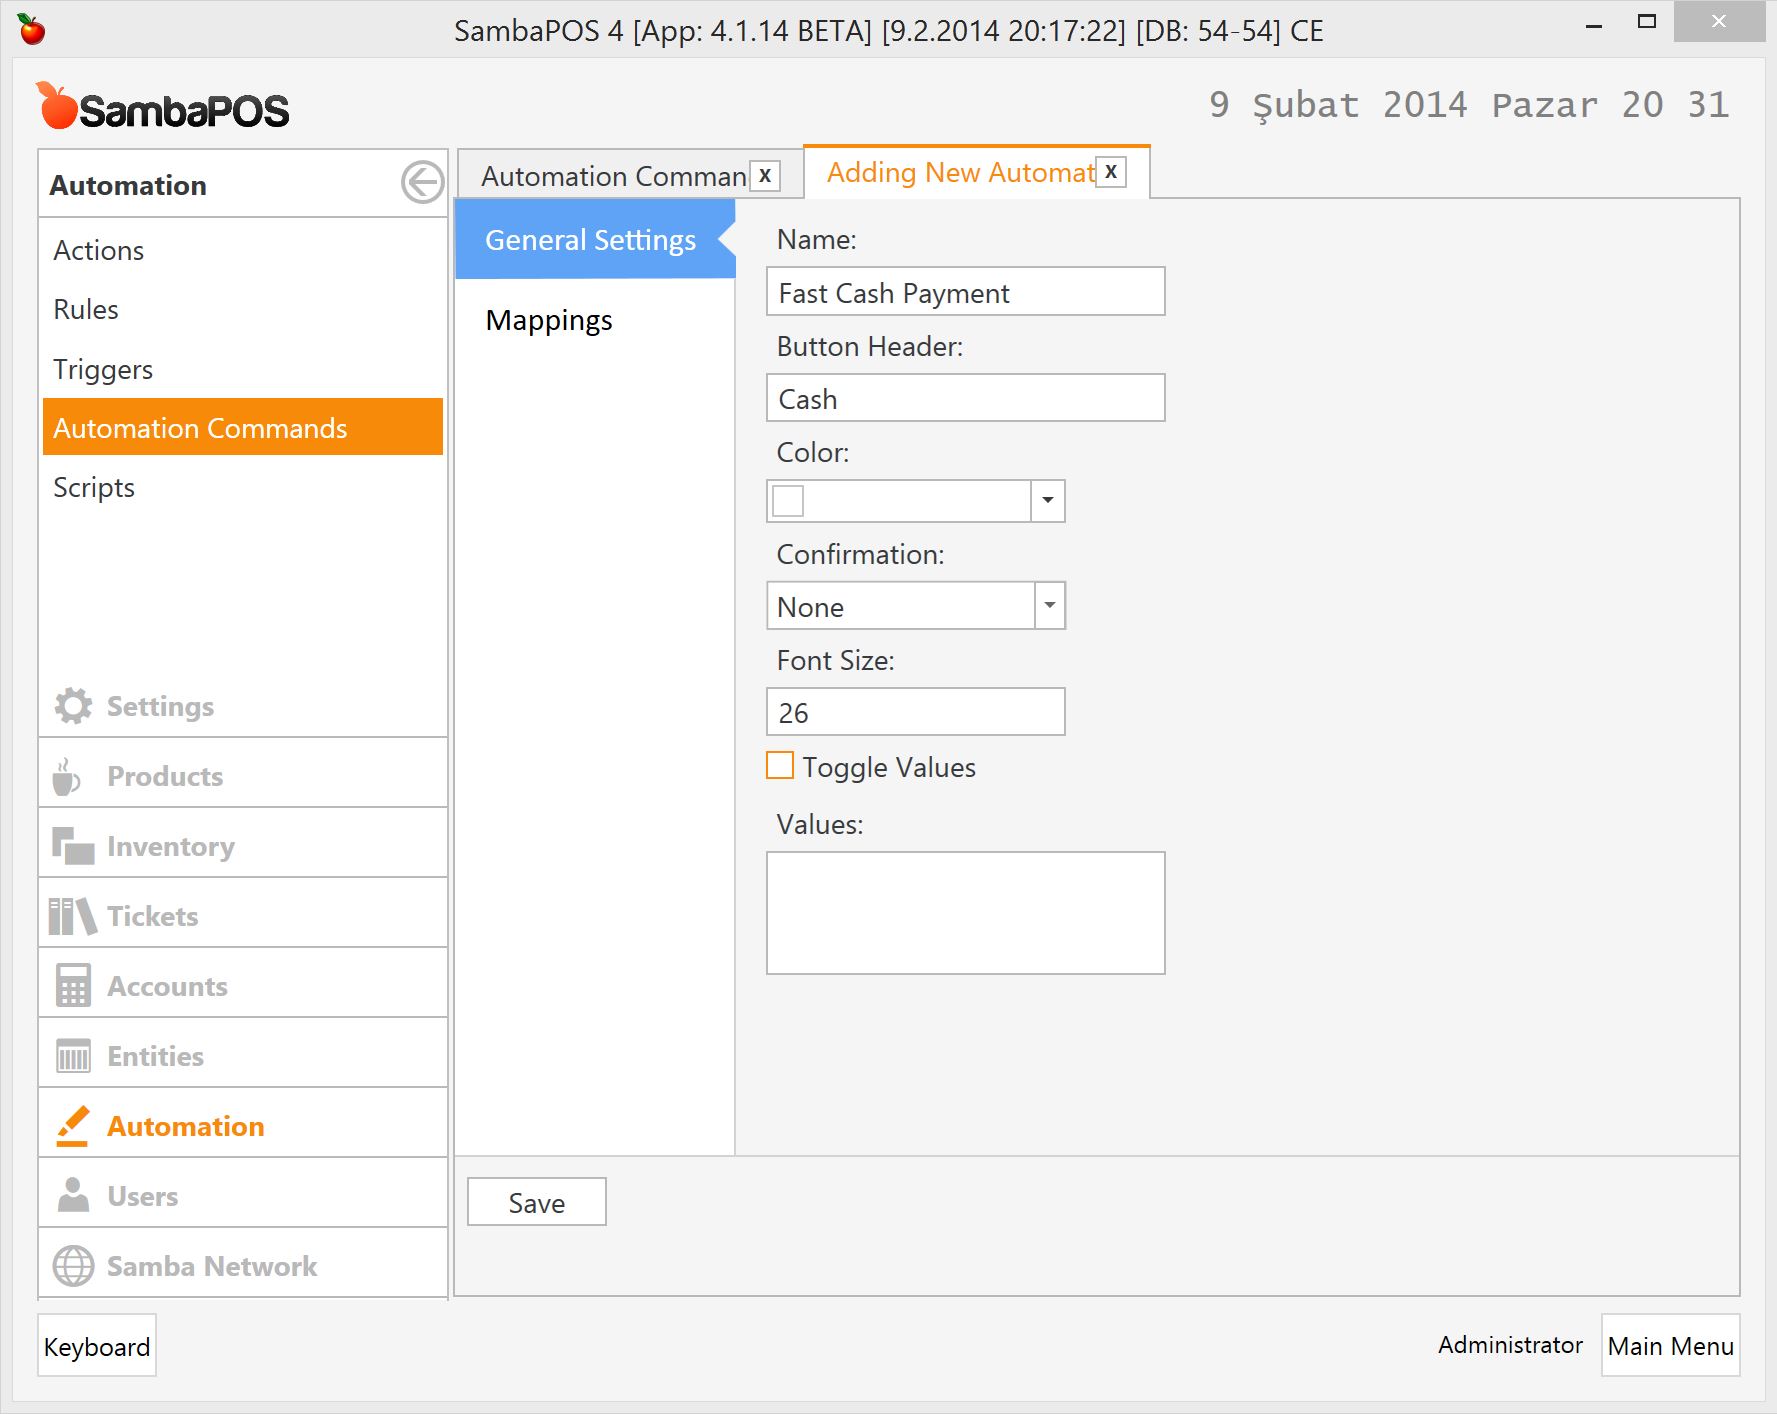
###Cash Payment
I’m adding new automation command for cash payment.
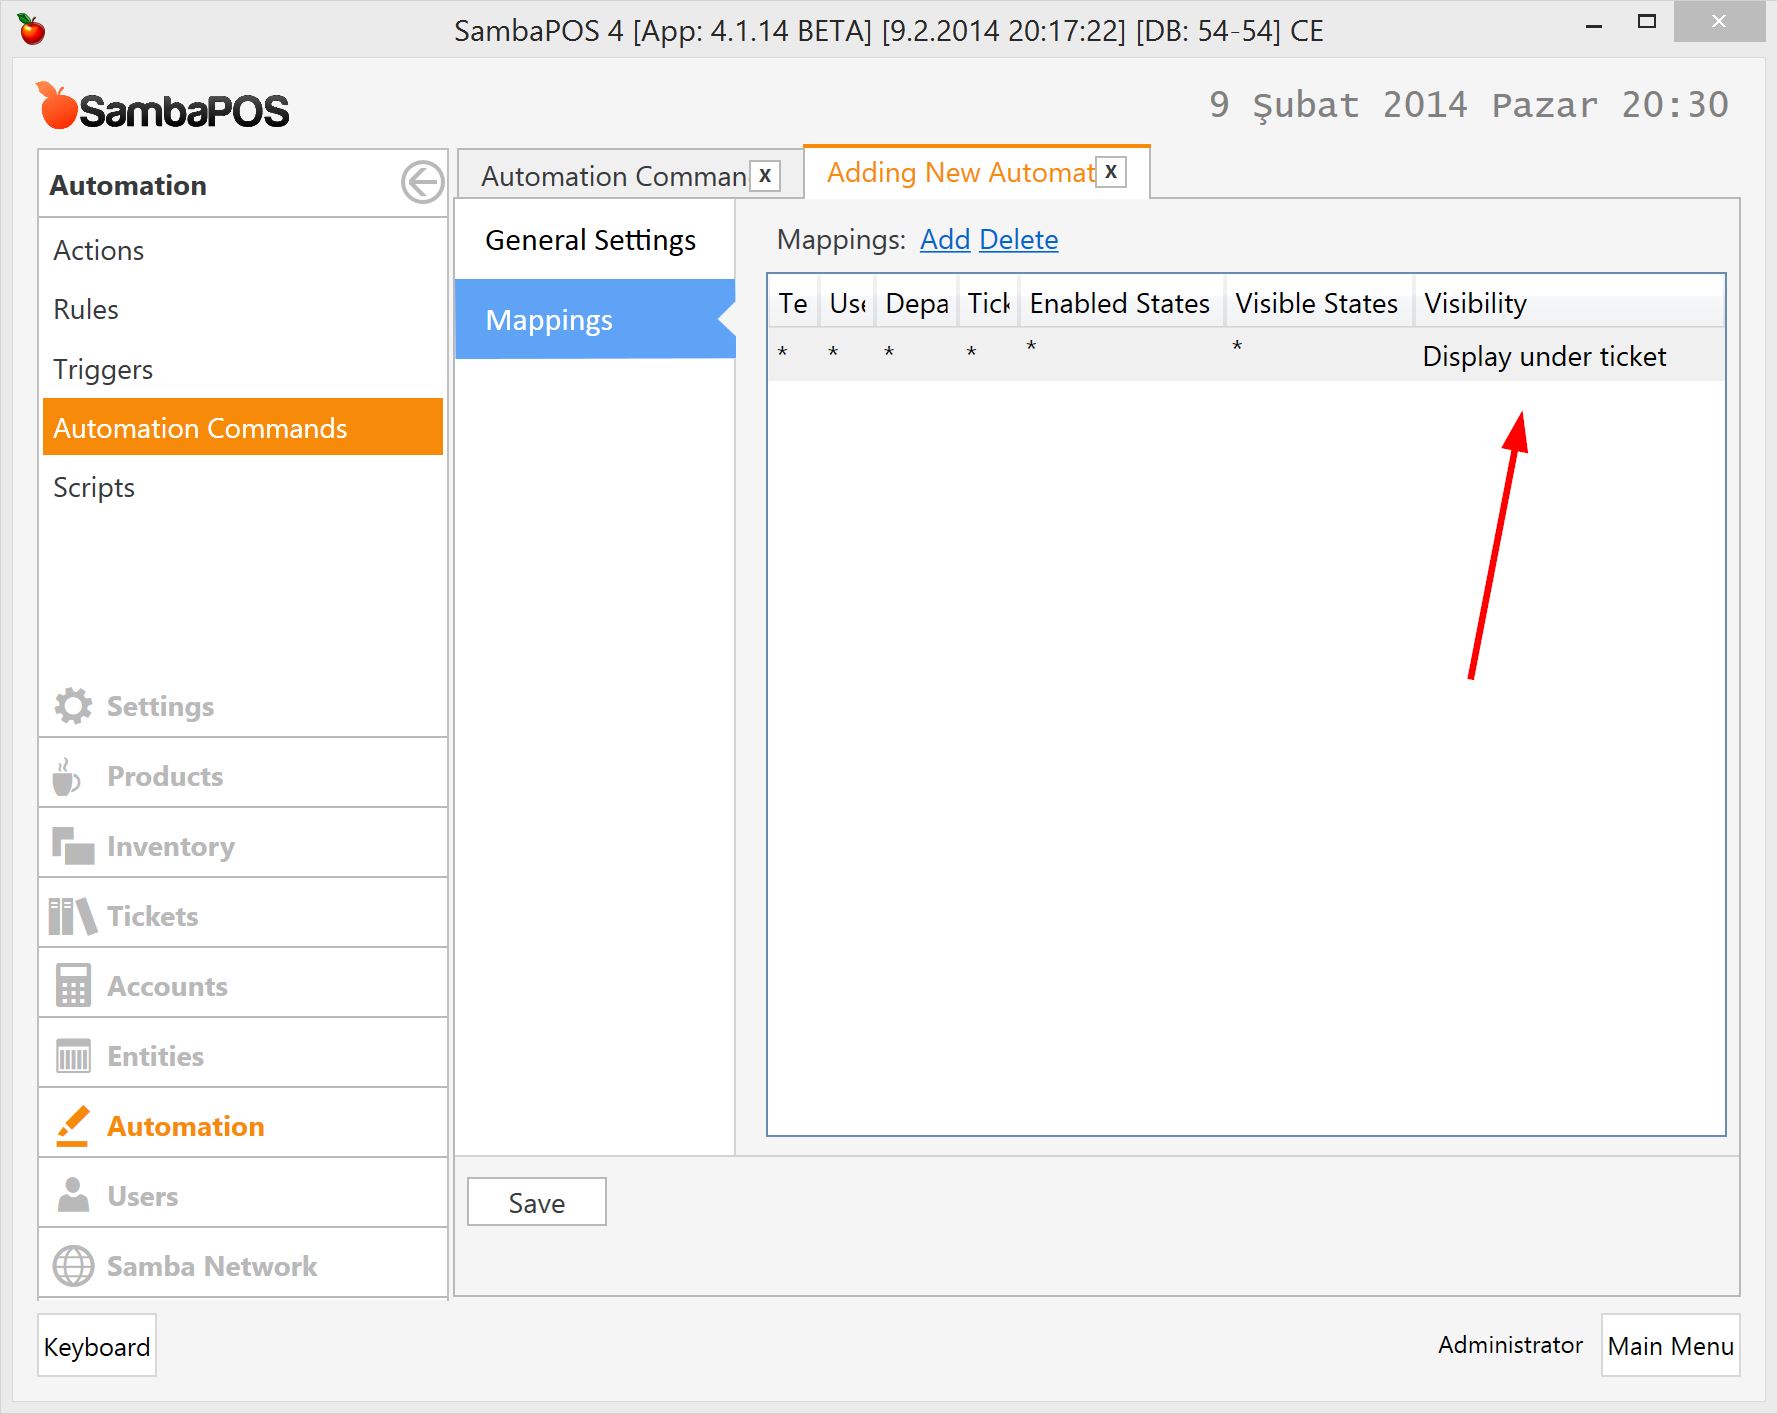
I’ll place this button under ticket. I’m switching to Mappings screen and create a mapping for this command
I need a rule to execute “Cash Payment” action when this command button clicked.
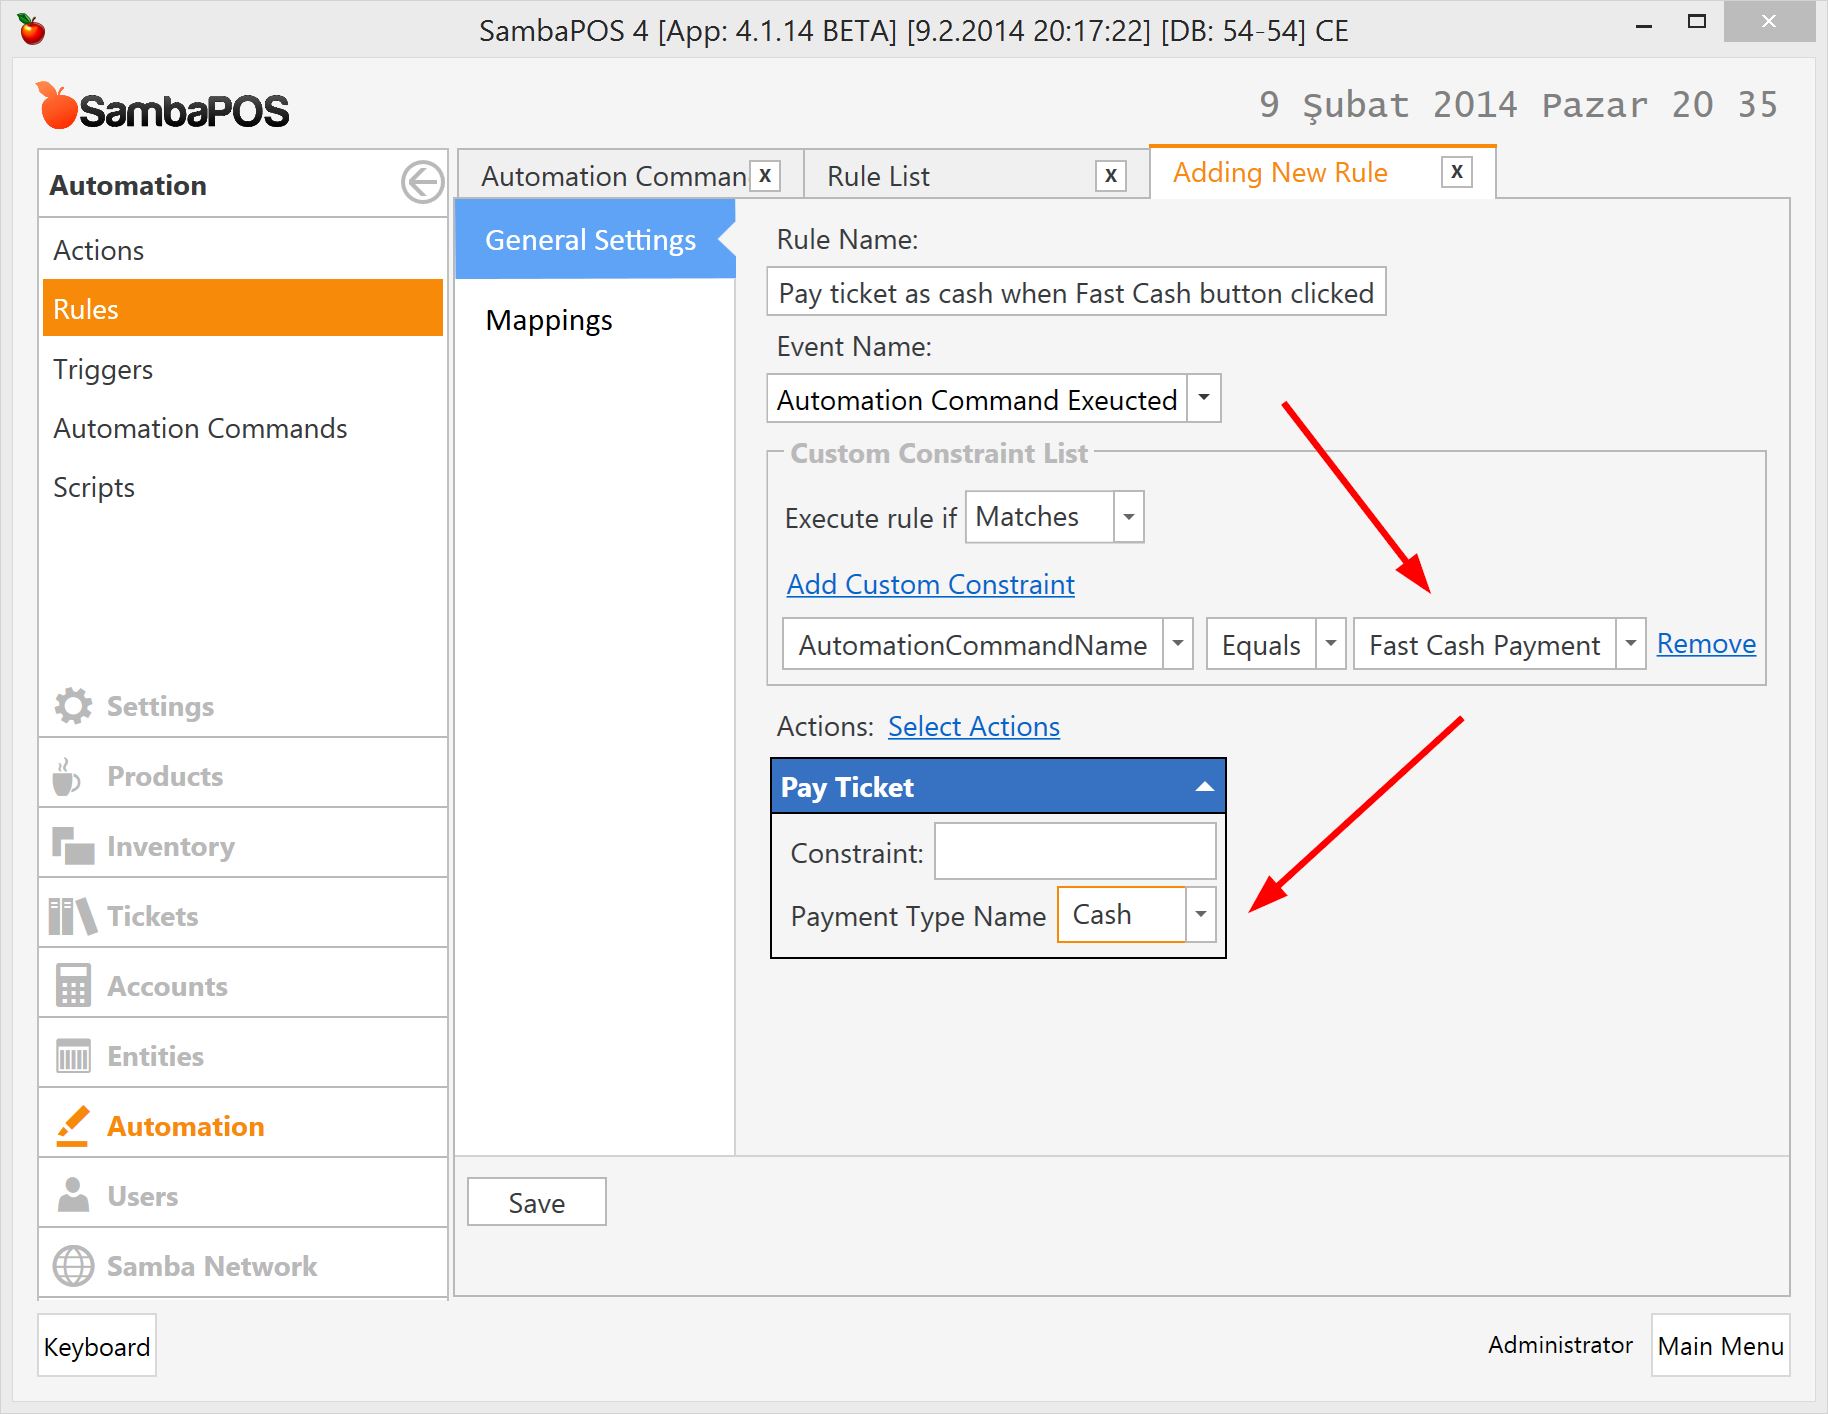
I’ve typed Cash value for Payment Type Name variable. This action will execute if Cash button clicked.
You can add more actions if you need. Generally we’re using Payment Processed rule for post - payment actions such as Print Ticket or Open Drawer. However if you need any custom behavior for Fast Cash Button you can also use this rule. For example you can add Close Ticket action if you want to close ticket automatically after payment.
I’ll continue with creating a mapping for rule.
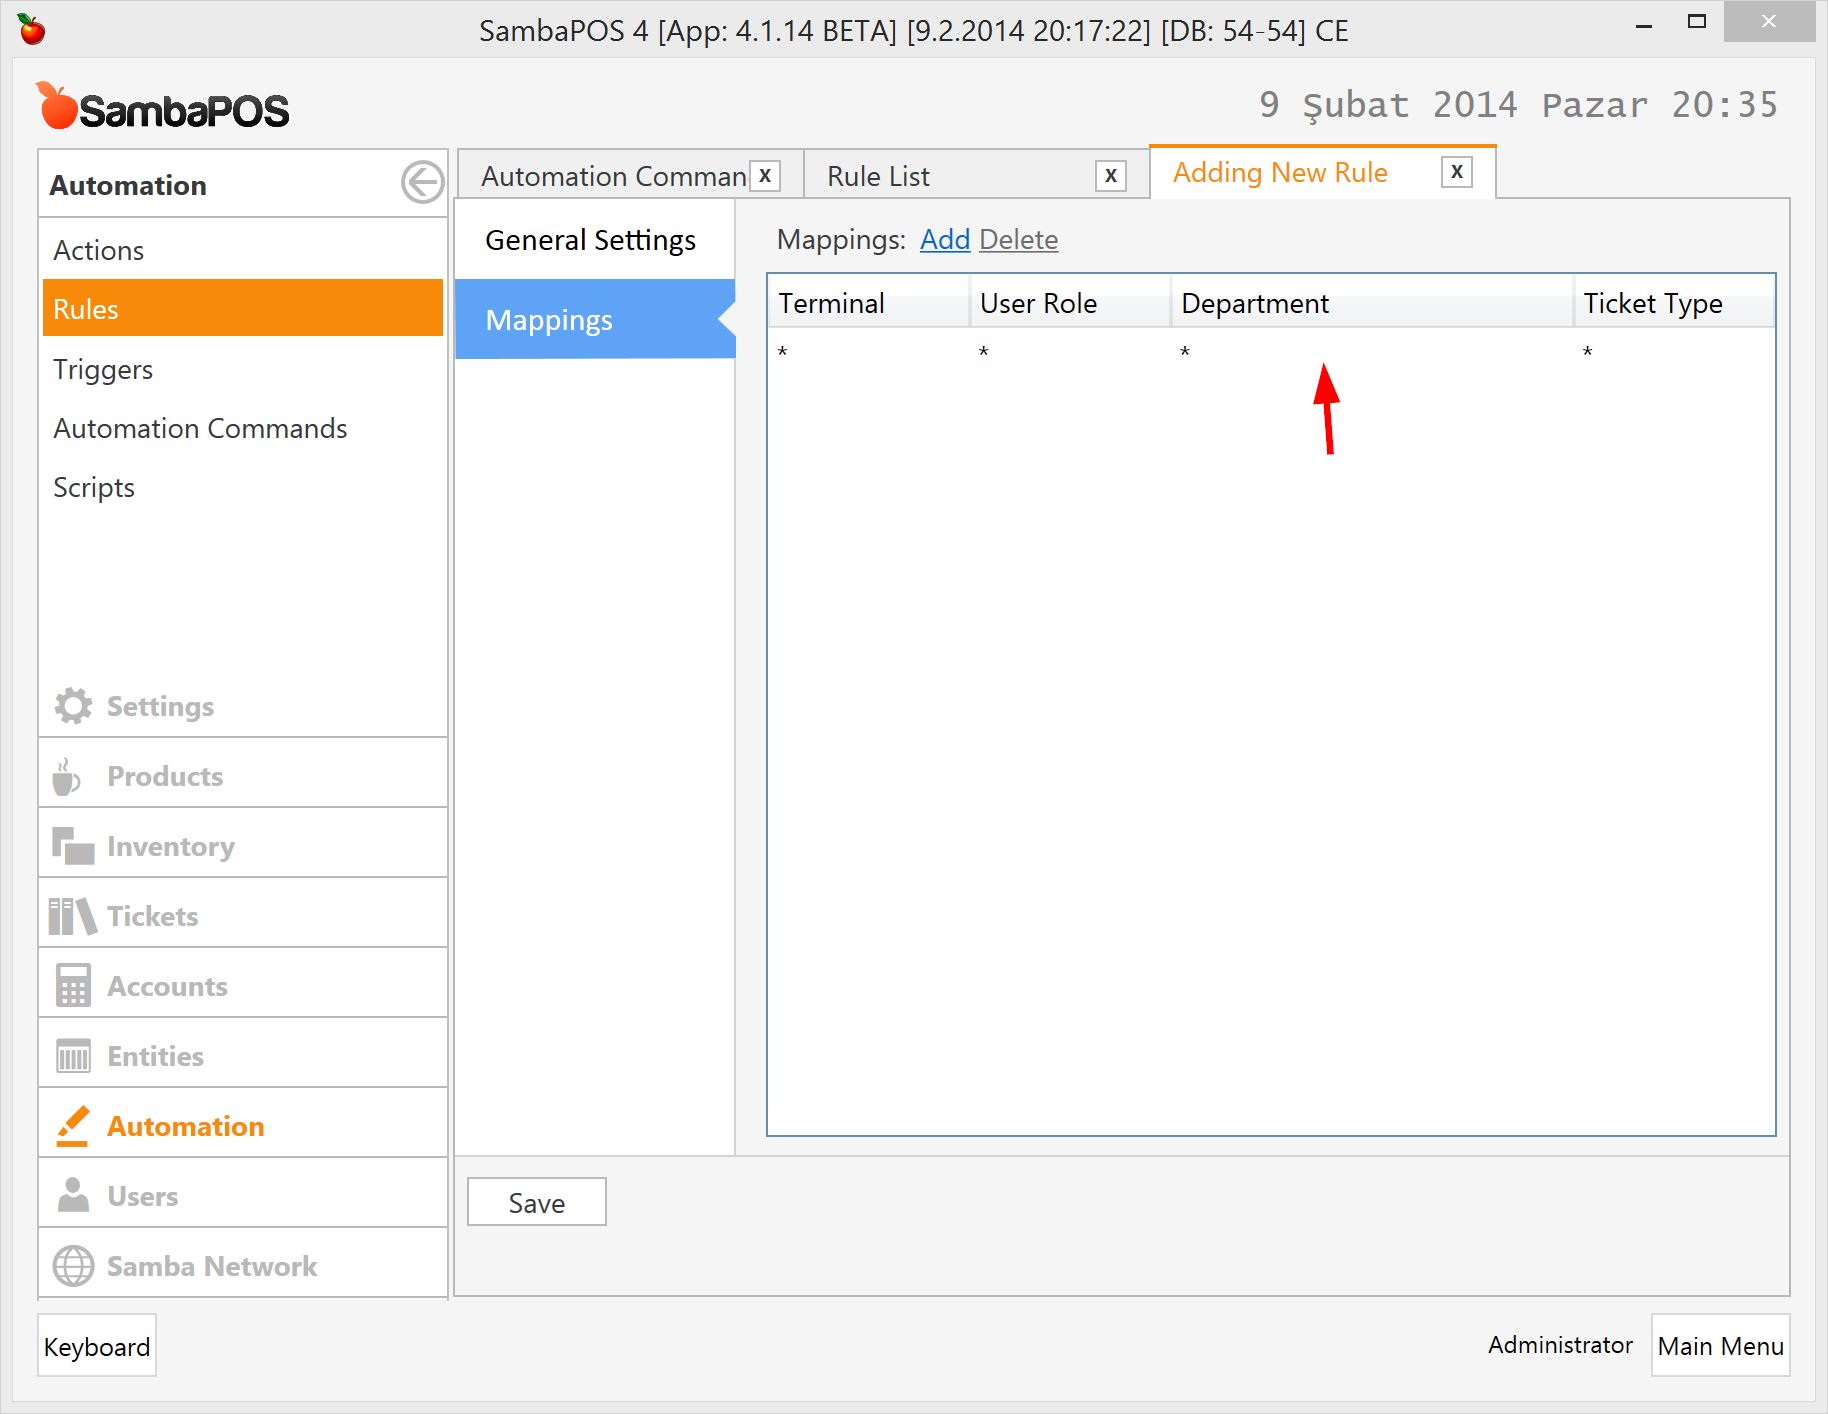
I can map this rule to a specific department to prevent unneeded executions. Just useful if you need different payment rules for specific departments.
###Credit Card Payment
I need another automation command button for Credit Card payment.
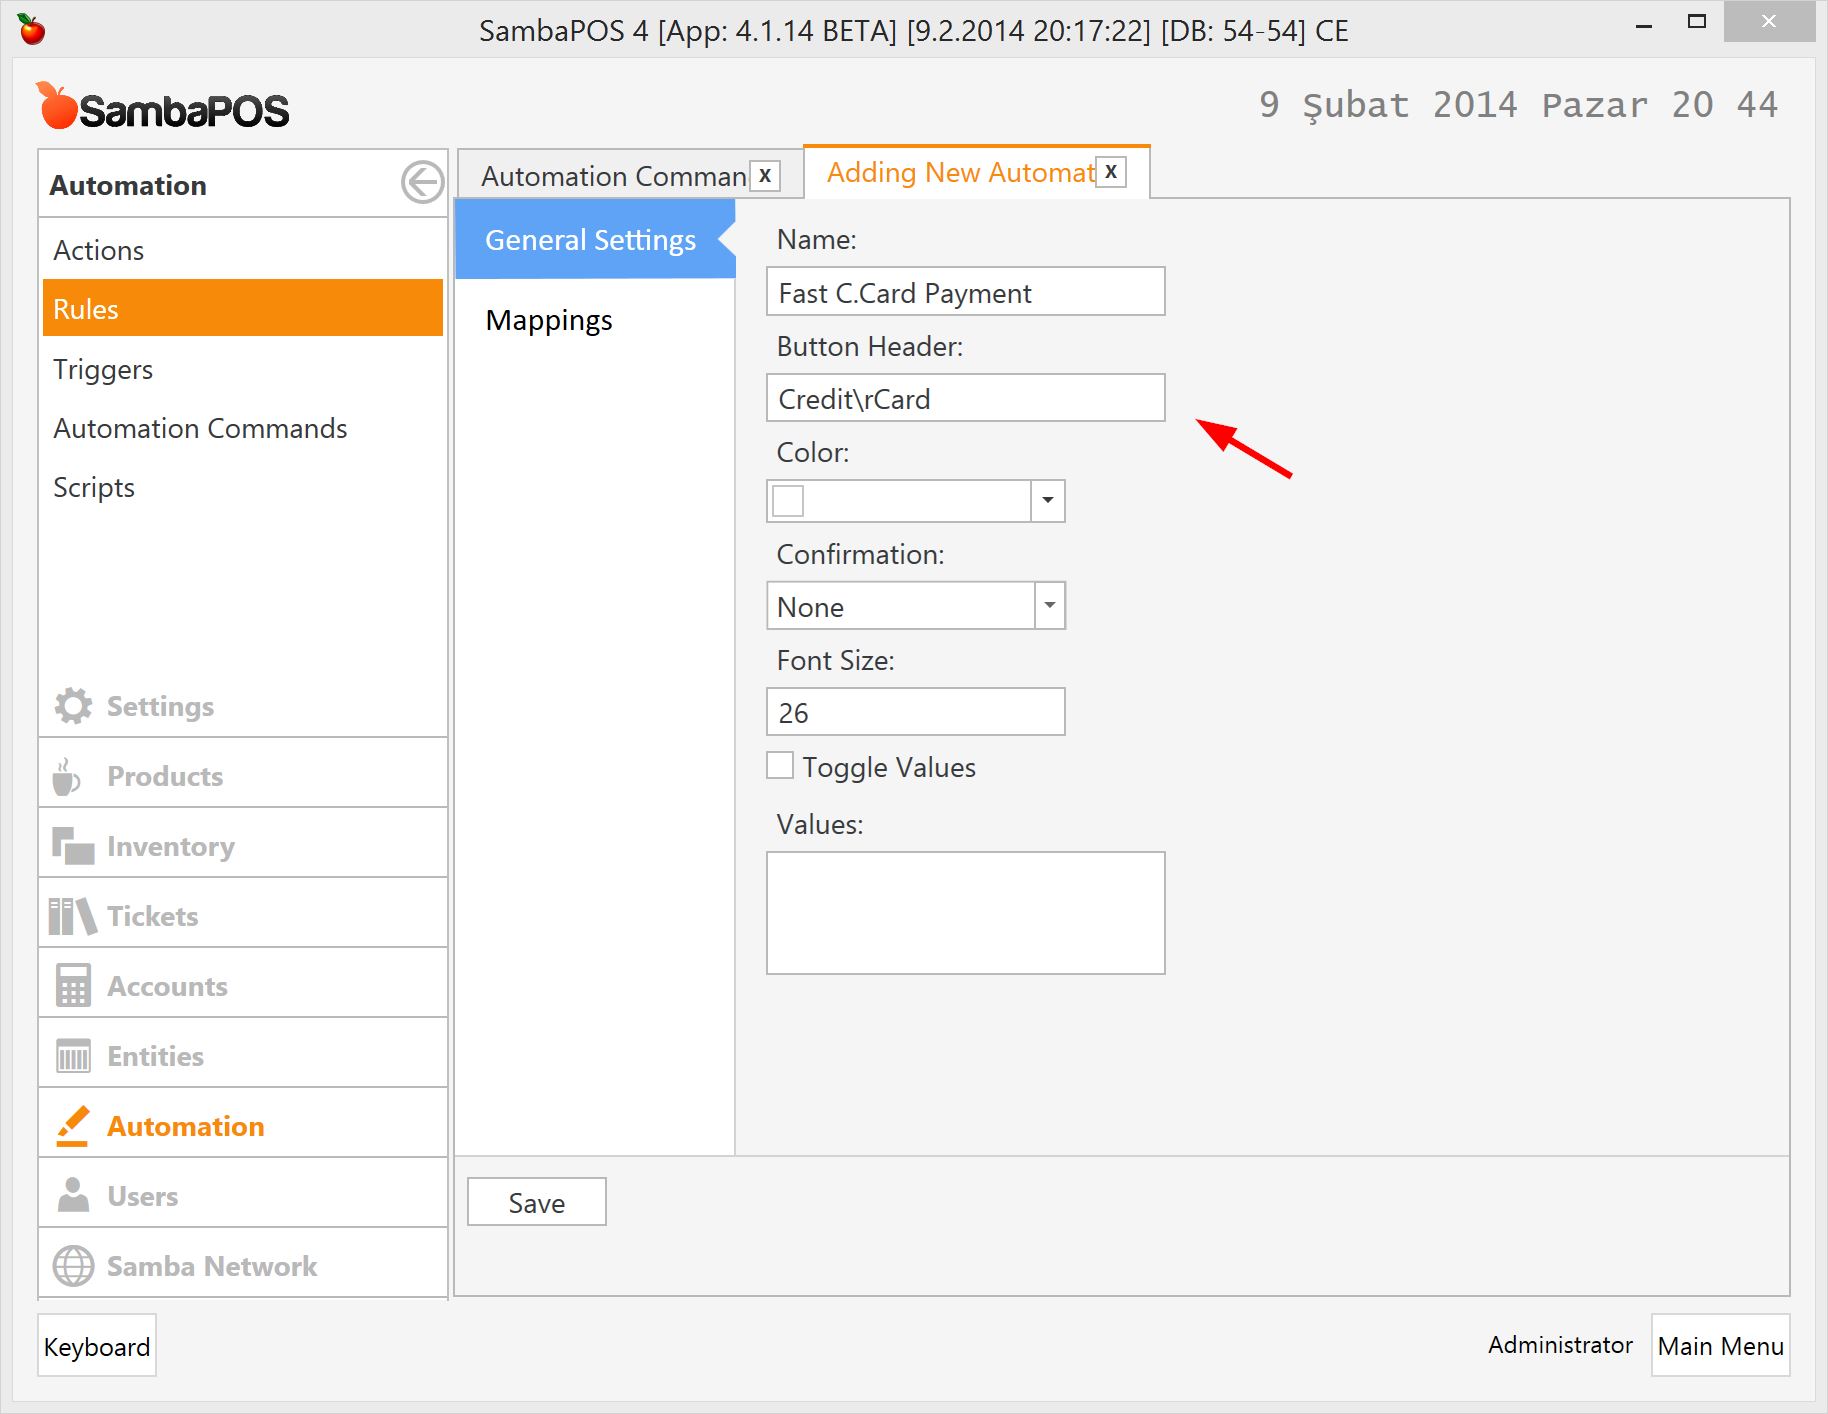
Please notice how I’ve used \r separator for wrapping button label. Now we’ll place this button under ticket.

To demonstrate different settings I’ll map this button to Row 2 region. We’ll see how it works.
After saving it we’ll create rule for this button.
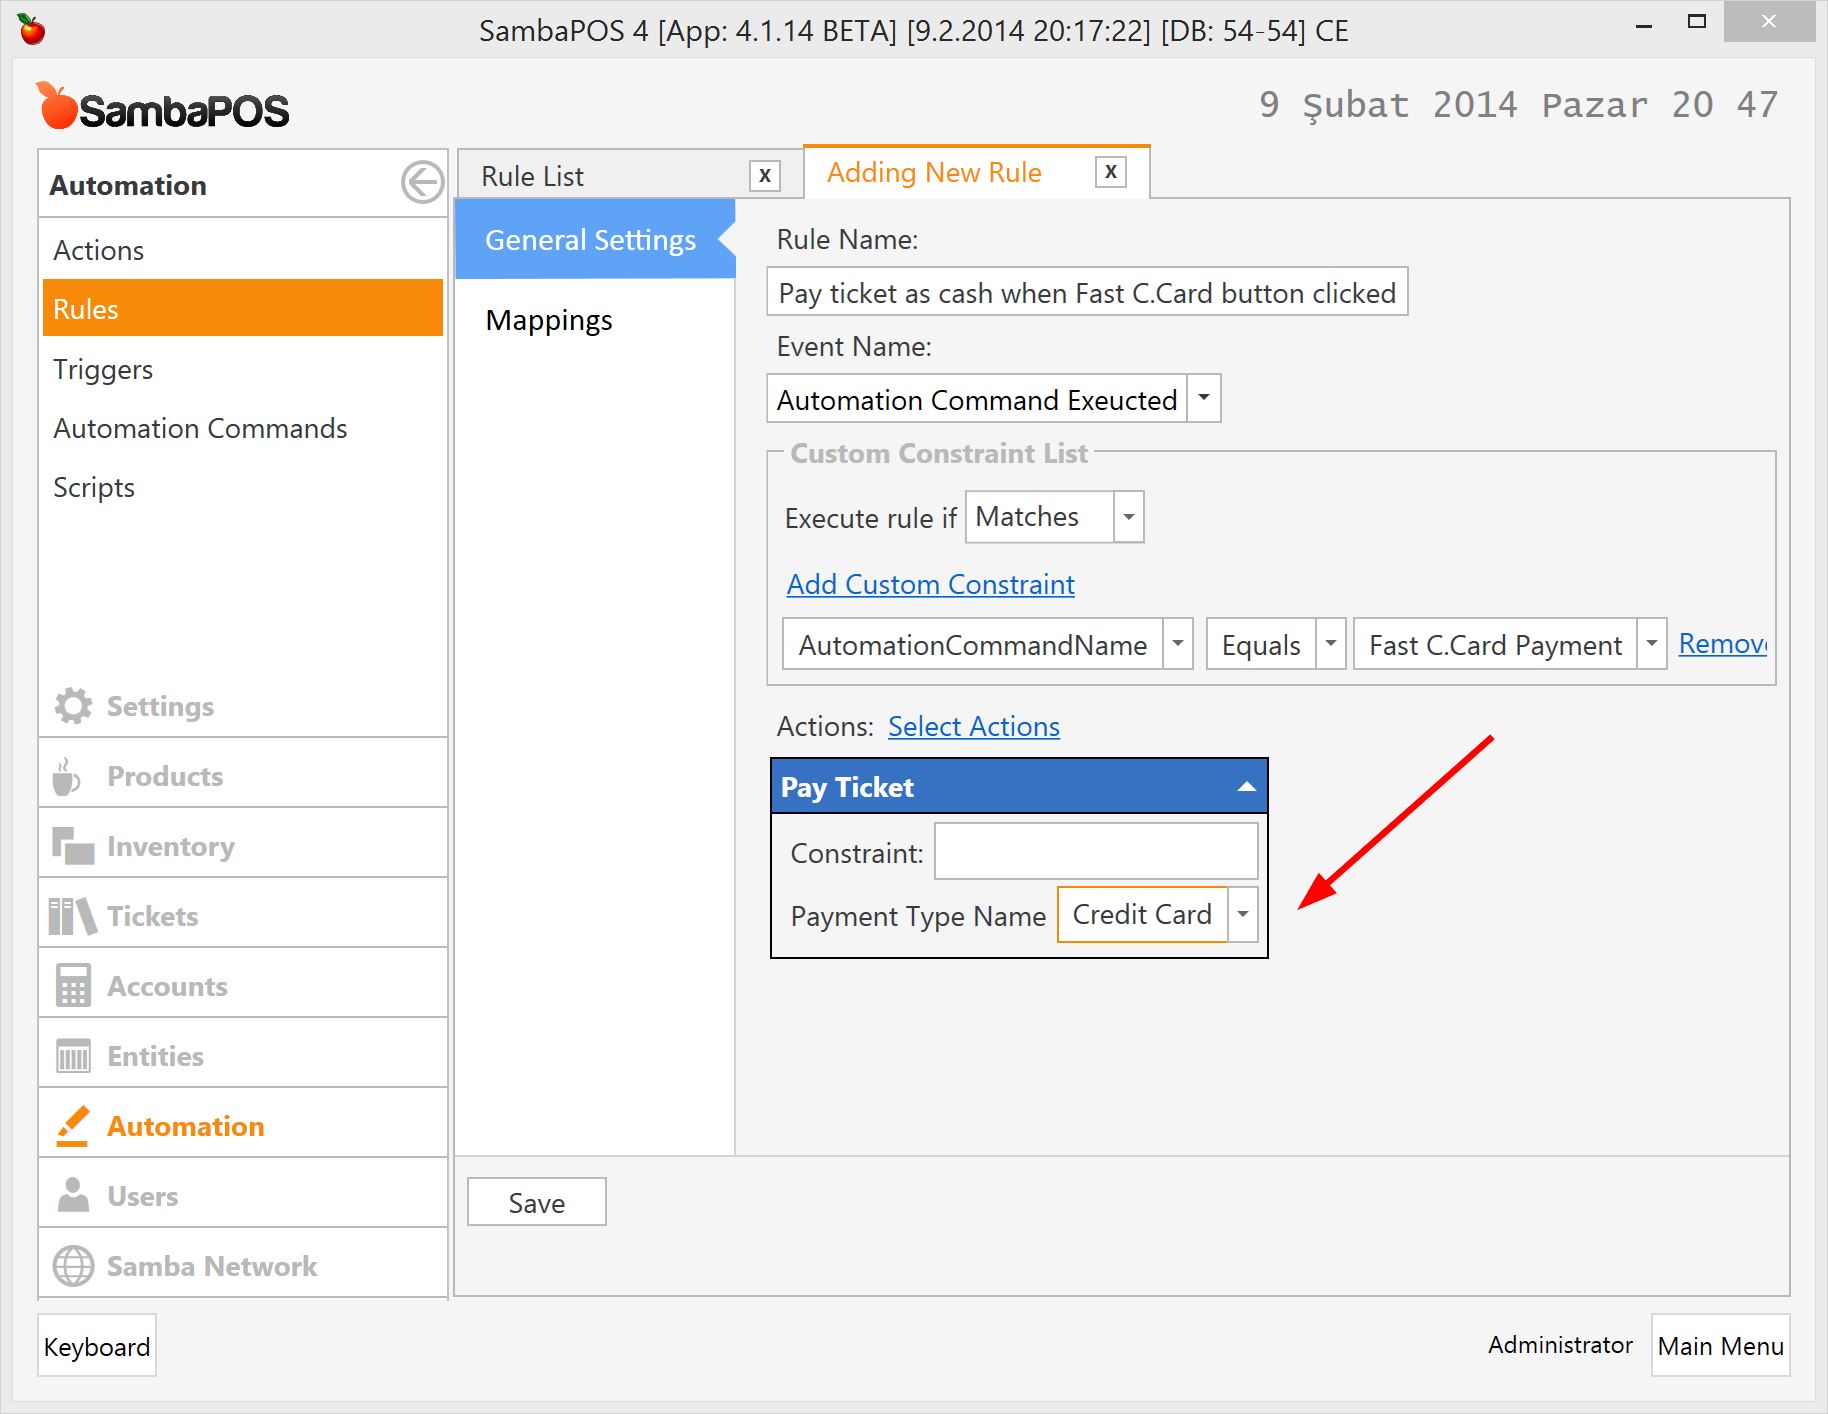
I’ve entered Credit Card as Payment Type Name. This action will work when I click Credit Card button.
Finally I’ll map this rule to default department.

###Demo
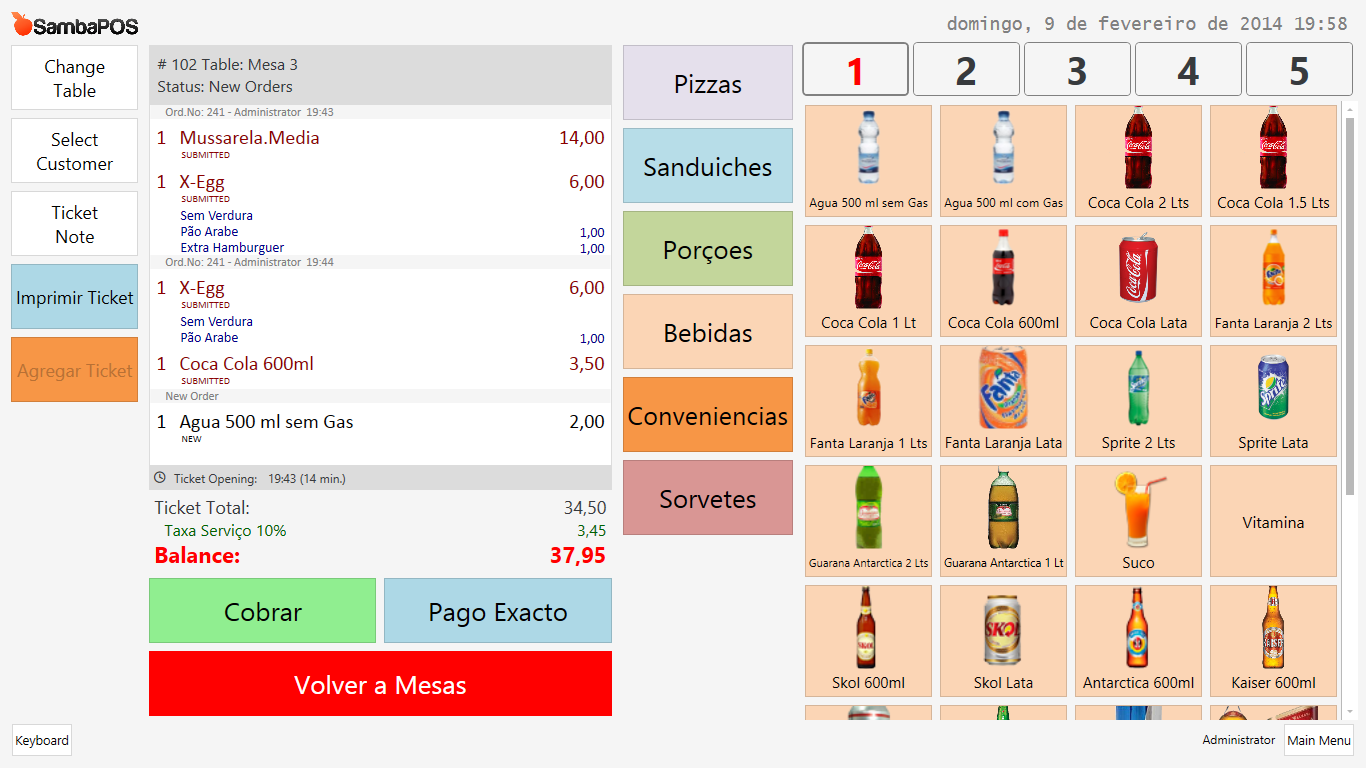
Let’s see how it works.

We have two additional buttons under ticket but it looks a little wrong. I want to place cash button between Settle and Close buttons. To be able to do this I need to change sort order of Automation Commands.
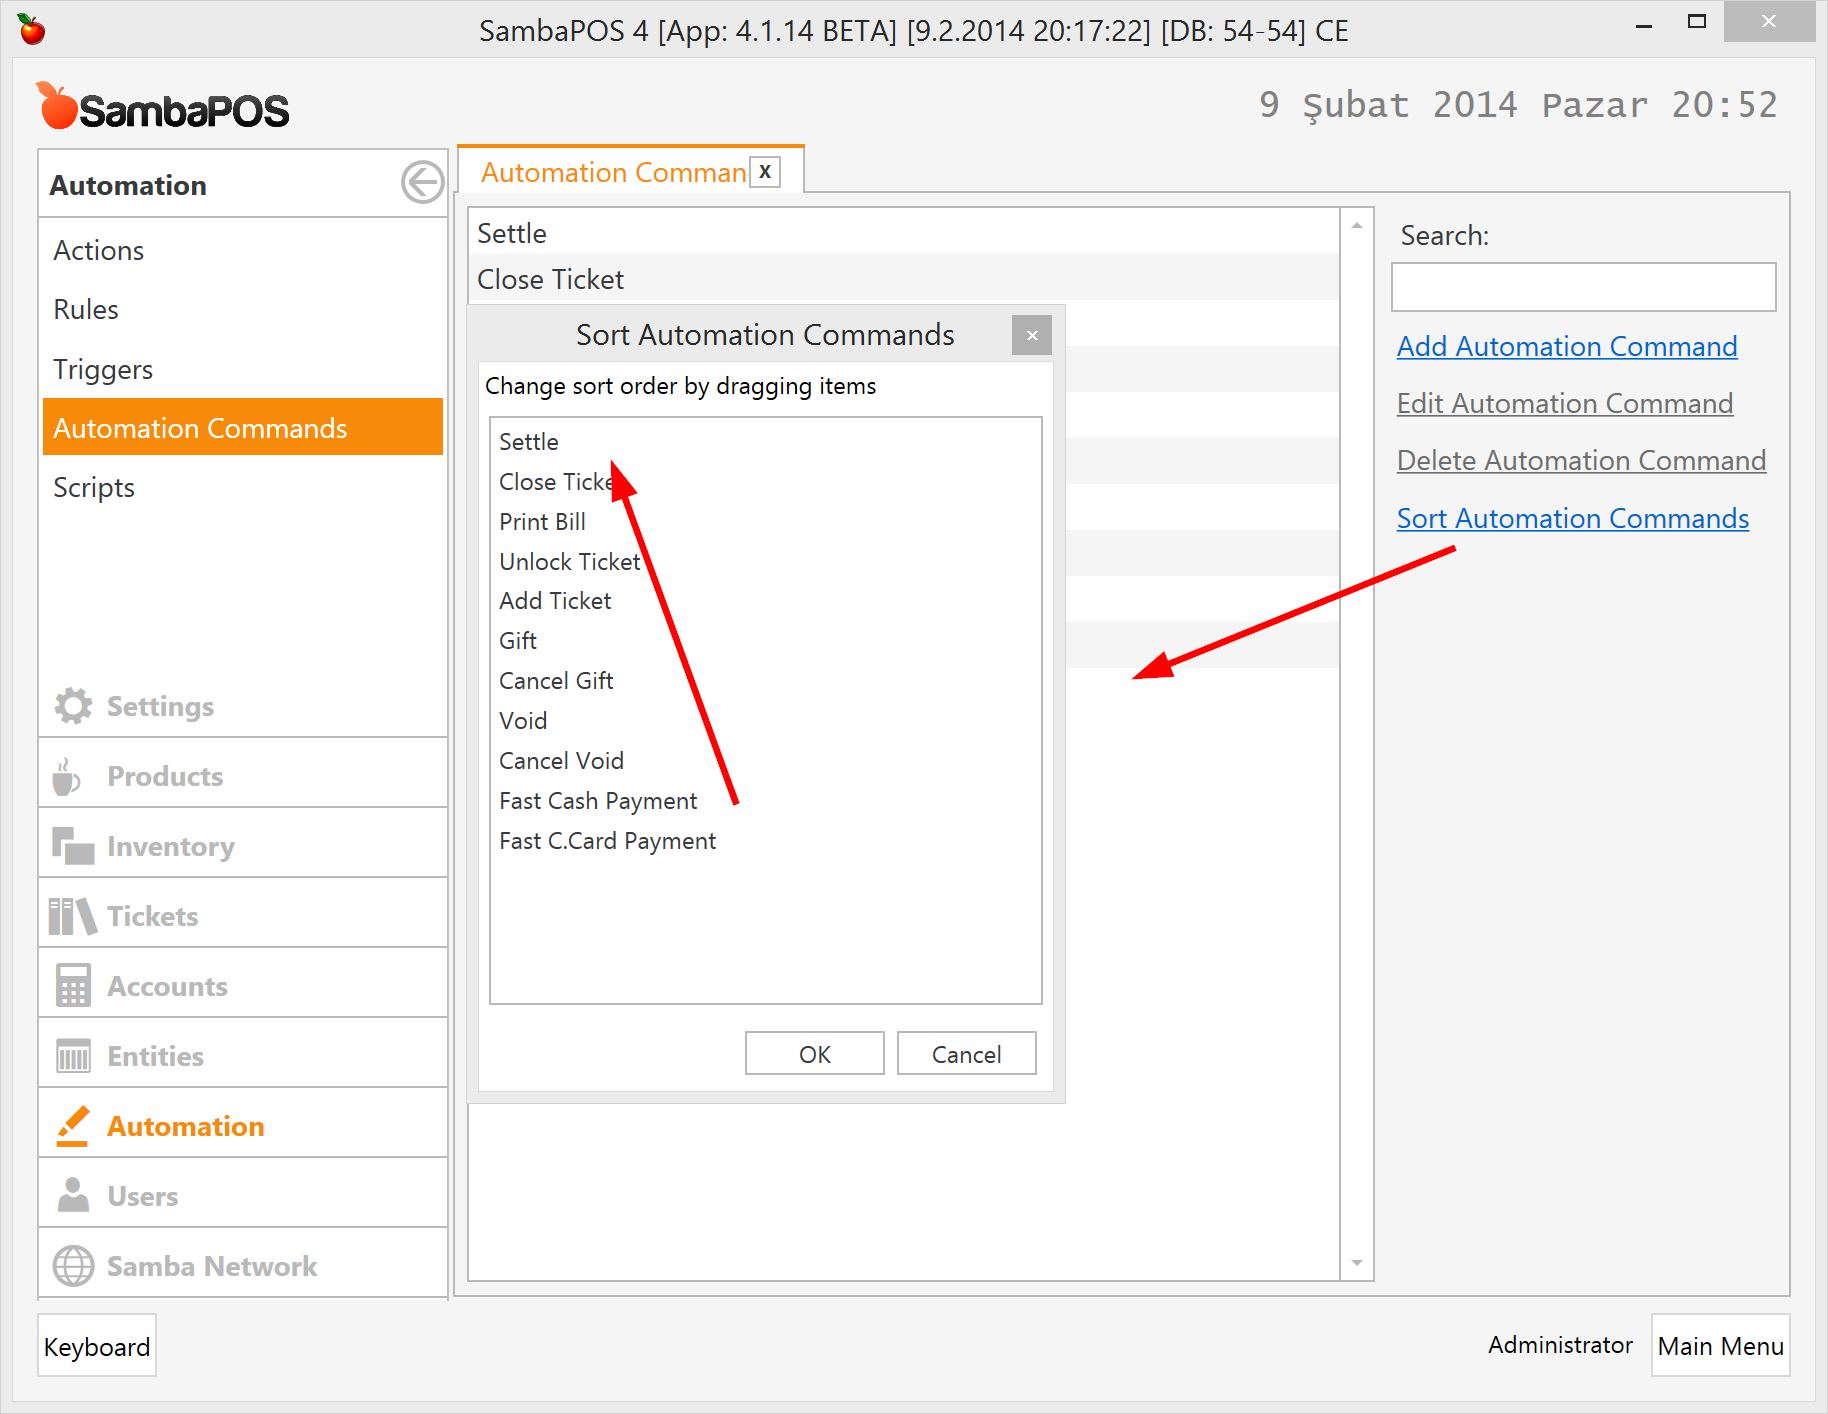
After clicking Sort Automation Commands link I’ll drag and drop Fast Cash Payment button between settle and close buttons.
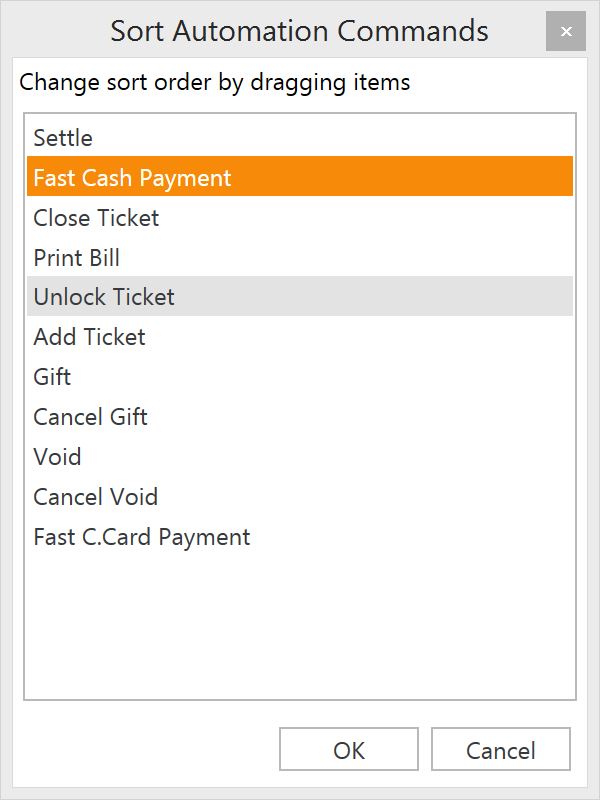
It should appear like this.
Now switch to POS screen.

I can click Cash button for immediately closing ticket with cash. You may want to ask for confirmation when Cash button clicked. Read [New 4.1.9] Asking Admin PIN for operations tutorial for more info.