In this tutorial I’ll show you how to create a custom entity screen that displays google maps to display servicing routes.
How it works.
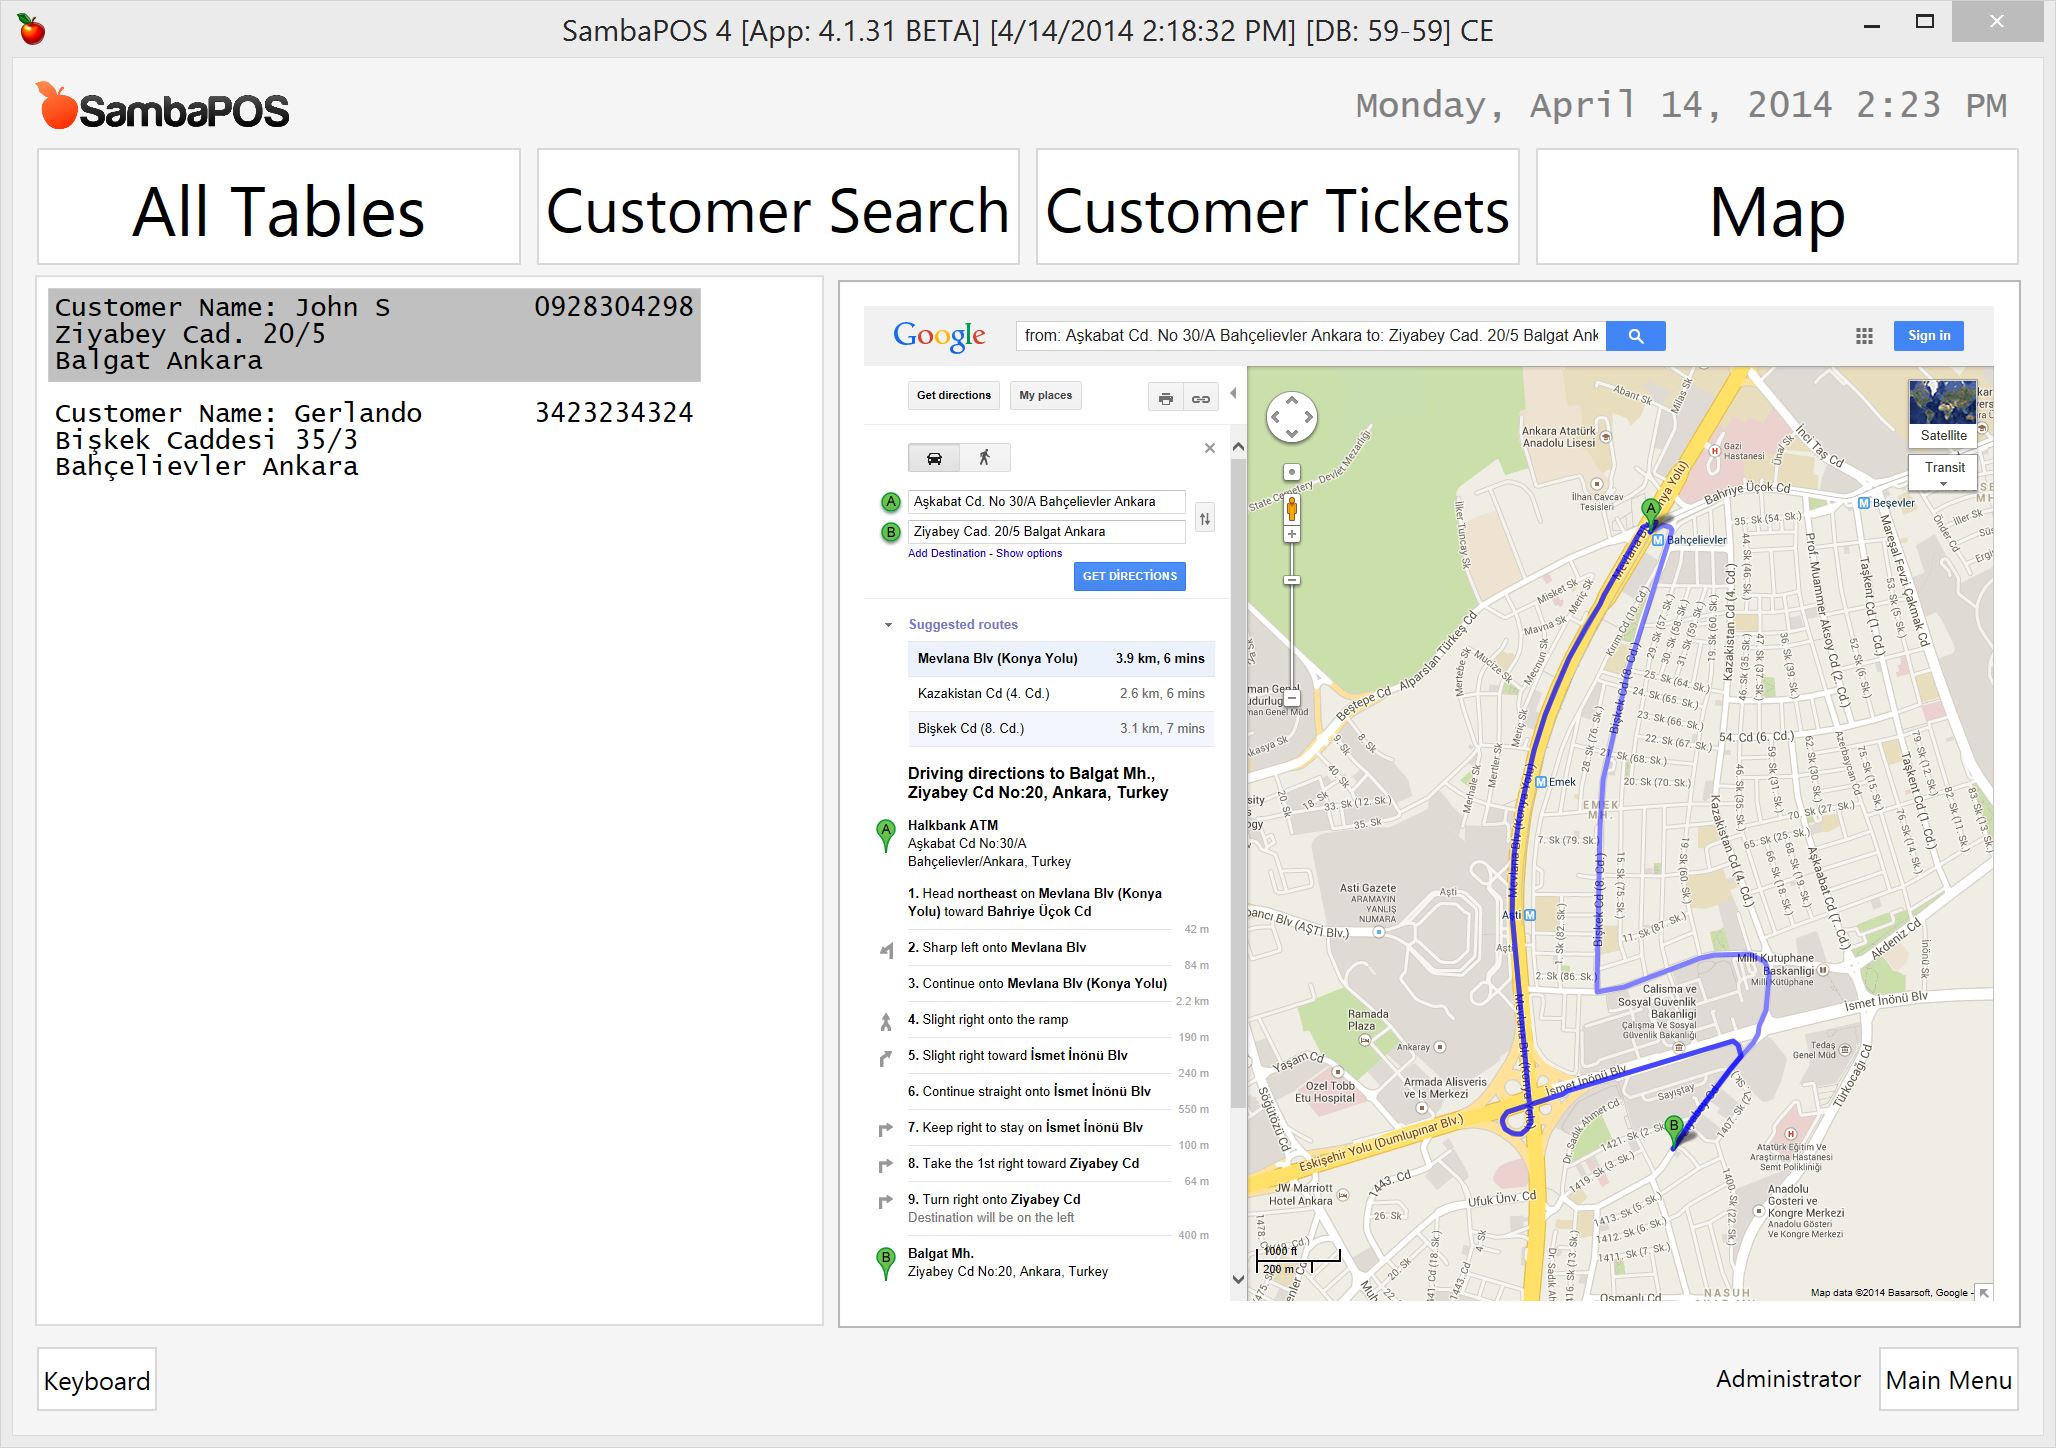
When we click on tickets we’ll see a google maps route from our restaurant to customers location.
##Database Tools Module Import File
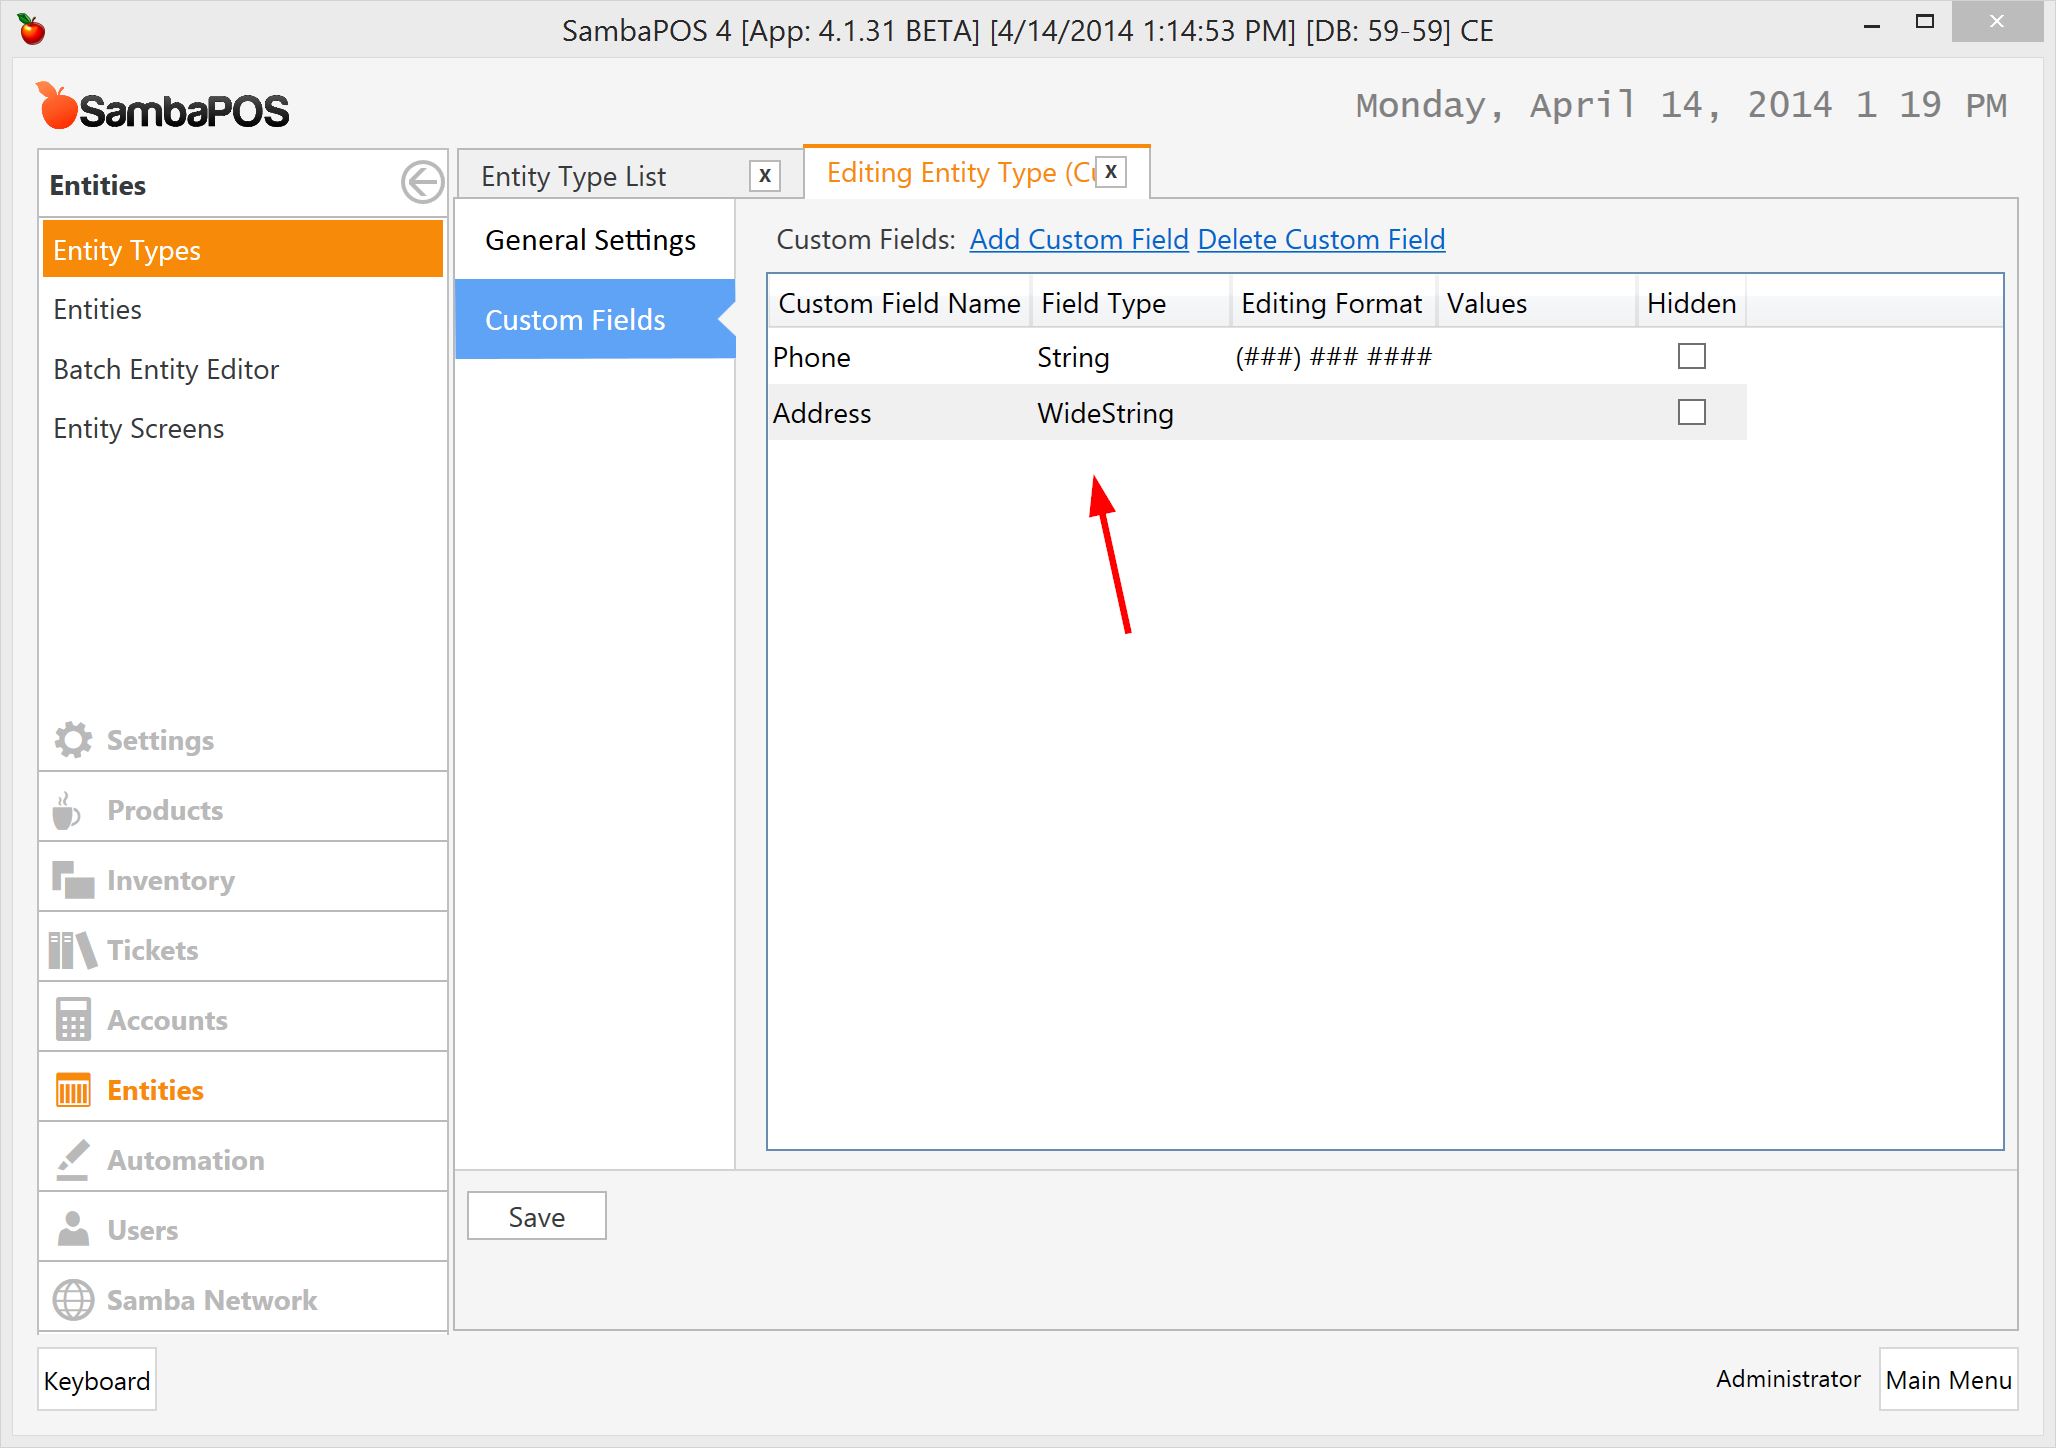
If you don’t already have Address field for Customers create it before importing file.
GoogleMaps.zip (1.2 KB)
You’ll need to update Ticket Lister Widget Settings to enter your Restaurants address. You can find more info at the end of the tutorial.
##Implementation
First of all if you didn’t add it before we need to add an Address field for Customers.
I’ll add a new Entity Screen Called Map and select Custom as View Mode.

Entity Type will be Customers
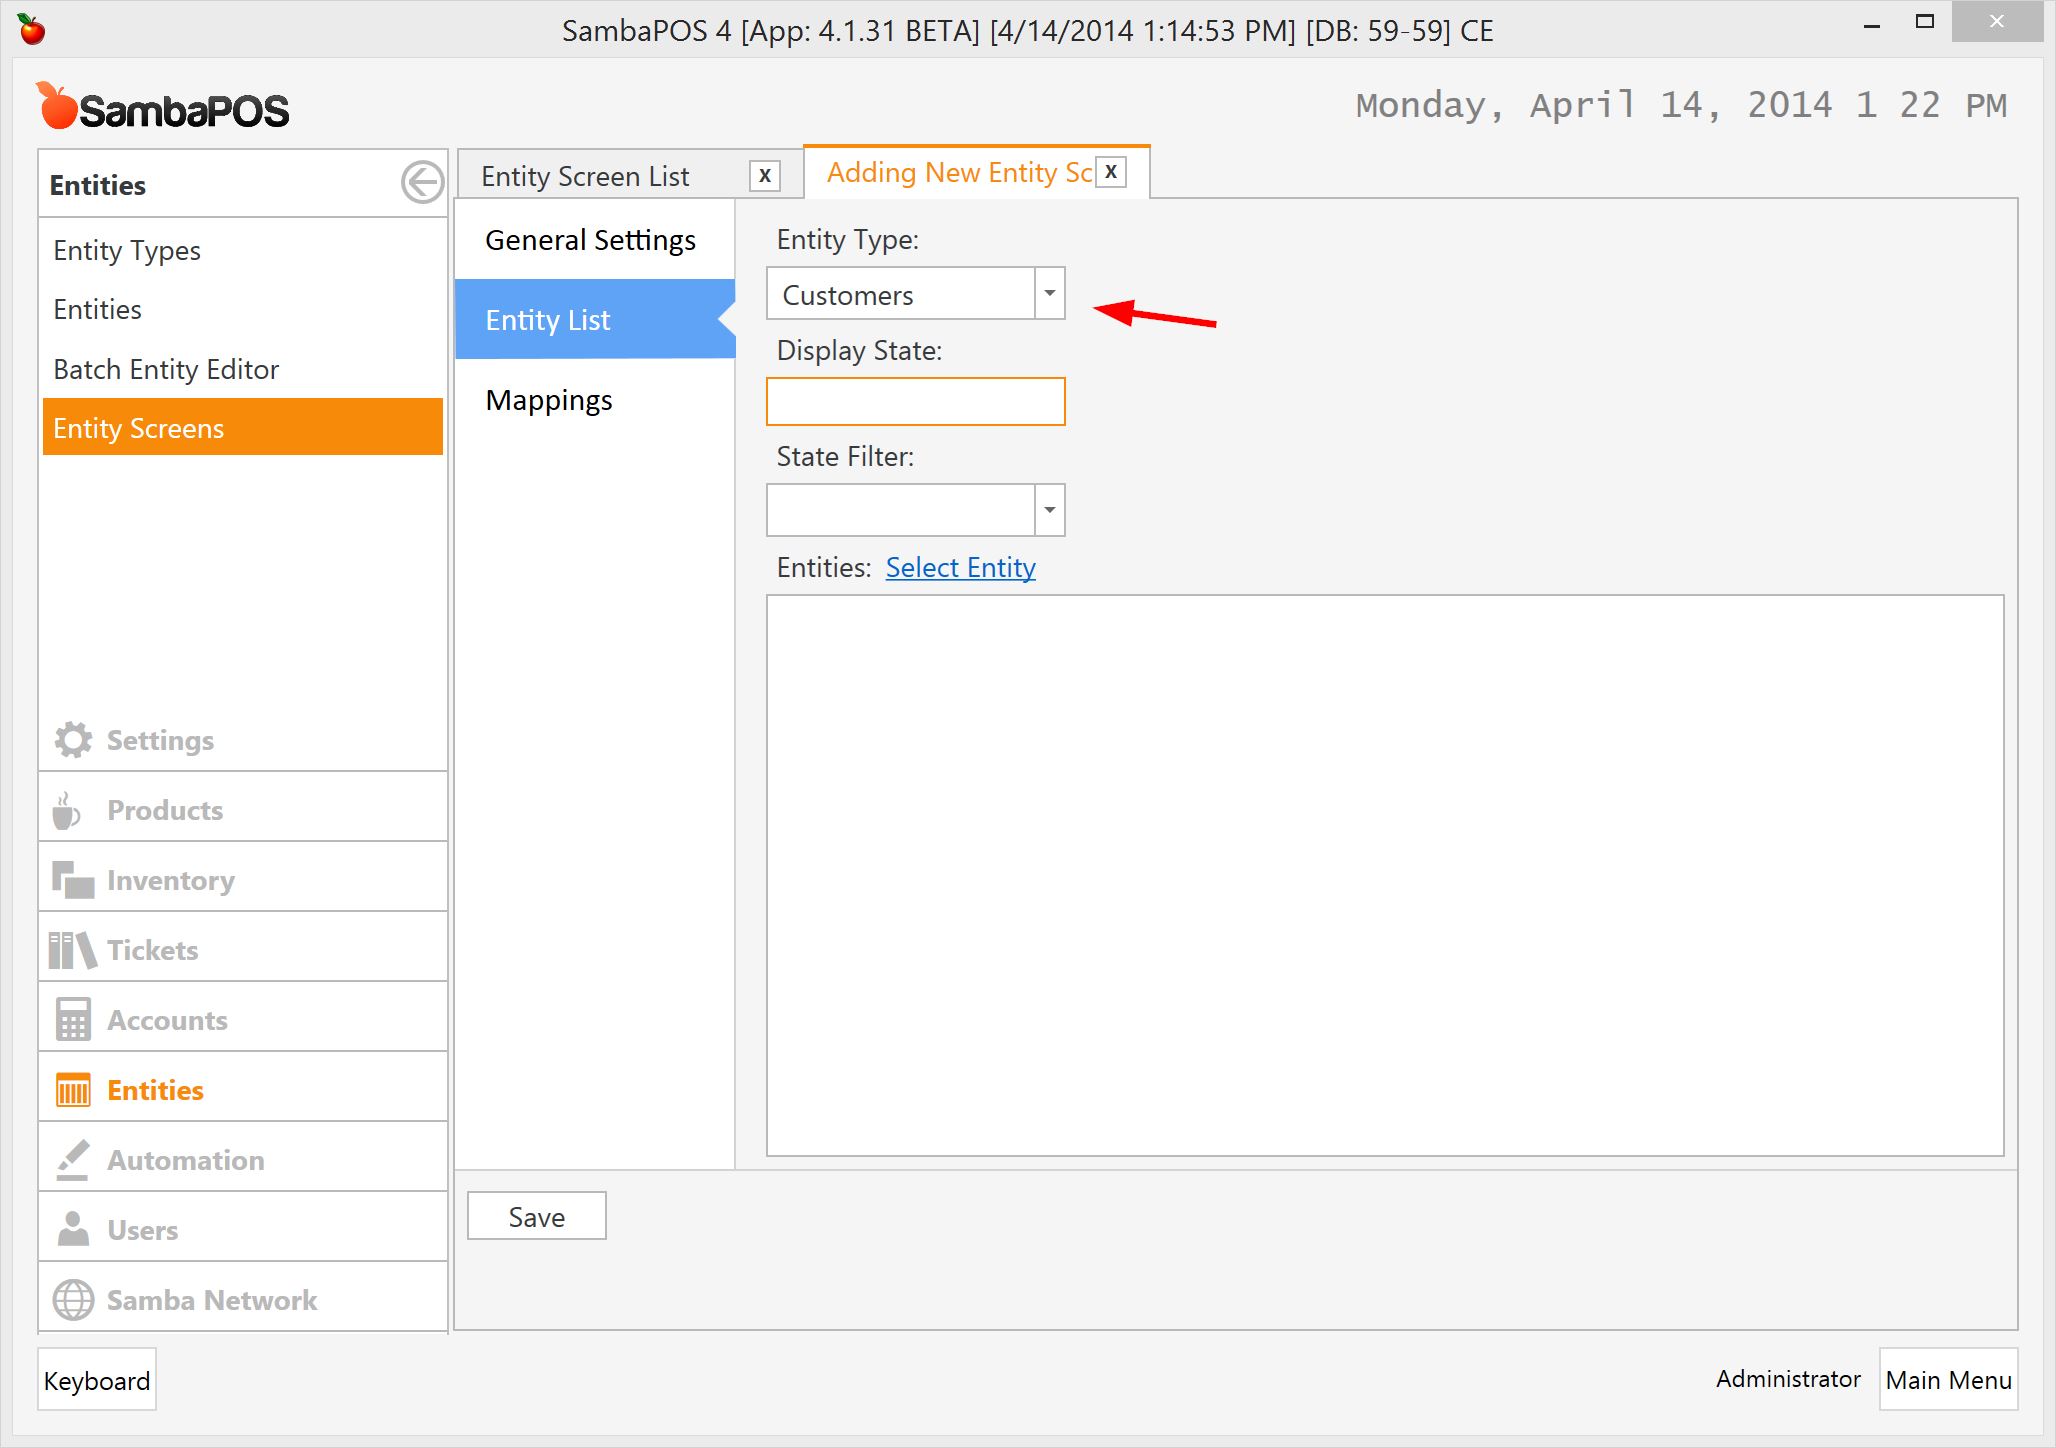
… and I’ll add default mapping.
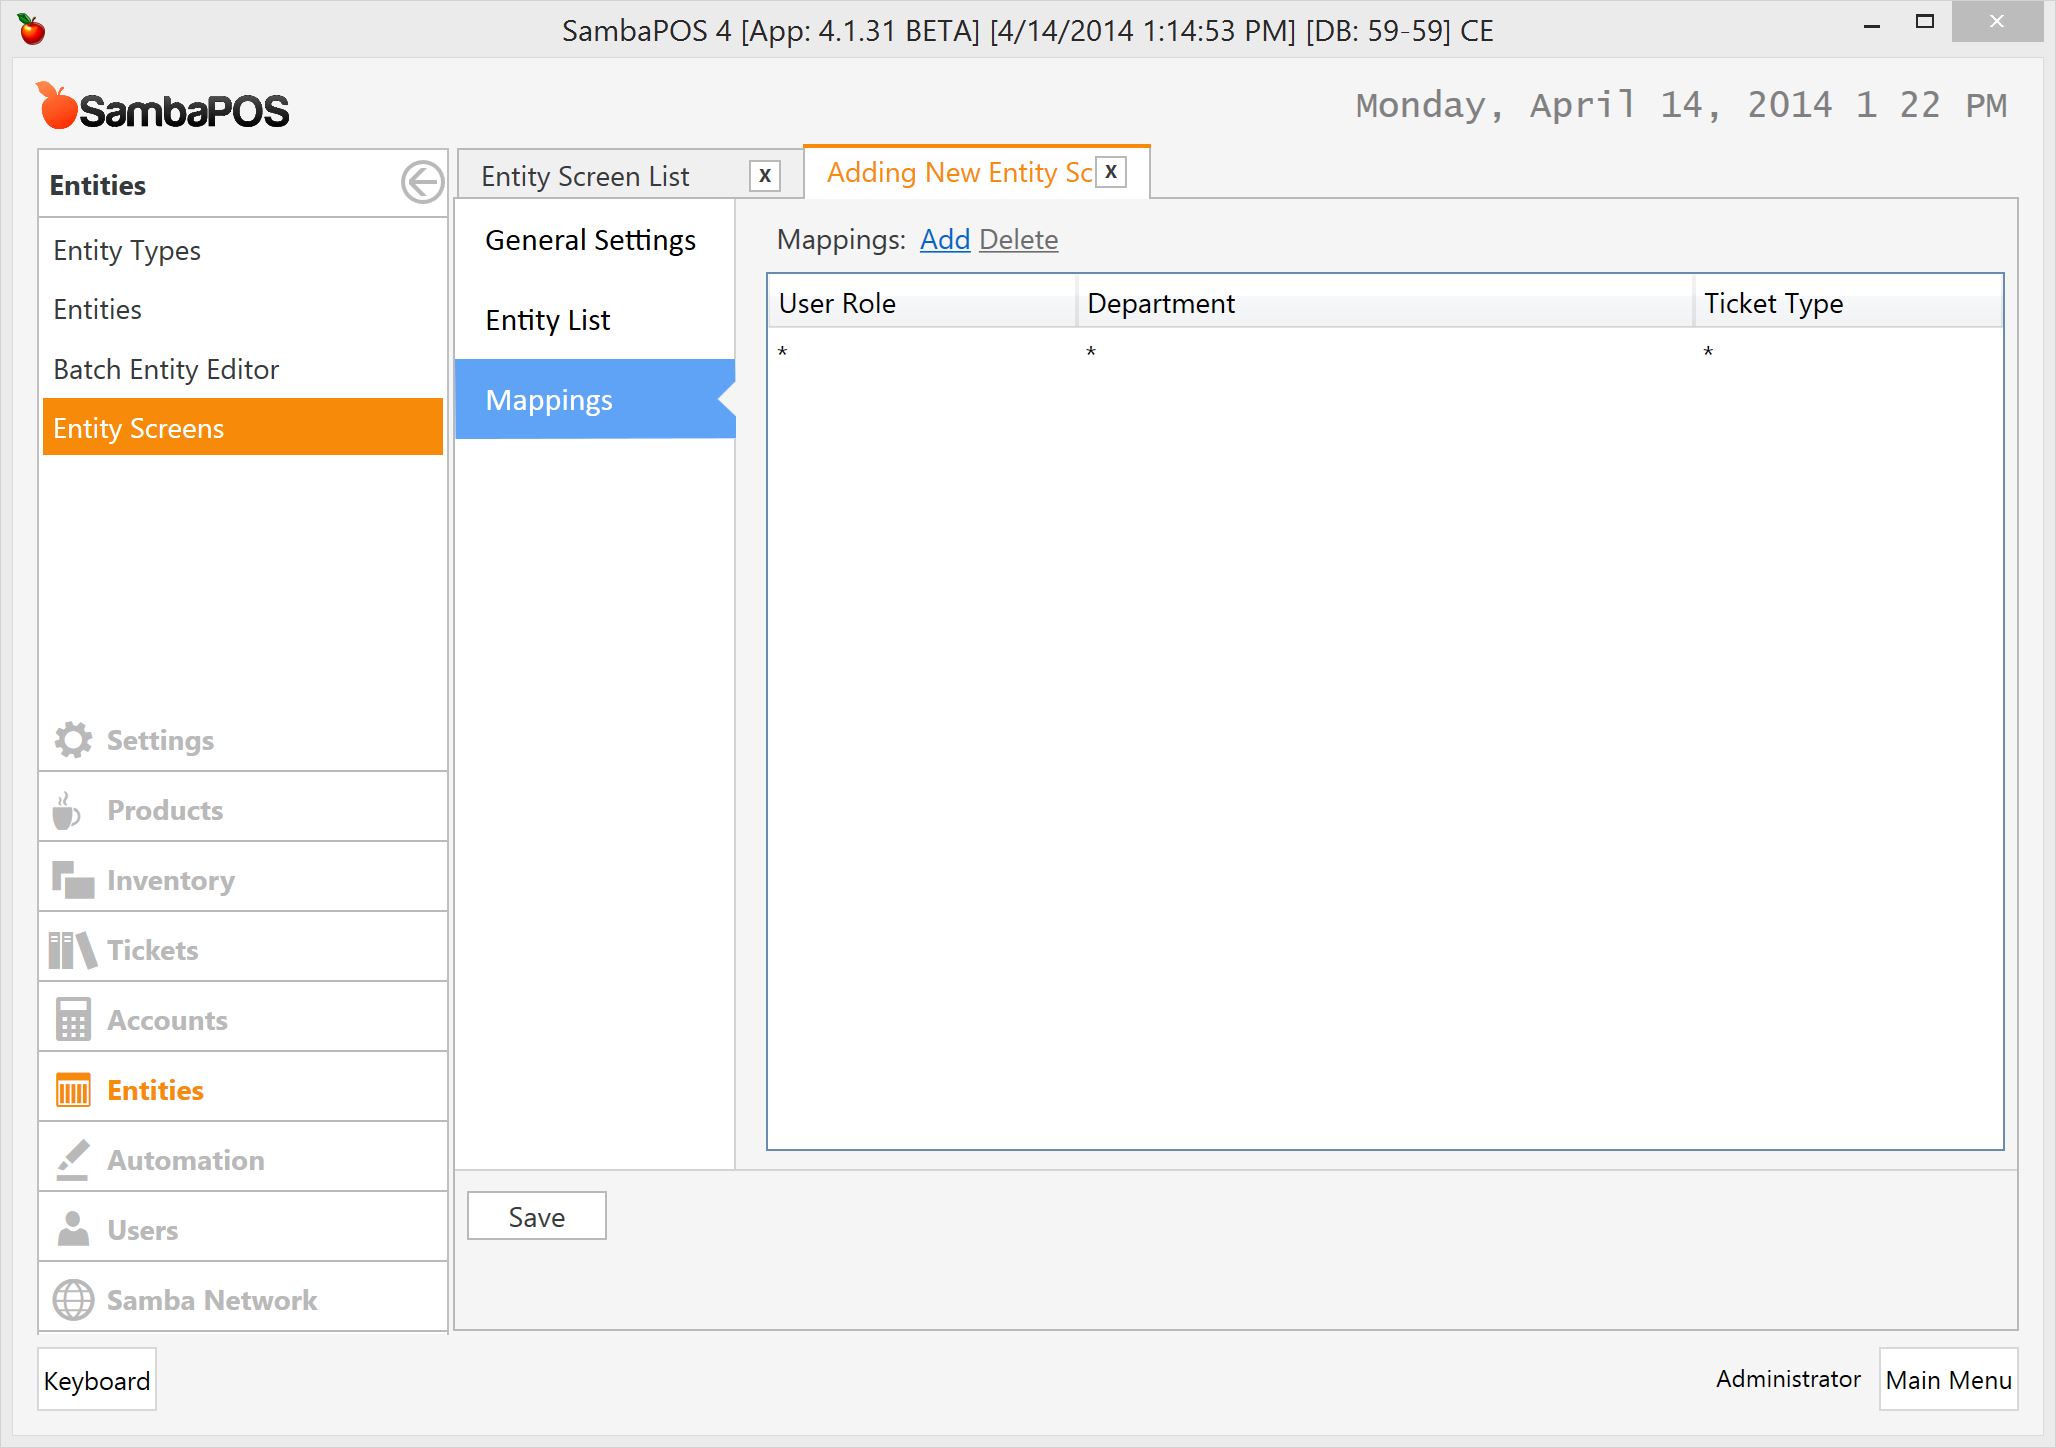
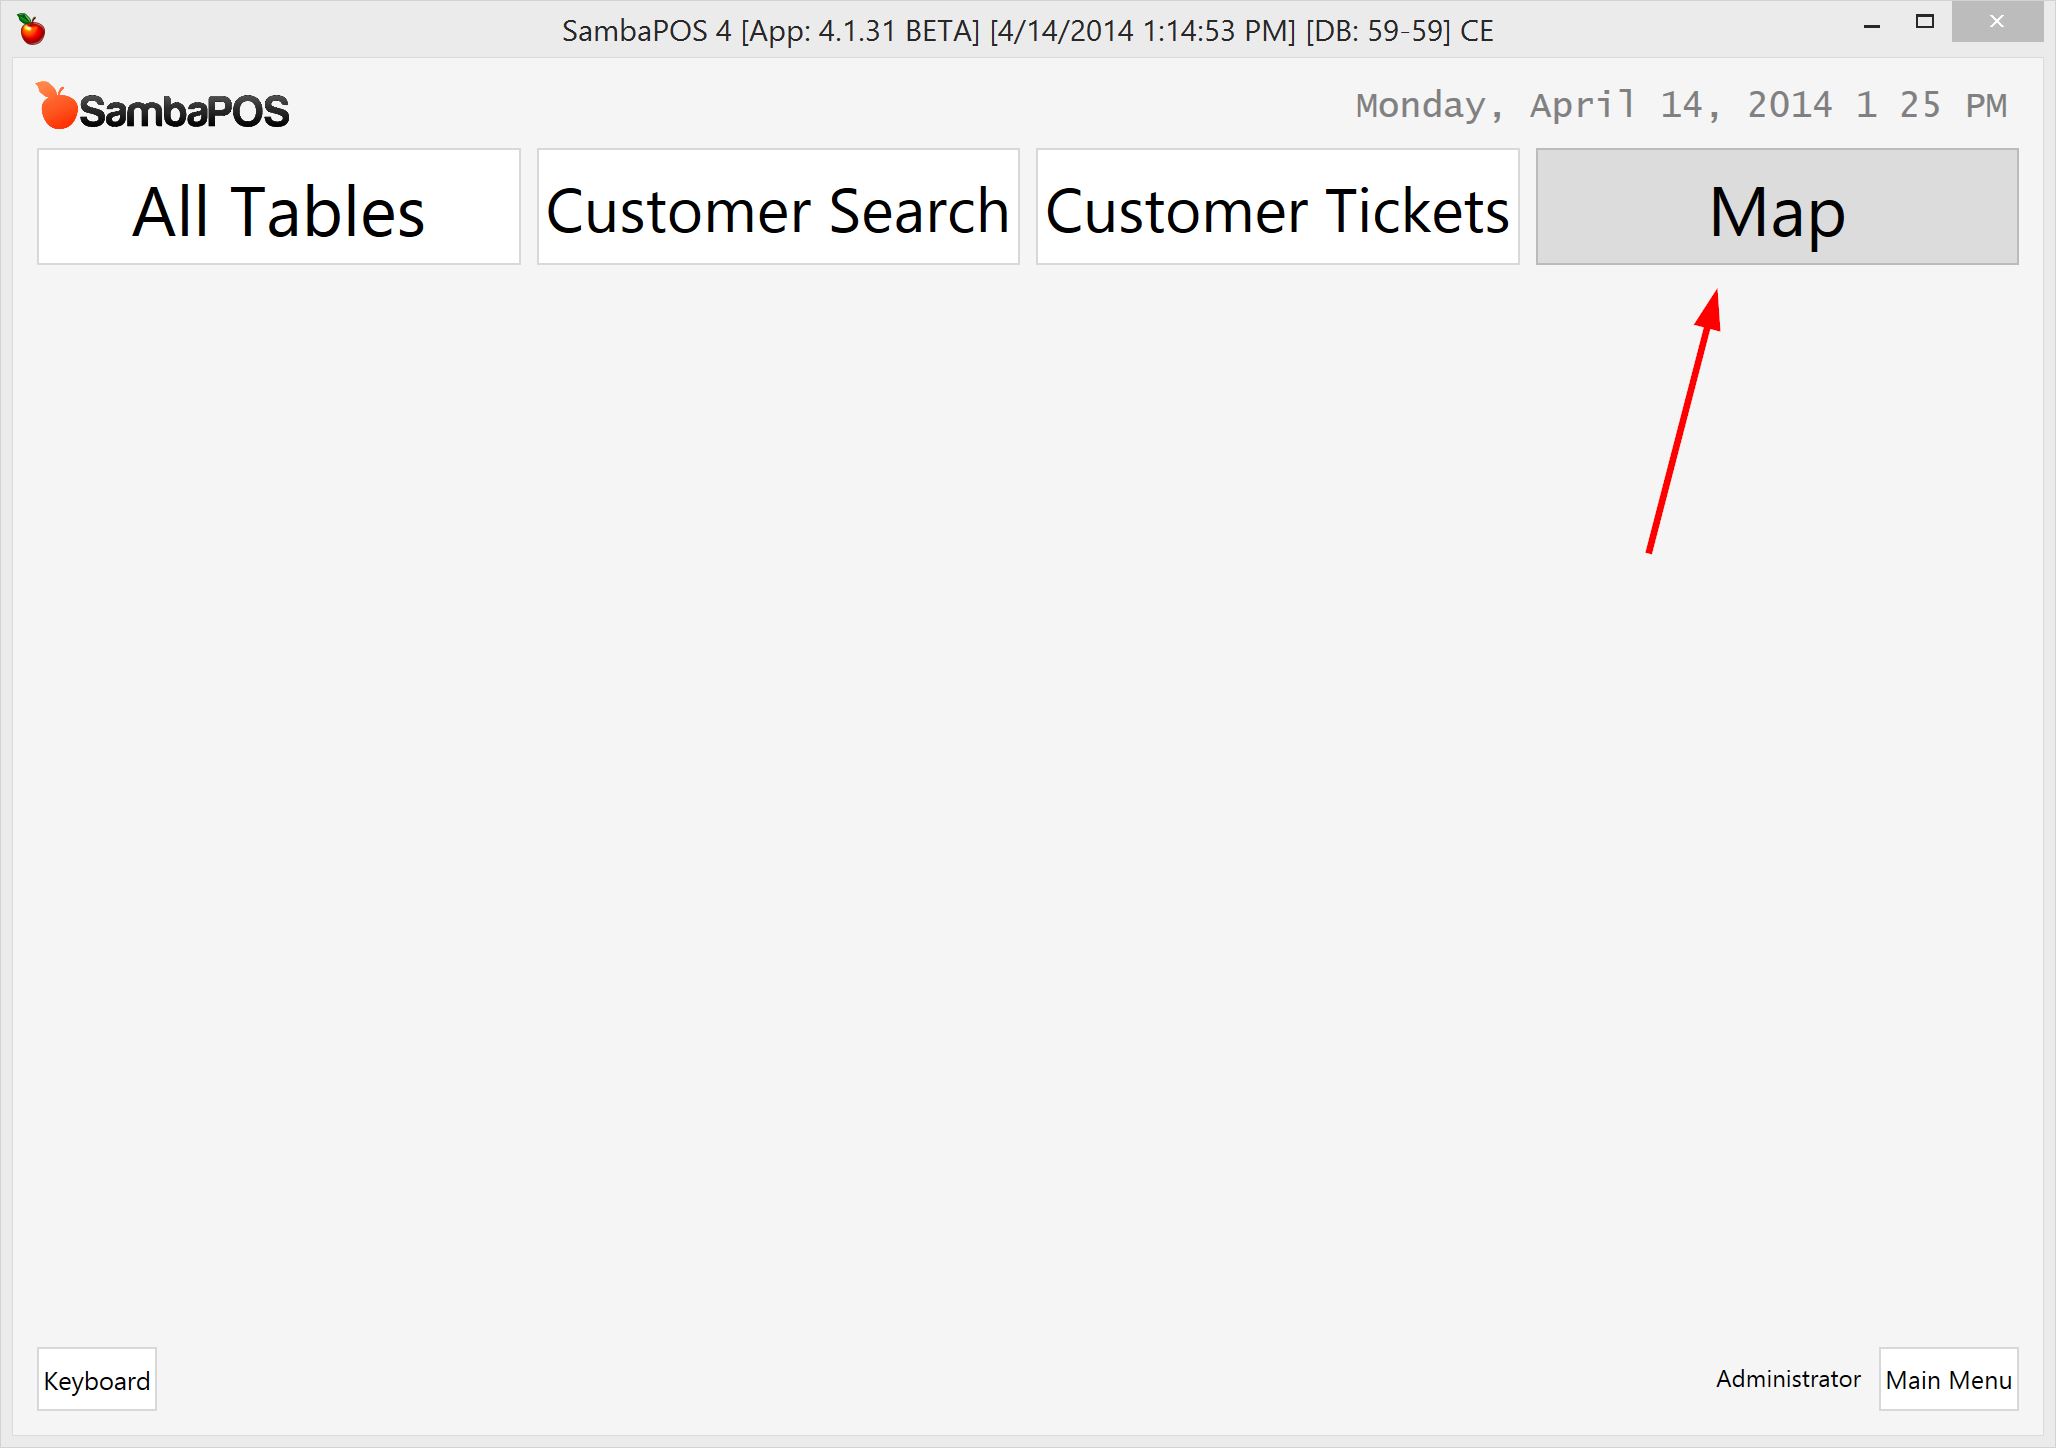
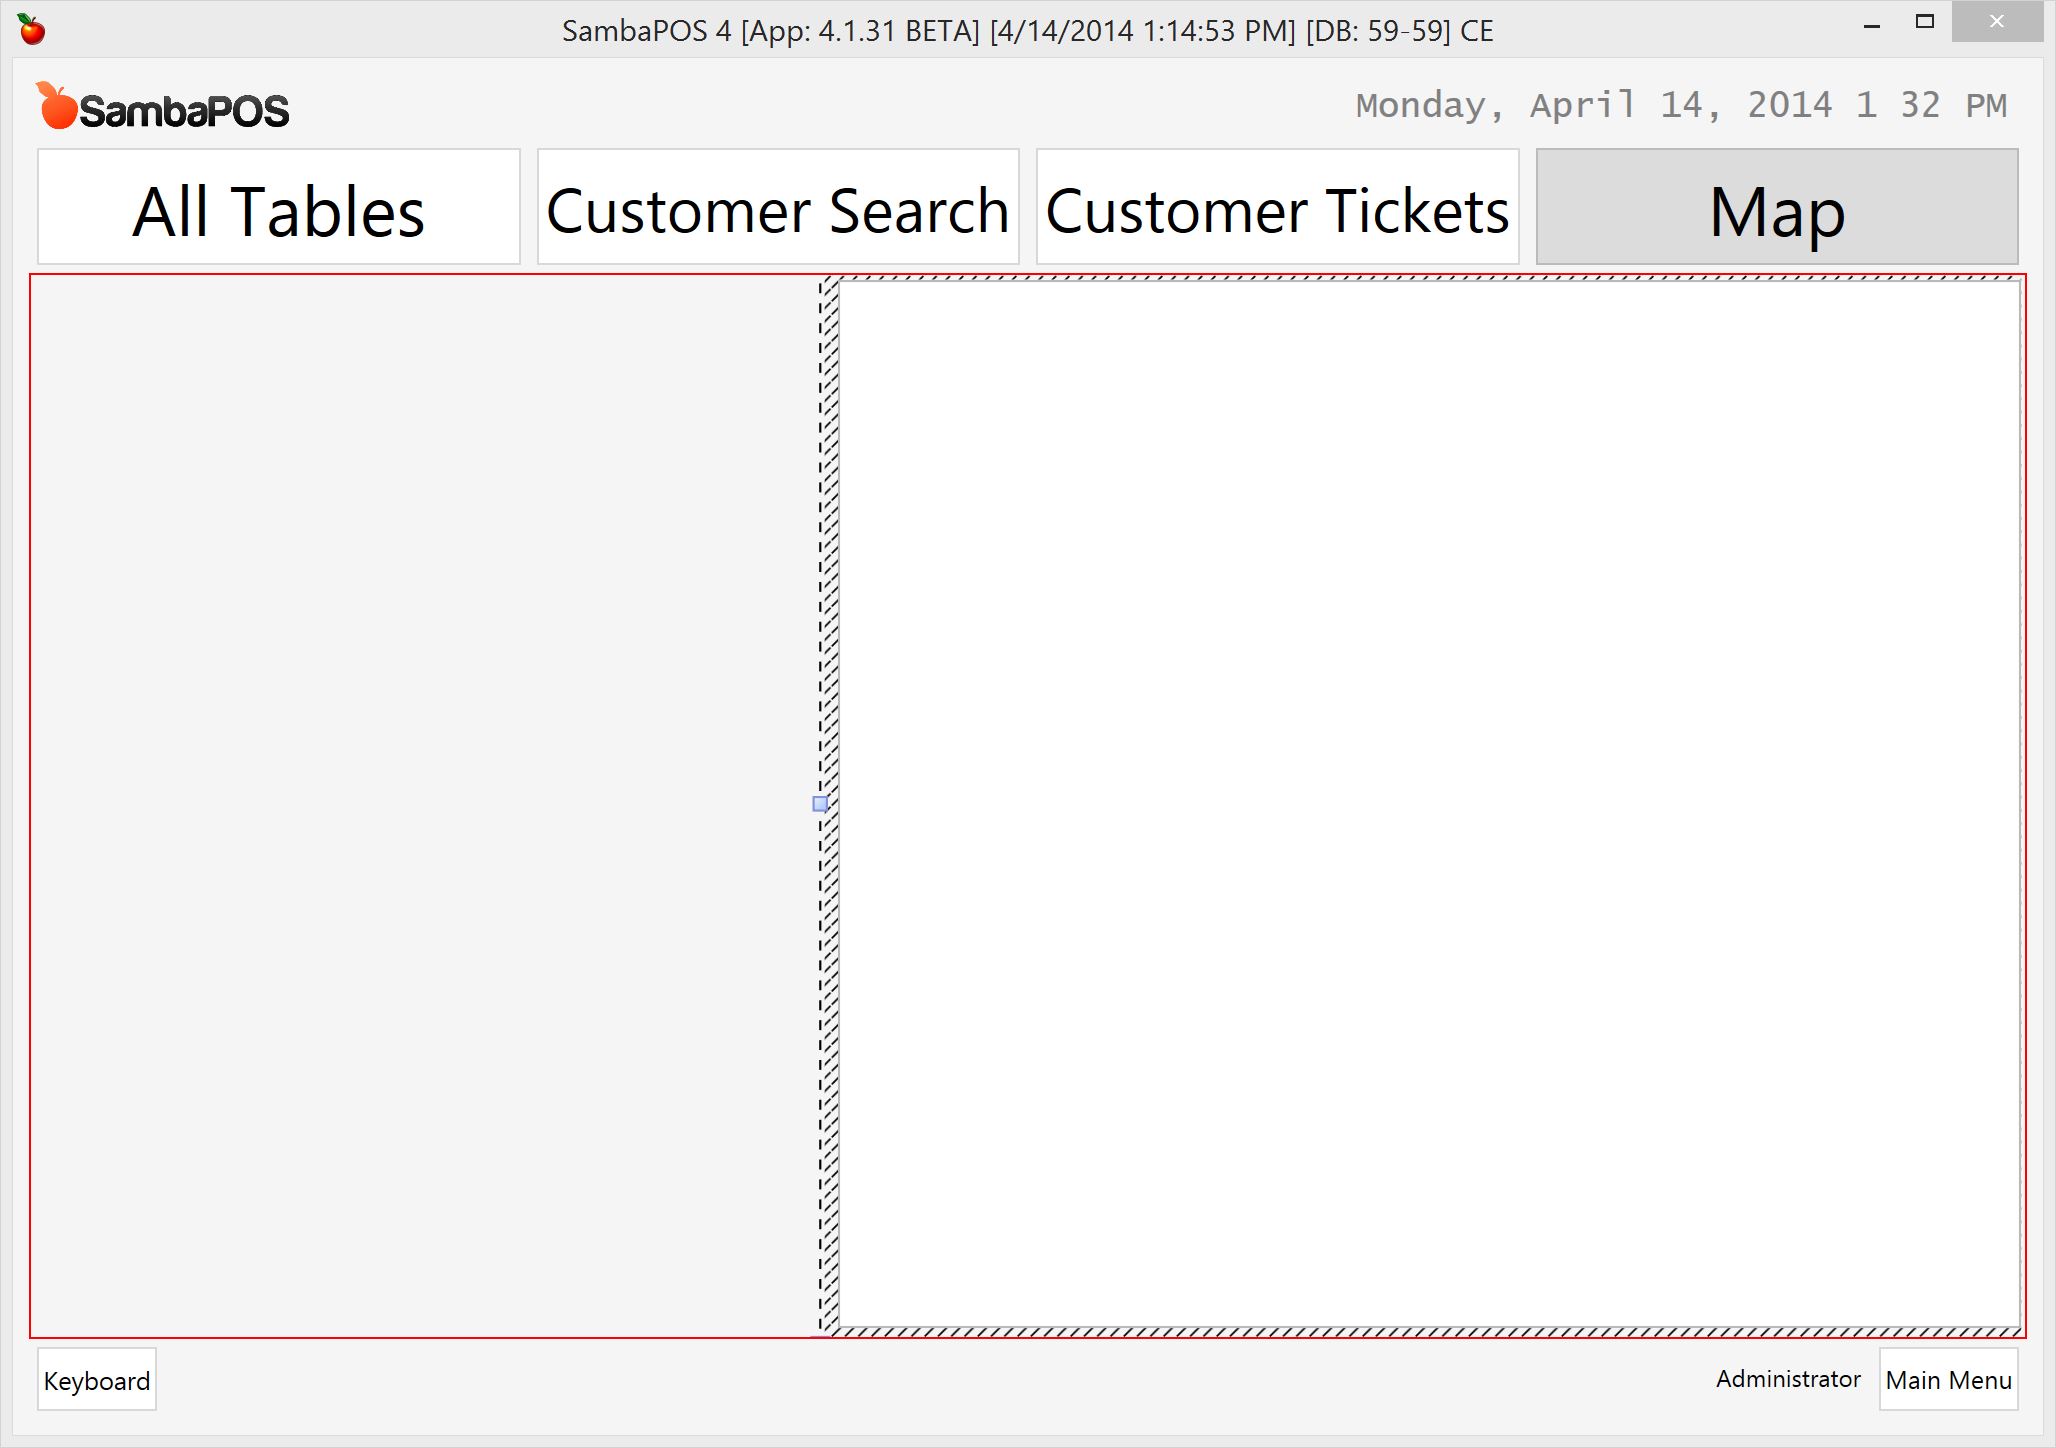
I should have an empty Custom Entity Screen.
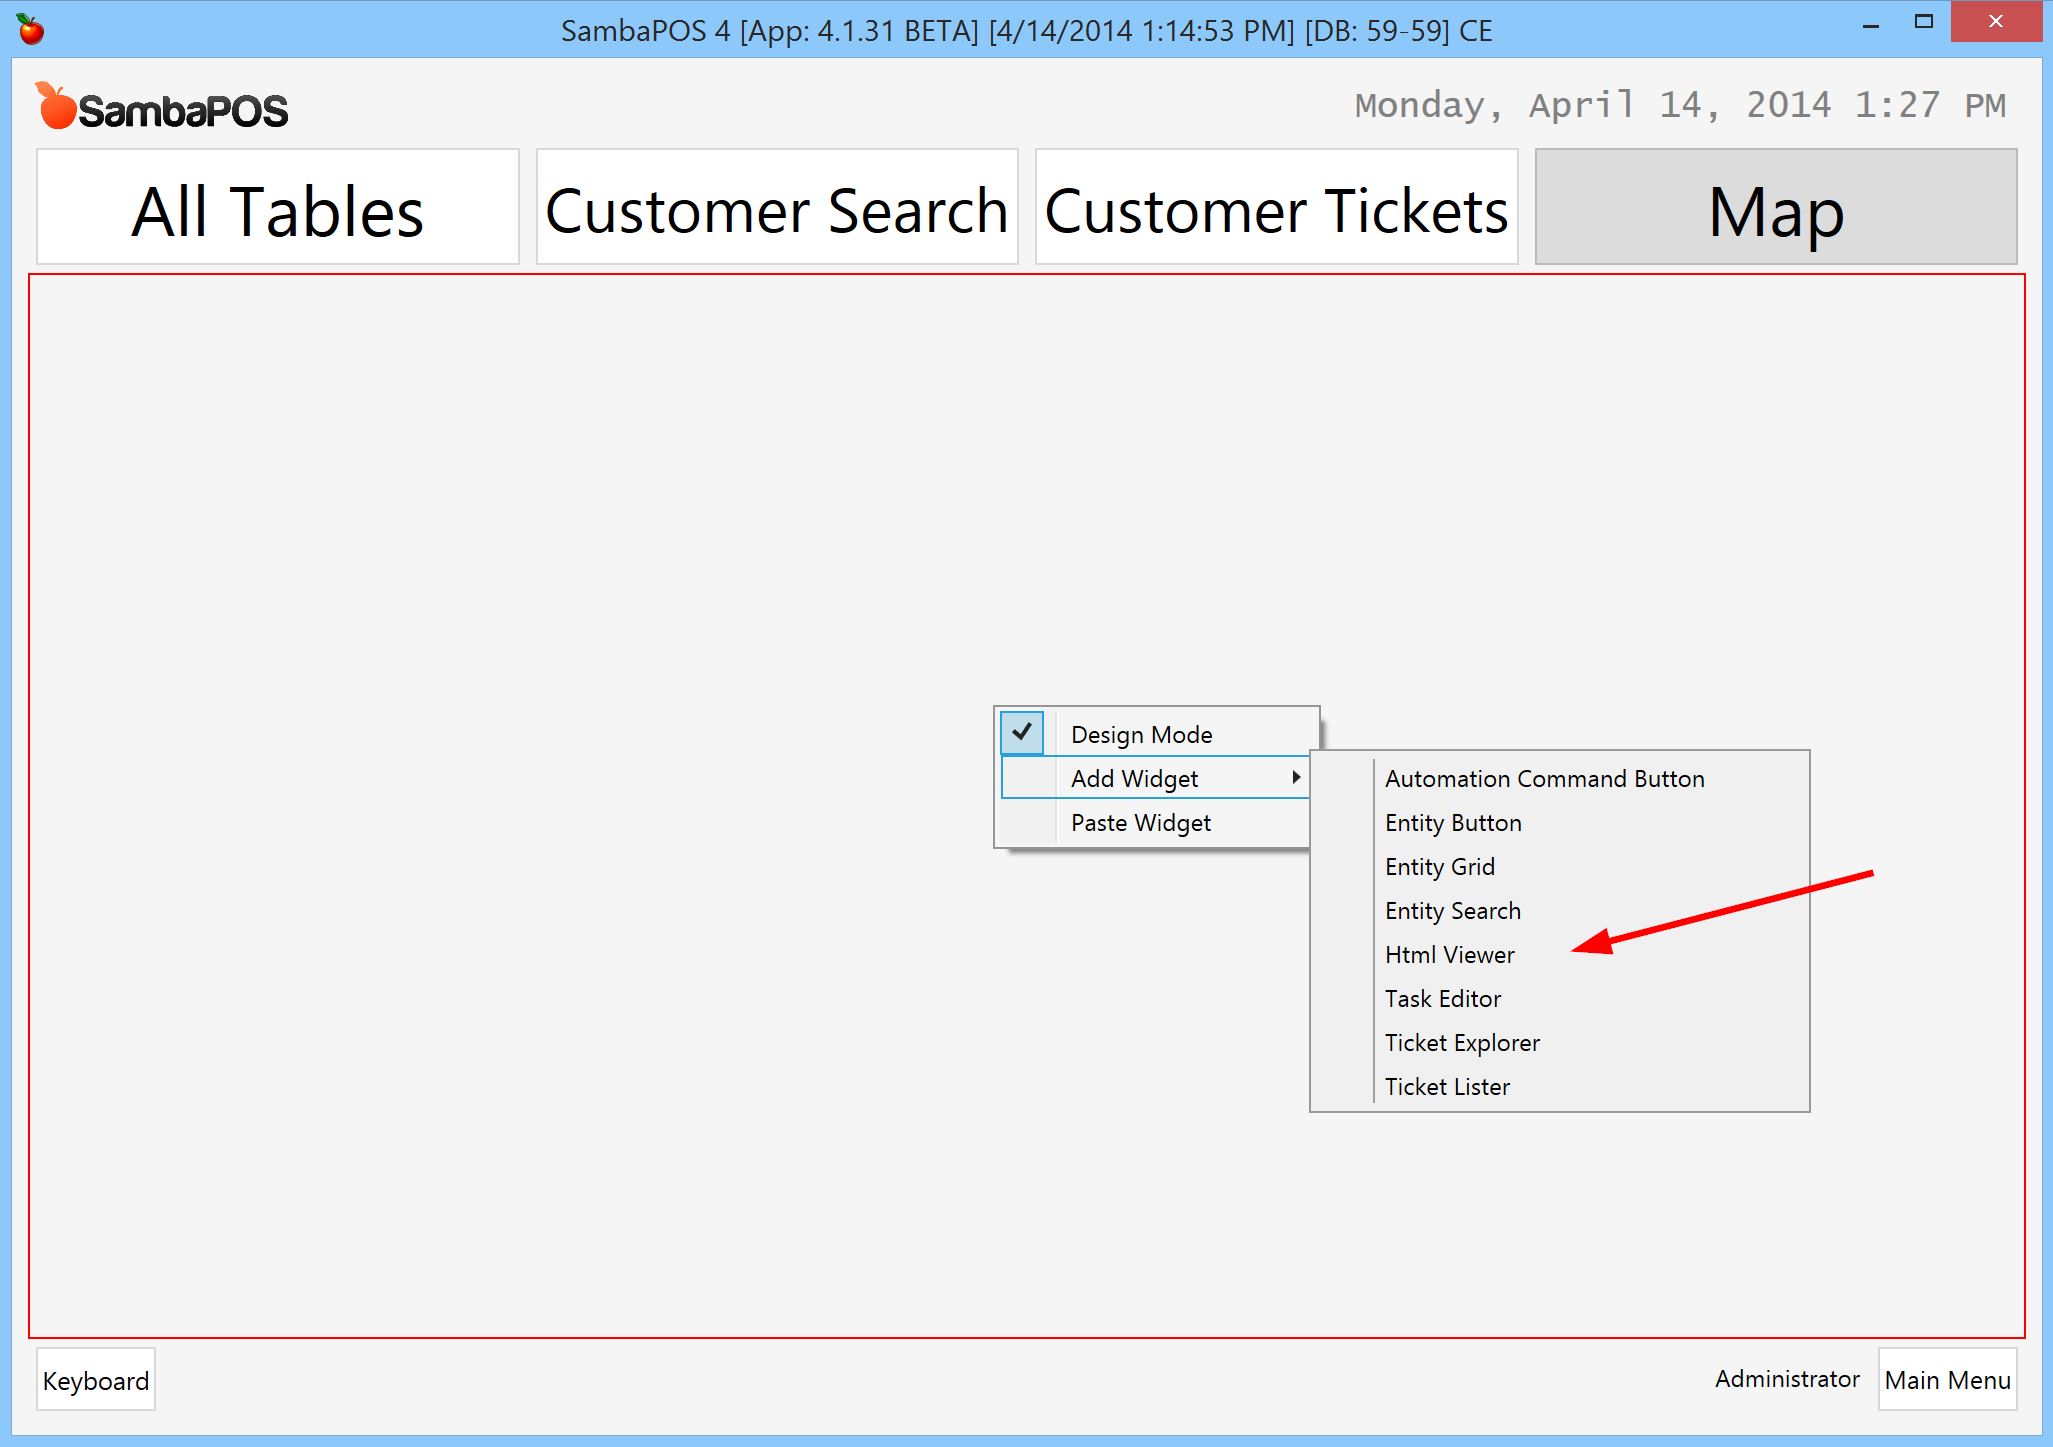
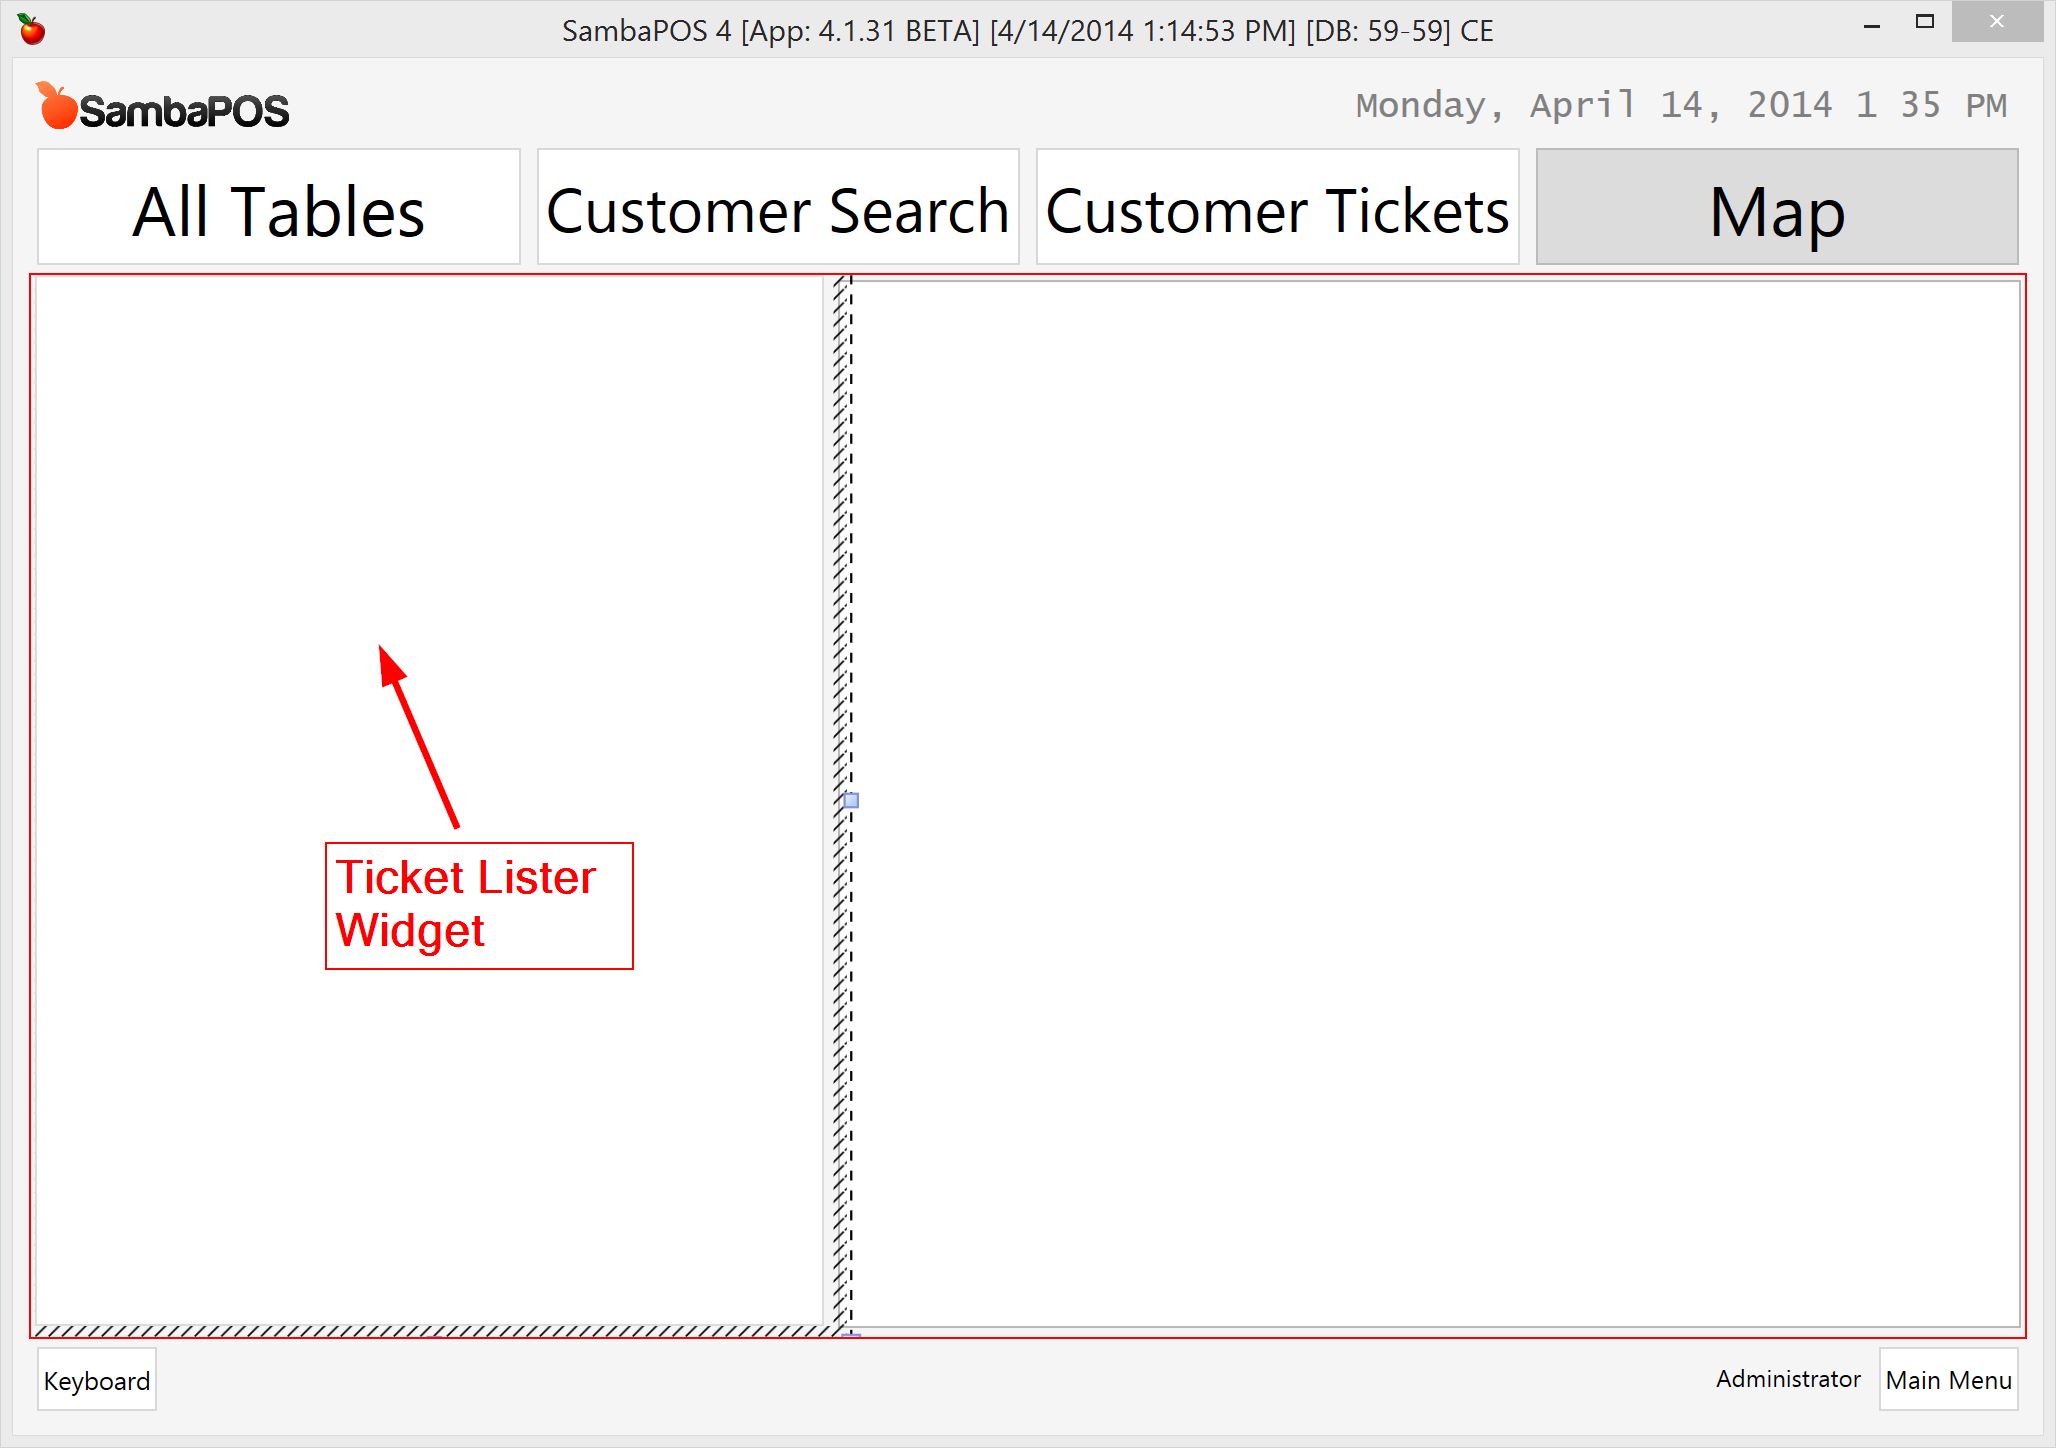
I’ll Enable Design Mode and add a new HTML Viewer widget.
I’ll drag widget until it reaches to the bottom right corner of the window and resize it from top left handle to fit widget to the window top.

It should appear like that.
I’ll right click on Widget and click Properties to name the widget as Google Map Widget.

After saving it I’ll add a Ticket Lister Widget that fits into the remaining empty space.
From right click menu I’ll update Widget Settings to display customer name, phone and address of tickets.
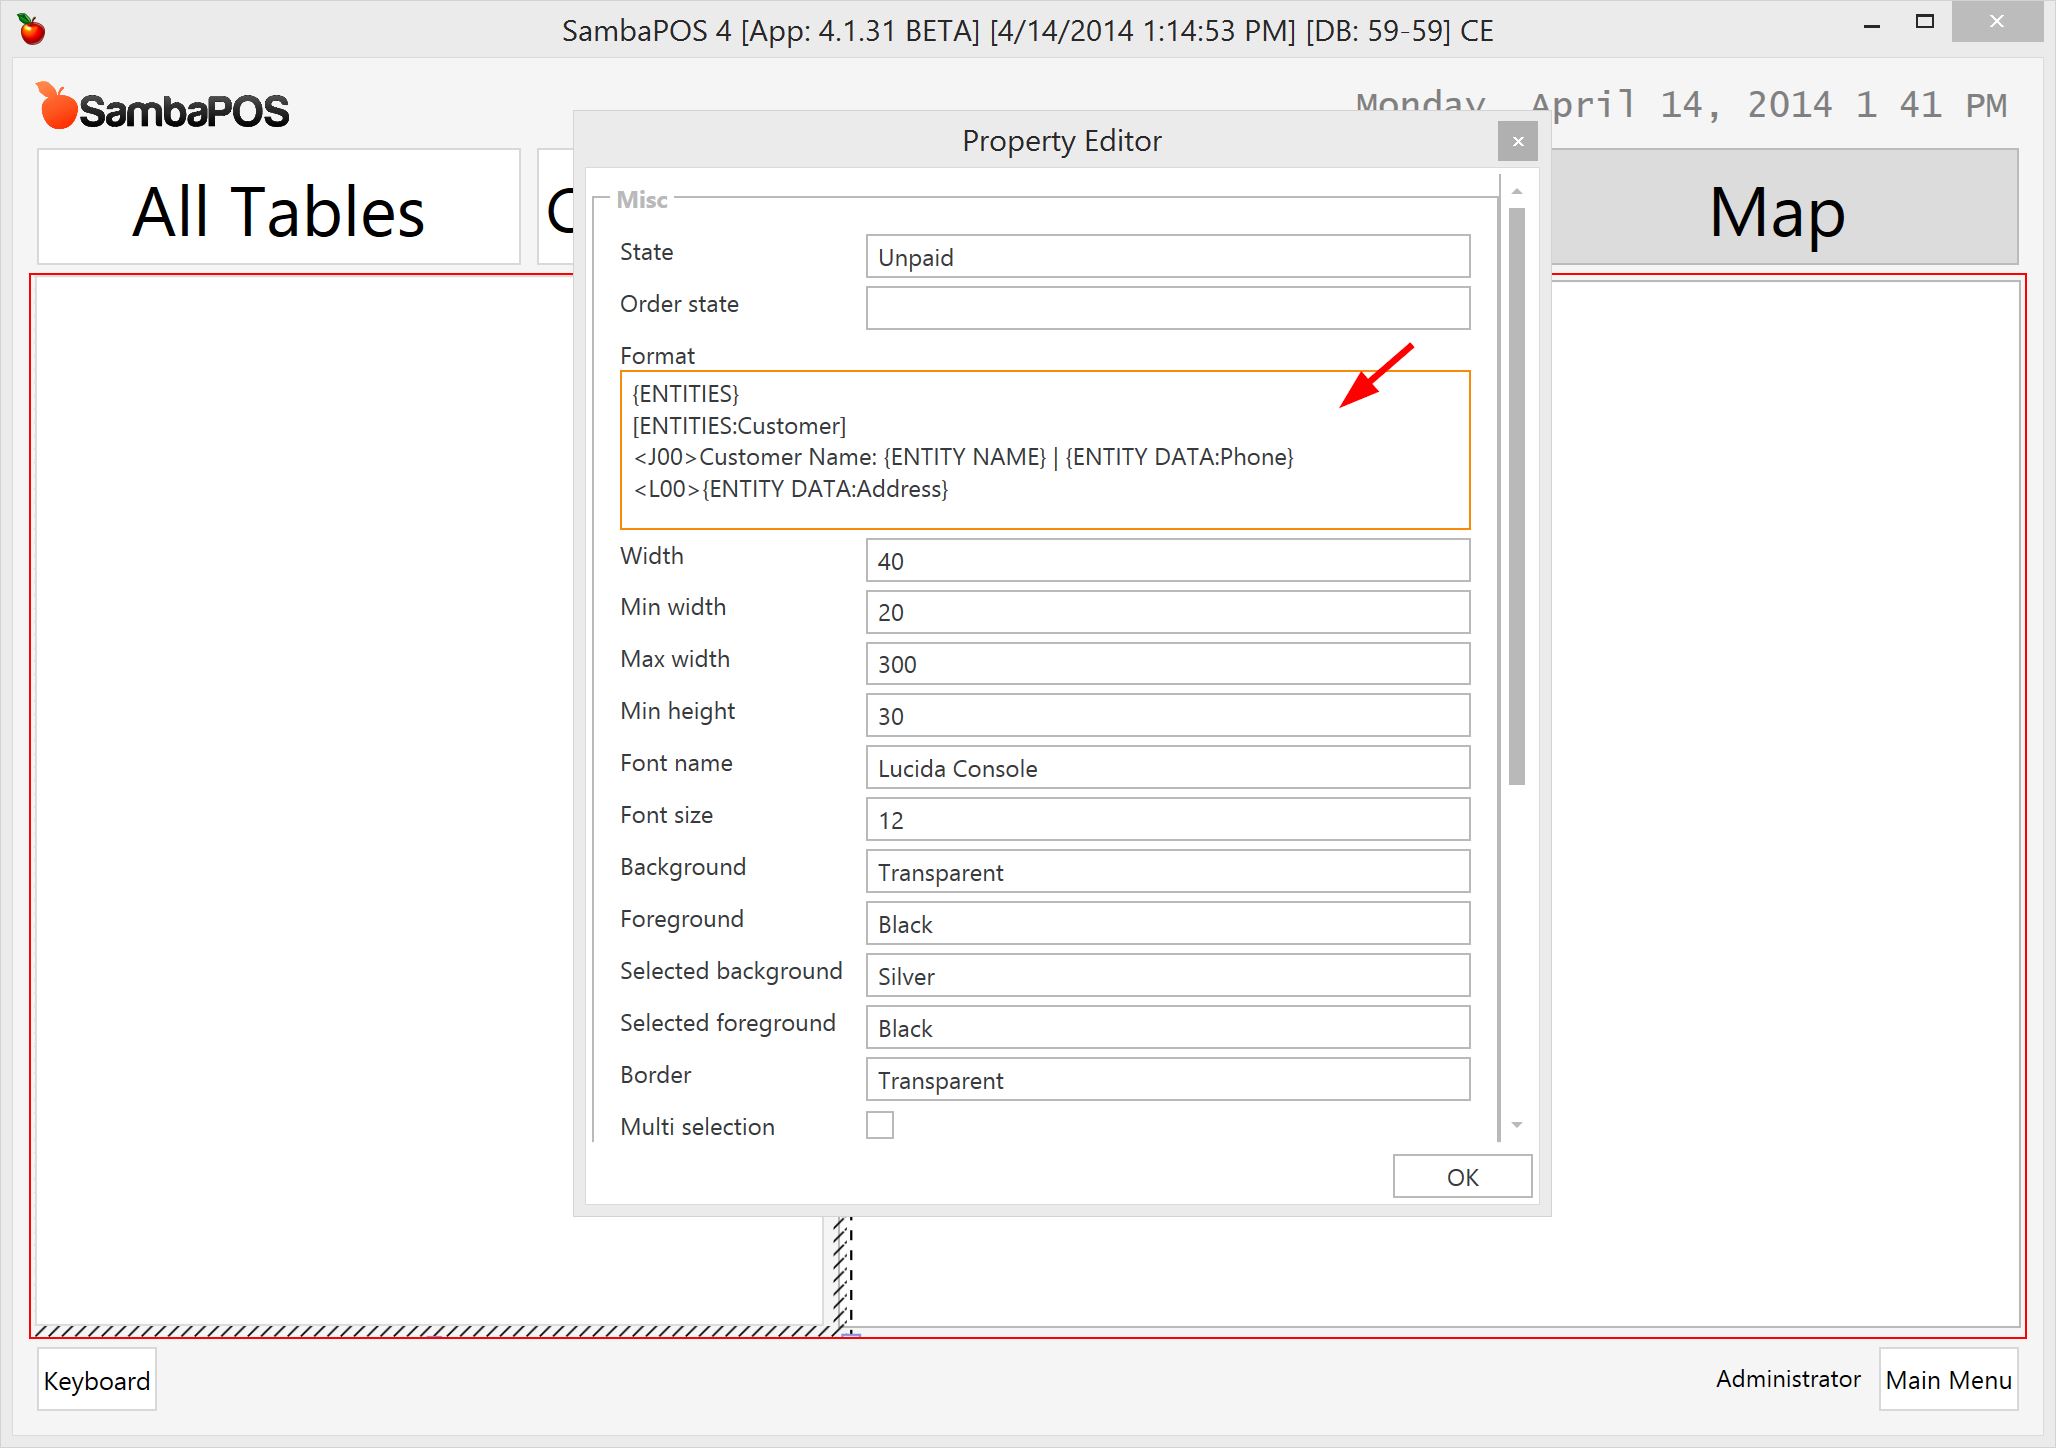
{ENTITIES}
[ENTITIES:Customer]
<J00>Customer Name: {ENTITY NAME} | {ENTITY DATA:Phone}
<L00>{ENTITY DATA:Address}
This format configures how tickets displays in ticket. Since we used same formatting here you can customize it for your needs like you customize printer templates.
Now I’ll disable Design Mode and create few tickets to test if widget displays tickets properly.
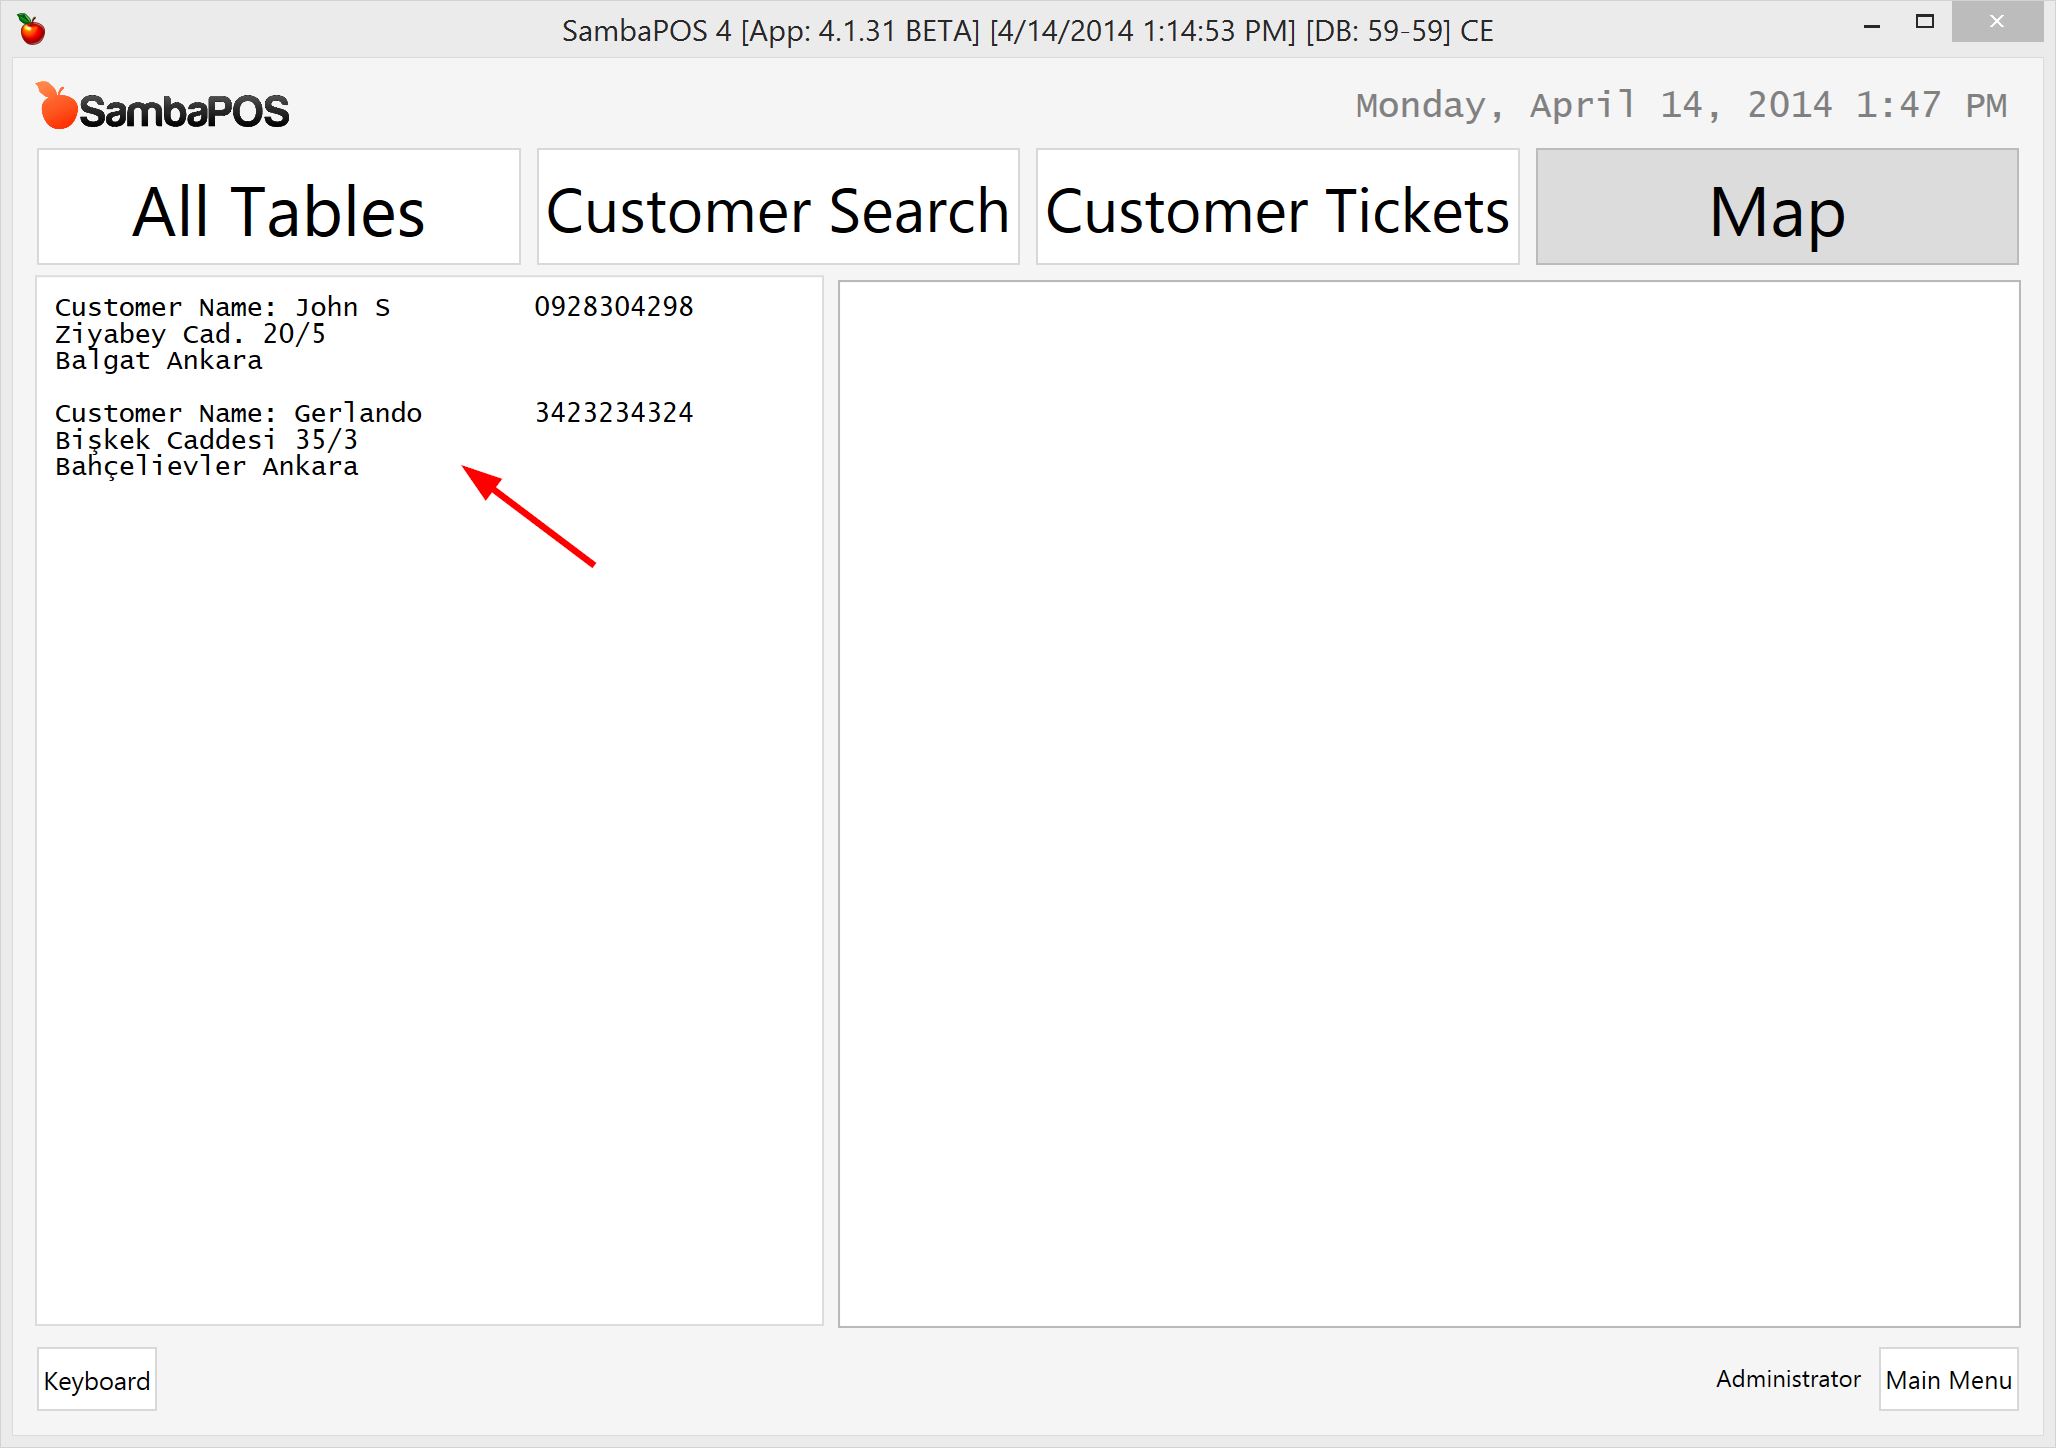
It seems working fine. I’ve entered some dummy addresses from Ankara (my home city)
Now what we’ll do is displaying maps when we click on tickets.
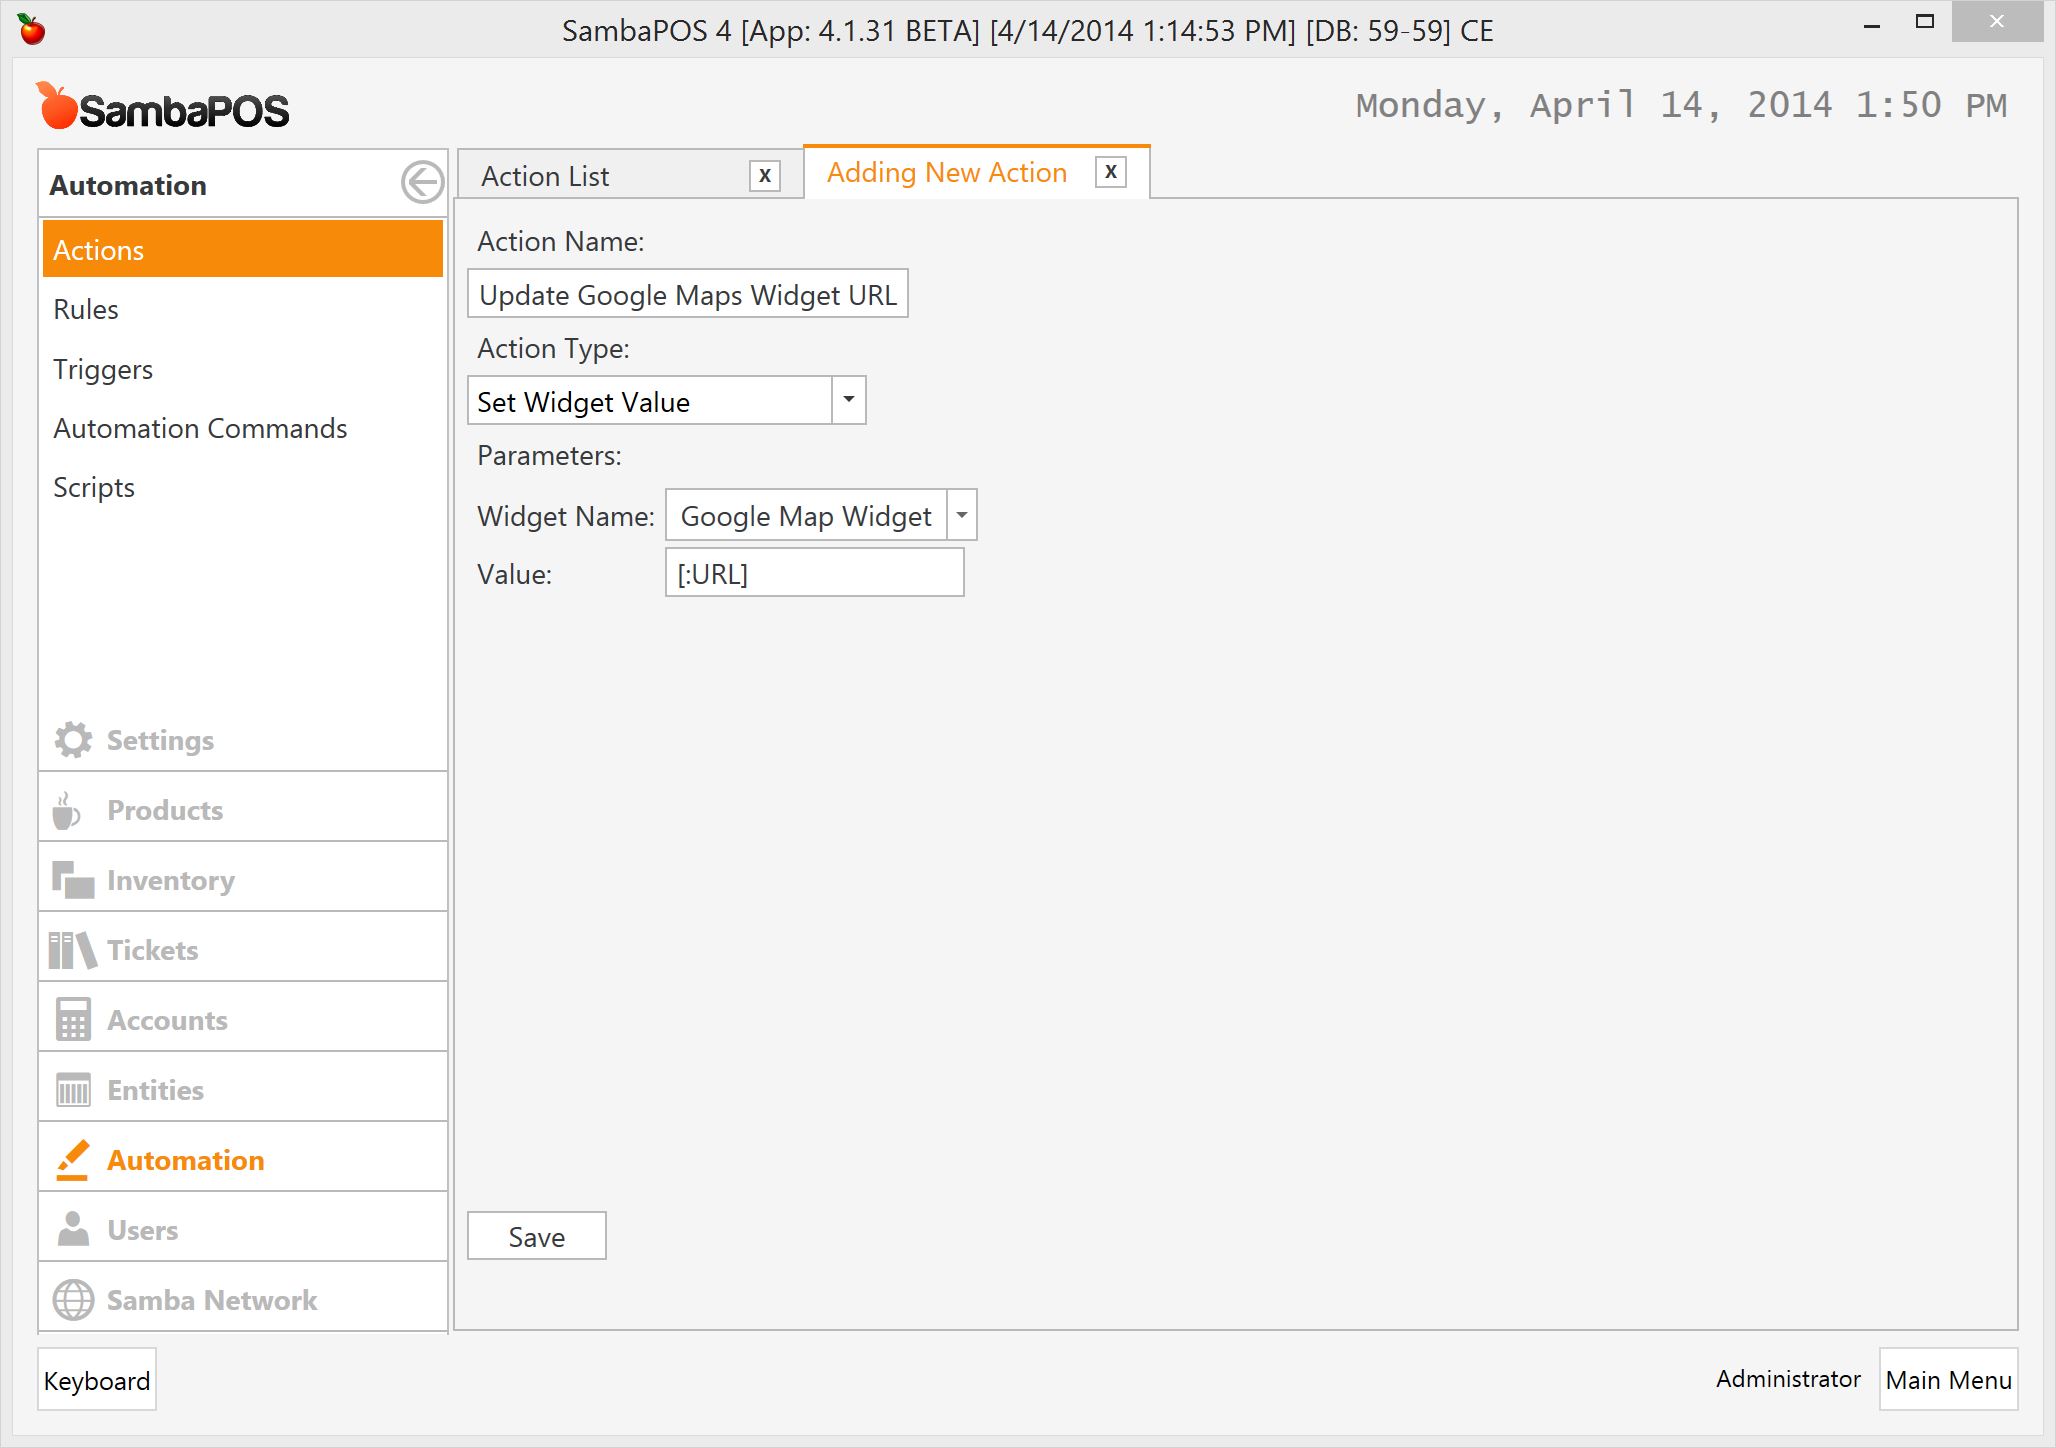
I’ll start by creating a new action. That action is needed to update Google Maps Widget URL.
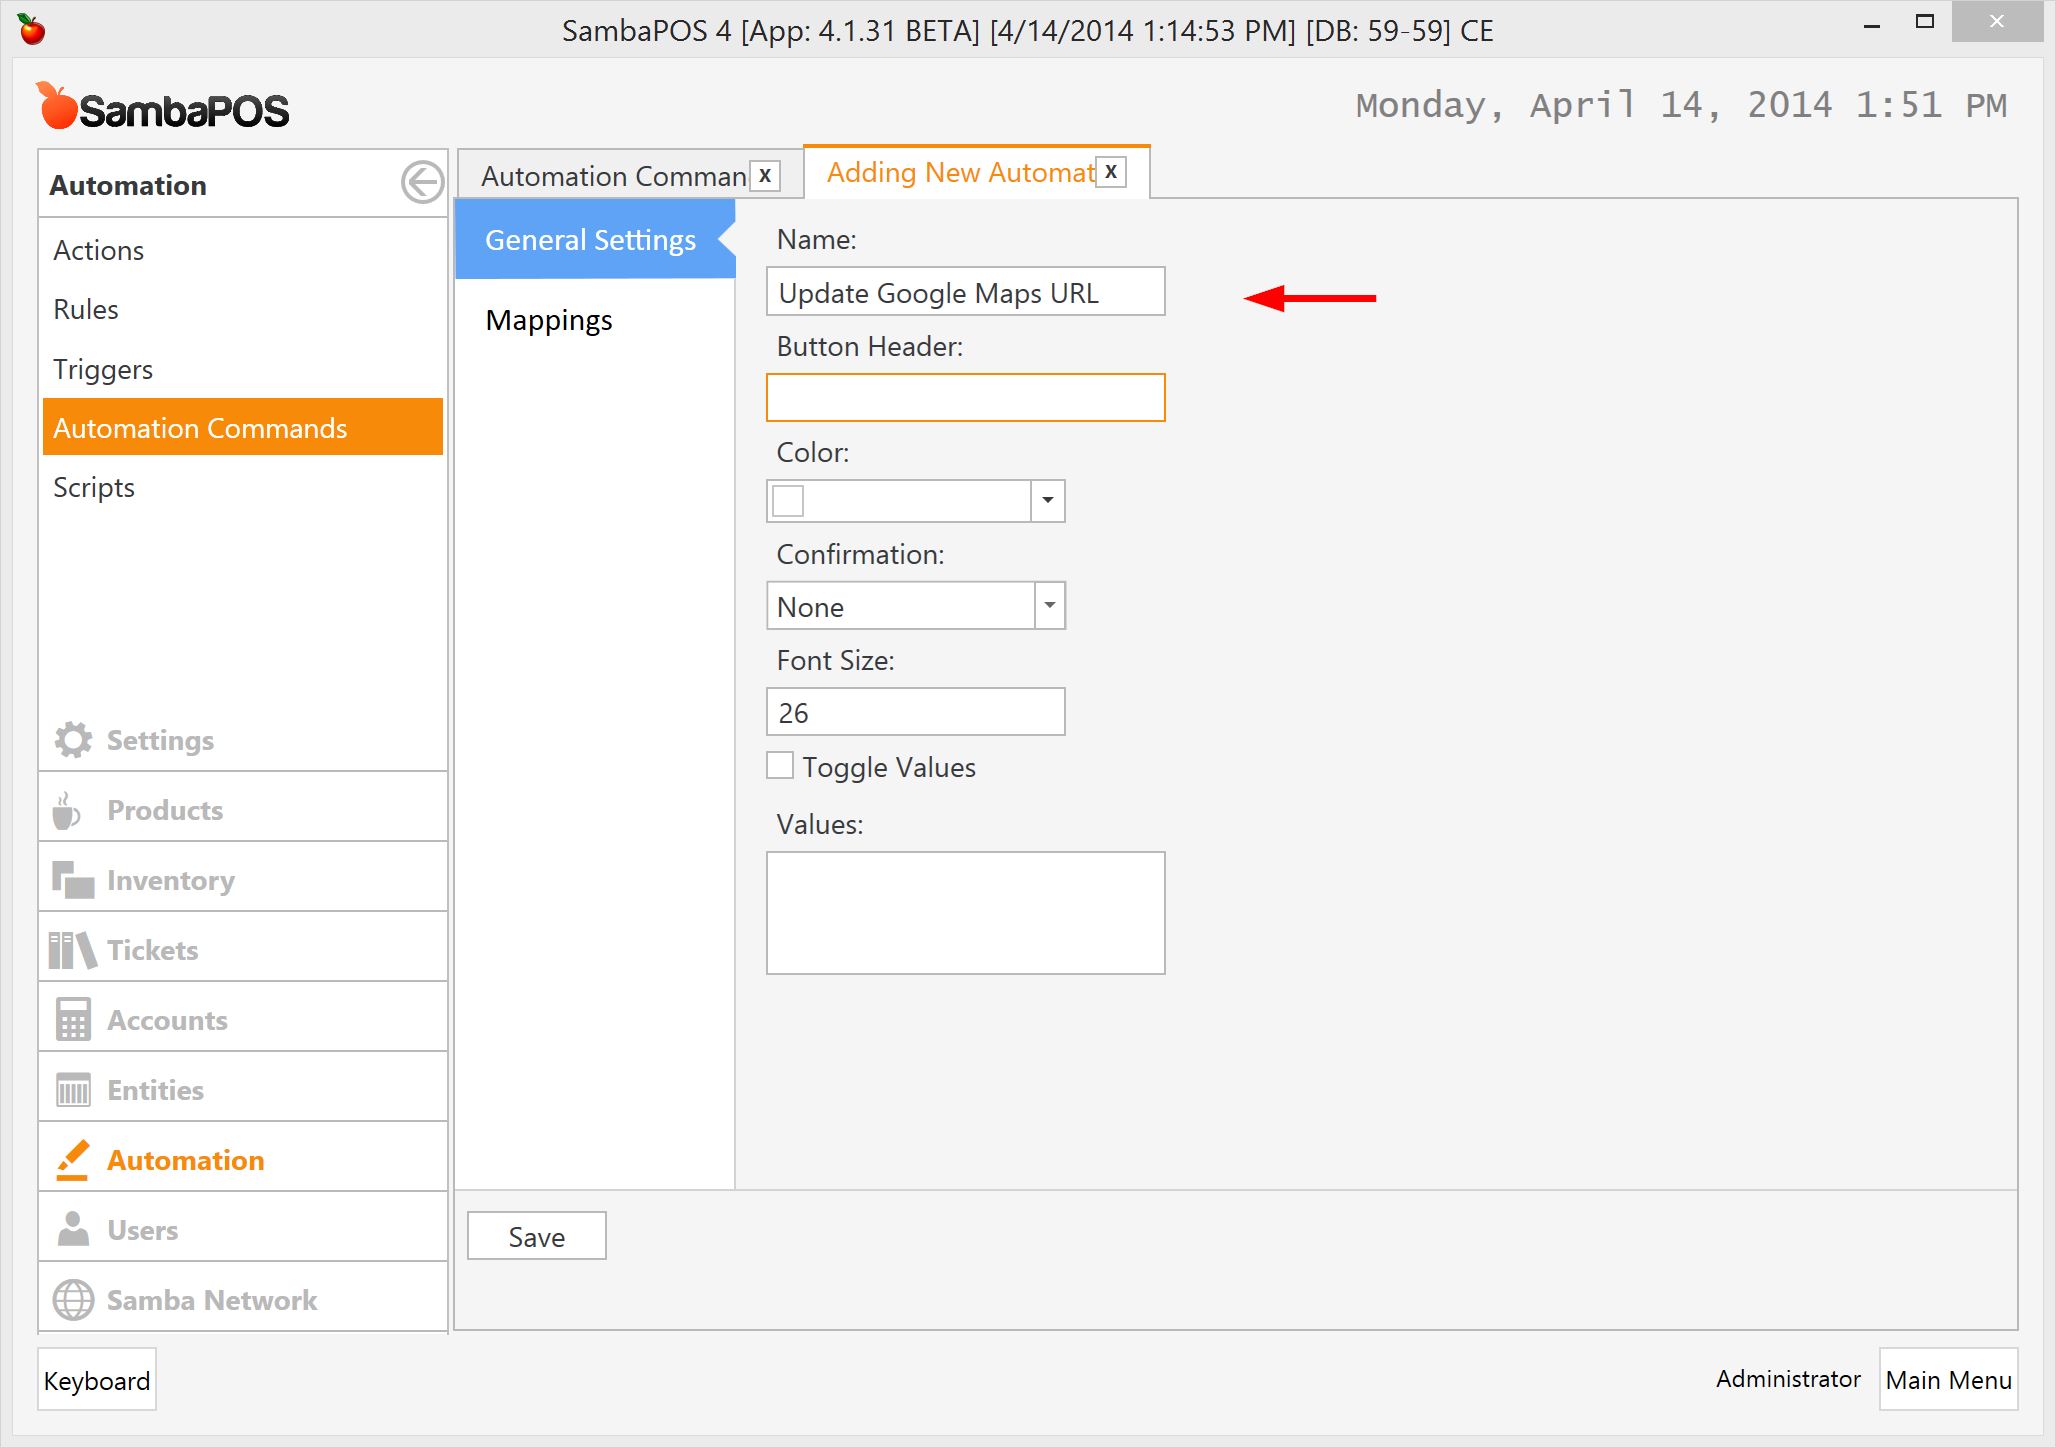
Next I’ll create a new Automation Command to handle Ticket Lister clicks. When we click on a item on Ticket Lister Widget this command will execute. We’ll keep Button Header empty and we don’t need to map it somewhere since we don’t need to display a button for this command.
Finally I’ll create a rule to handle this Automation Command. When this rule triggers it will execute Update Google Maps Widget URL action. We’ll pass Command Value as a parameter. This value will contain URL that we’ll build from Ticket Lister Widget

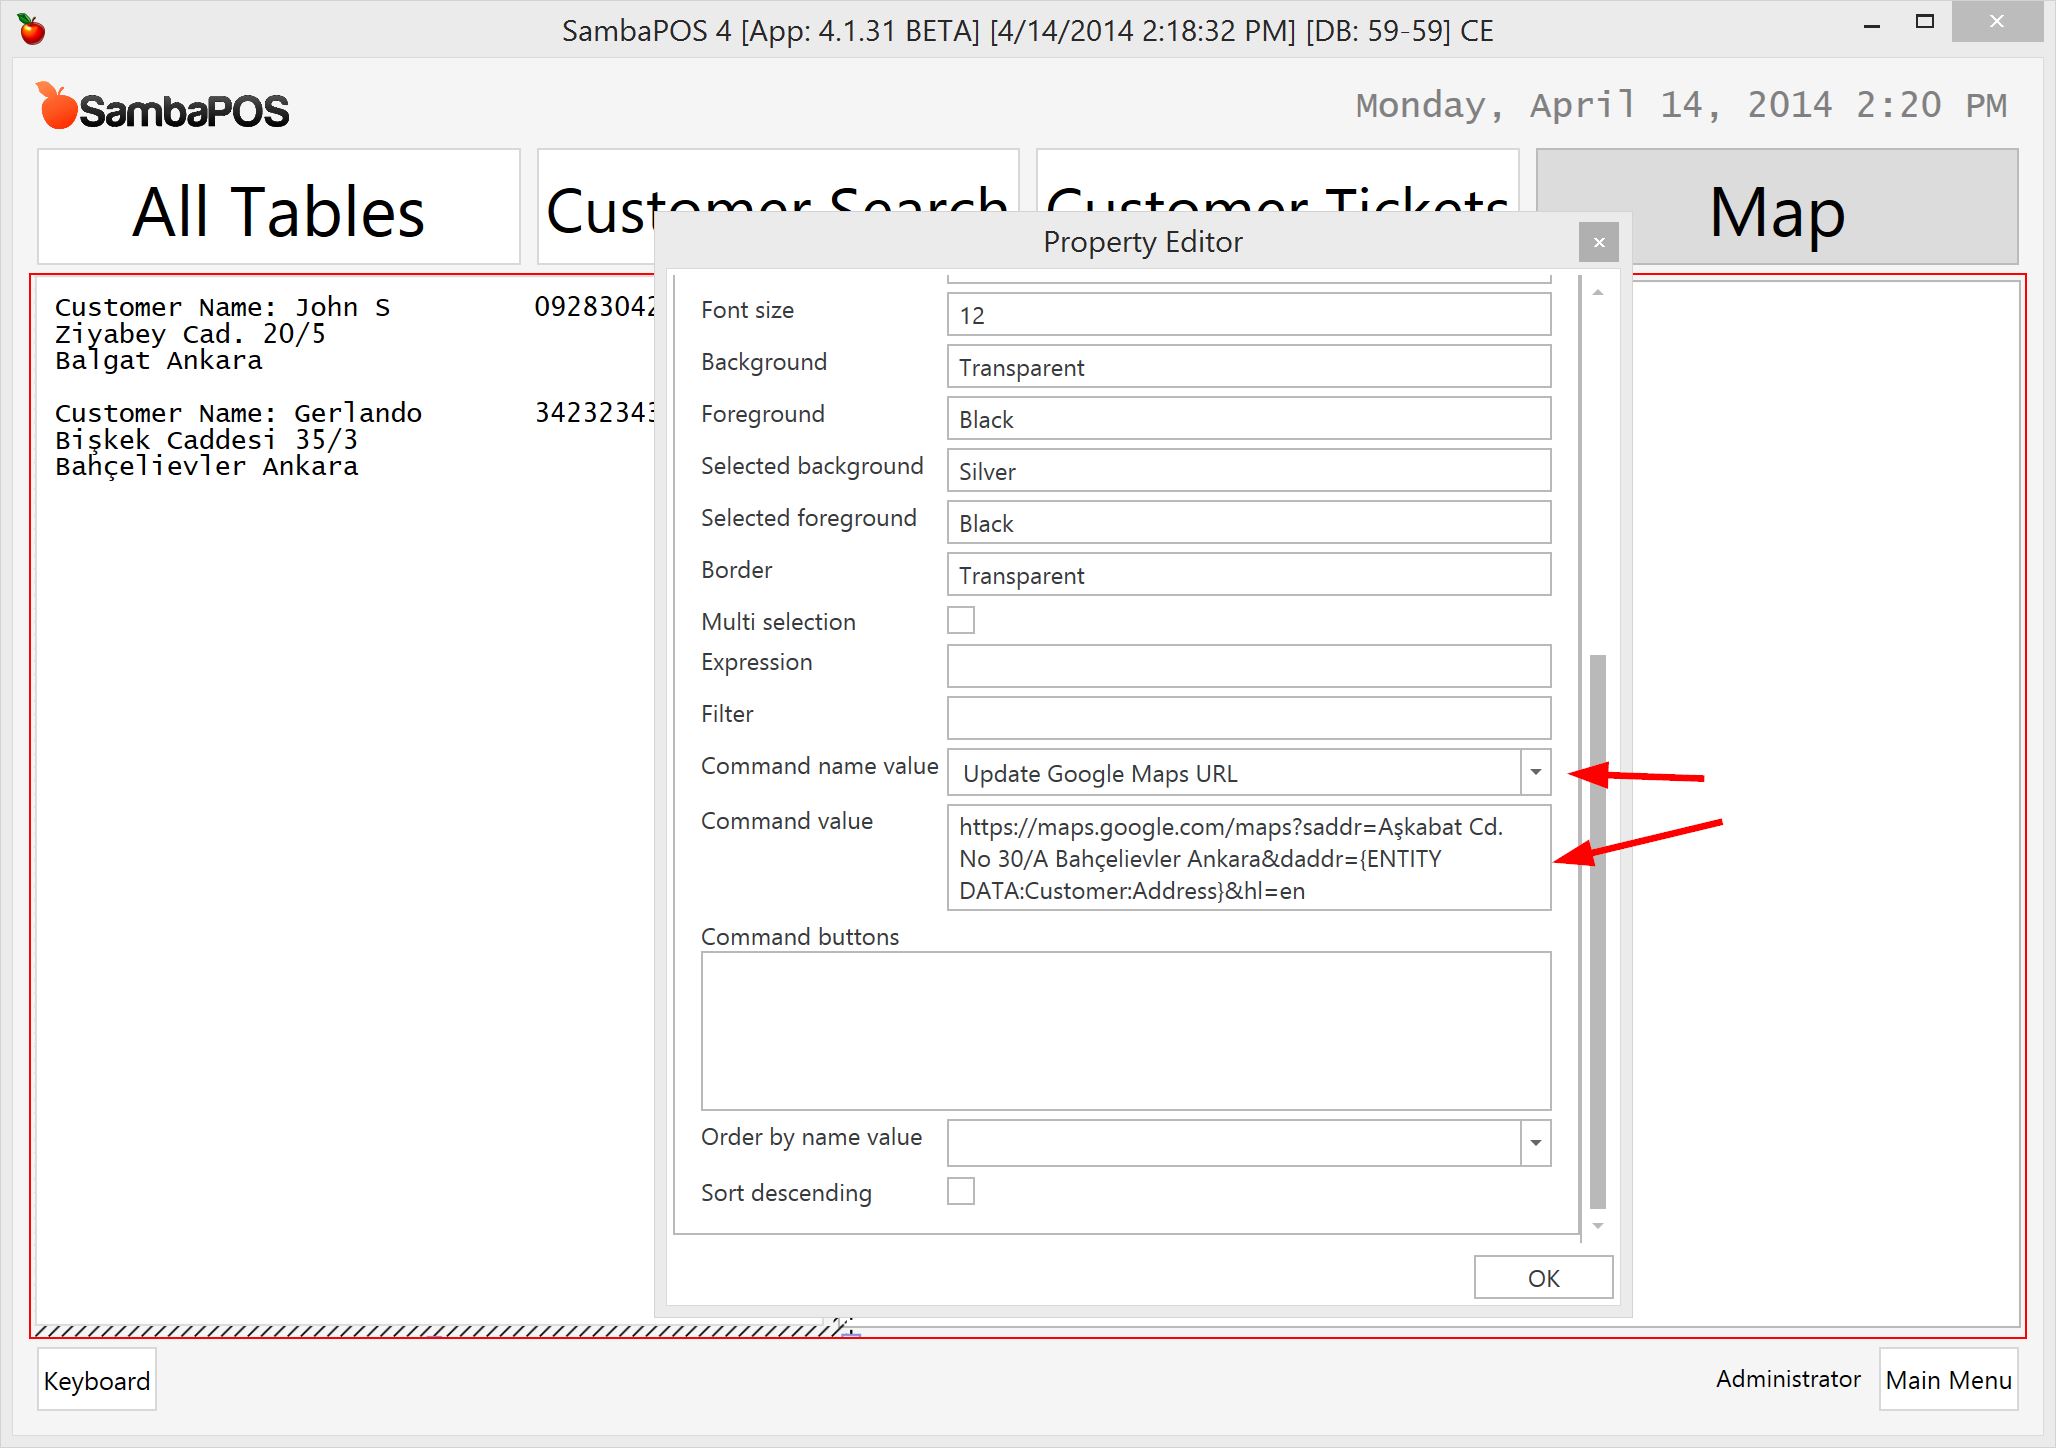
After creating a default mapping and saving it we’ll go back to Map screen, switch to Design Mode and edit Ticket Lister Widget properties to configure how URL is formatted.
This is how we need to format URL’s
https://maps.google.com/maps?saddr=<your address>&daddr=<customer address>&hl=en
We need to:
- replace
<your address>part with your Restaurant’s address. - replace
<customer address>part with customers address.
I’ll hardcode restaurant address and read customer address with {ENTITY DATA:Customer:Address} tag. So the resulting URL Template will be
https://maps.google.com/maps?saddr=Aşkabat Cd. No 30/A Bahçelievler Ankara&daddr={ENTITY DATA:Customer:Address}&hl=en
My sample restaurant address is Aşkabat Cd No:30/A Bahçelievler Ankara. You need to enter your restaurant’s address here.
Now I can update Ticket Lister with that configuration.
Finally the fun part comes. Disable Design Mode and click on Tickets to see how maps updates.
This is how first address displays.
… and the second one.