Customer Display using Custom Browser Printer - basic setup.
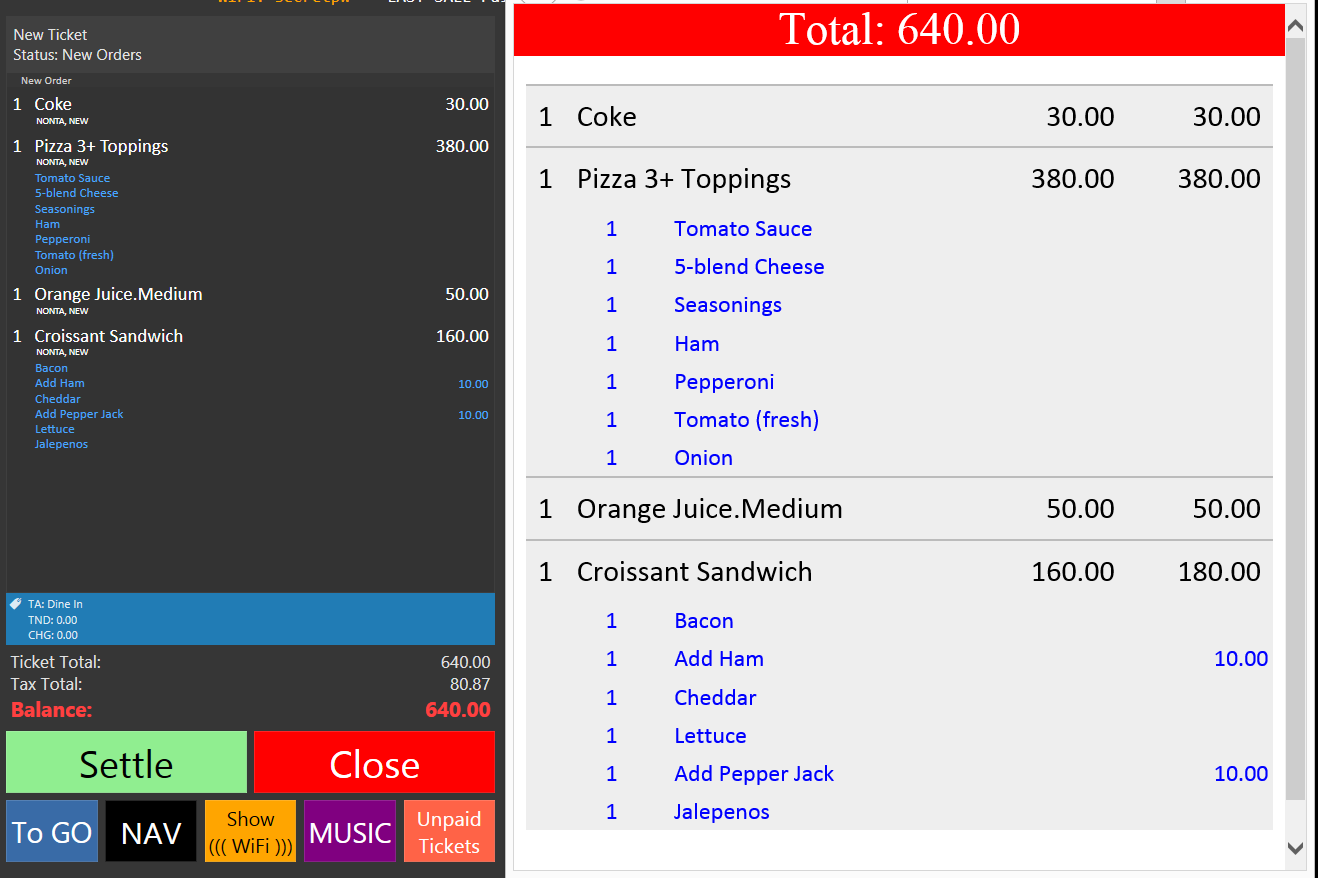
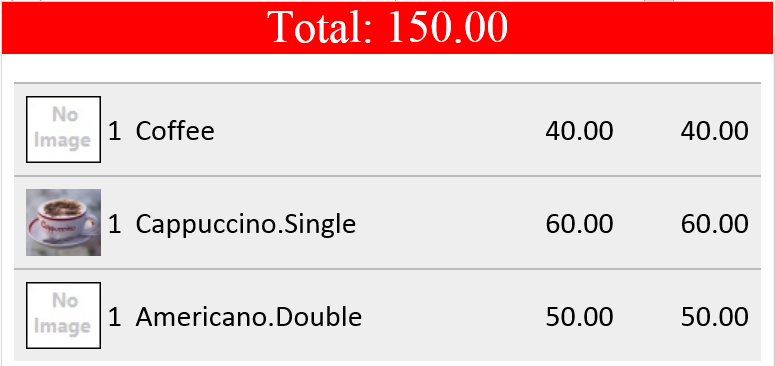
This is the result of this setup:
Install Custom Printers Module, and restart SambaPOS.

Create a new Printer using Custom Printers > Browser Printer
Set a path and file name to print your HTML content. If left blank, the path and file will default to:
[Documents]\SambaPOS5\CustomerDisplay.html
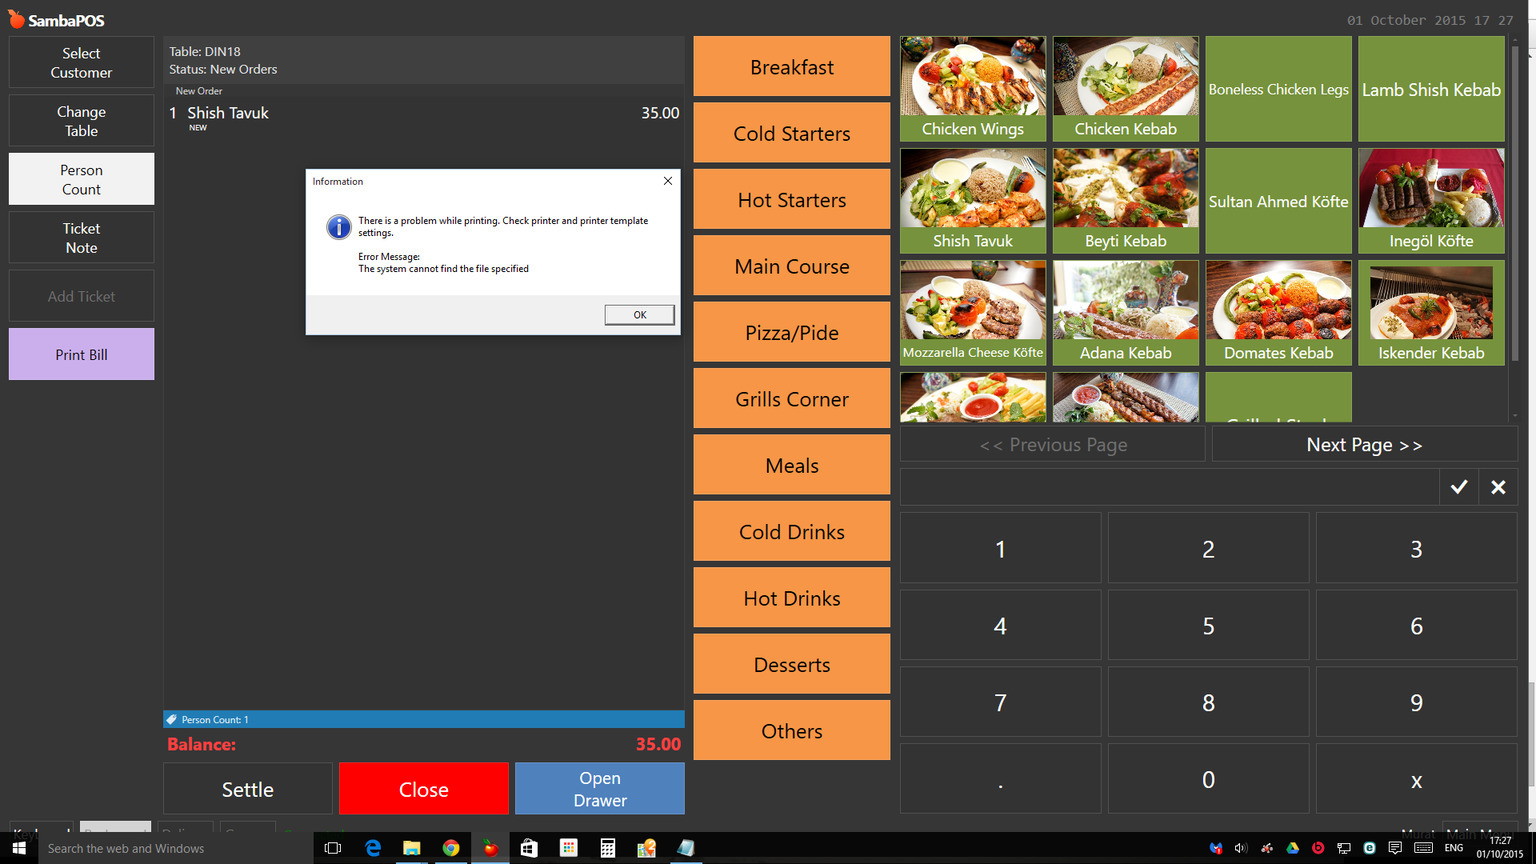
Be sure to enter a DOT for the
Printer Share Name / Port Nameto enable this printer.

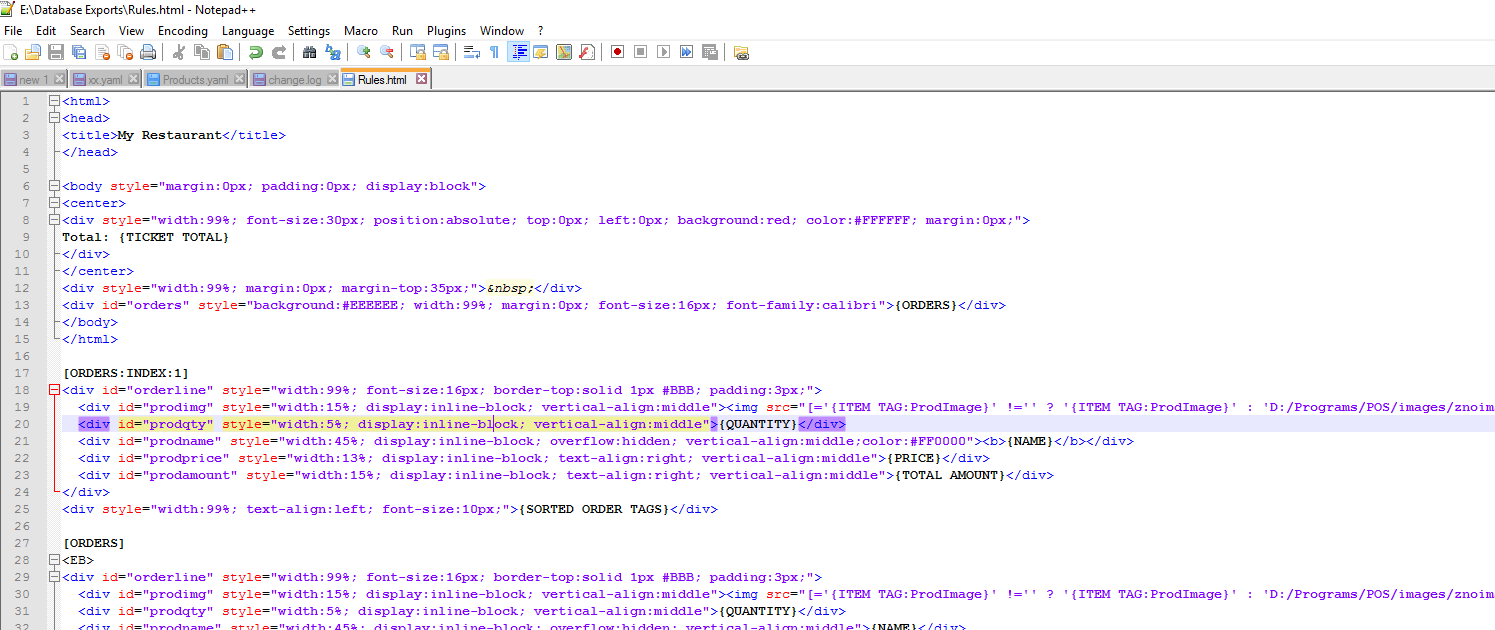
Printer Template - Orders
We use [ORDERS:INDEX:1] to apply special formatting to the last-added Order, which is shown in Red, above. We also sort the Orders by Last Update Time Desc, so the last-added Order appears at the top.

[LAYOUT]
<html>
<head>
<title>My Restaurant</title>
</head>
<body style="margin:0px; padding:0px; display:block">
<center>
<div style="width:99%; font-size:30px; position:absolute; top:0px; left:0px; background:red; color:#FFFFFF; margin:0px;">
Total: {TICKET TOTAL}
</div>
</center>
<div style="width:99%; margin:0px; margin-top:35px;"> </div>
<div id="orders" style="background:#EEEEEE; width:99%; margin:0px; font-size:16px; font-family:calibri">{ORDERS}</div>
</body>
</html>
[ORDERS:INDEX:1]
<div id="orderline" style="width:99%; font-size:16px; border-top:solid 1px #BBB; padding:3px;">
<div id="prodimg" style="width:15%; display:inline-block; vertical-align:middle"><img src="[='{ITEM TAG:ProdImage}' !='' ? '{ITEM TAG:ProdImage}' : 'D:/Programs/POS/images/znoimage-th.jpg']"> </div>
<div id="prodqty" style="width:5%; display:inline-block; vertical-align:middle">{QUANTITY}</div>
<div id="prodname" style="width:45%; display:inline-block; overflow:hidden; vertical-align:middle;color:#FF0000"><b>{NAME}</b></div>
<div id="prodprice" style="width:13%; display:inline-block; text-align:right; vertical-align:middle">{PRICE}</div>
<div id="prodamount" style="width:15%; display:inline-block; text-align:right; vertical-align:middle">{TOTAL AMOUNT}</div>
</div>
<div style="width:99%; text-align:left; font-size:10px;">{SORTED ORDER TAGS}</div>
[ORDERS]
<EB>
<div id="orderline" style="width:99%; font-size:16px; border-top:solid 1px #BBB; padding:3px;">
<div id="prodimg" style="width:15%; display:inline-block; vertical-align:middle"><img src="[='{ITEM TAG:ProdImage}' !='' ? '{ITEM TAG:ProdImage}' : 'D:/Programs/POS/images/znoimage-th.jpg']"> </div>
<div id="prodqty" style="width:5%; display:inline-block; vertical-align:middle">{QUANTITY}</div>
<div id="prodname" style="width:45%; display:inline-block; overflow:hidden; vertical-align:middle">{NAME}</div>
<div id="prodprice" style="width:13%; display:inline-block; text-align:right; vertical-align:middle">{PRICE}</div>
<div id="prodamount" style="width:15%; display:inline-block; text-align:right; vertical-align:middle">{TOTAL AMOUNT}</div>
</div>
<DB>
<div style="width:99%; text-align:left; font-size:10px;">{SORTED ORDER TAGS}</div>
[SORTED ORDER TAGS]
<div id="ordertags" style="width:99%; color:#0000FF">
<div style="width:15%; display:inline-block; vertical-align:middle"> </div>
<div style="width:1%; display:inline-block; padding-left:35px; padding-right:3px; vertical-align:middle">{ORDER TAG QUANTITY}</div>
<div style="width:35%; display:inline-block; overflow:hidden; vertical-align:middle">{ORDER TAG NAME}</div>
<div style="width:1%; display:inline-block; vertical-align:middle">{ORDER TAG PRICE}</div>
<div style="width:15%; display:inline-block; text-align:right; vertical-align:middle">[=F(TN('{ORDER TAG QUANTITY}')*TN('{ORDER TAG PRICE}'))]</div>
</div>
[SORTED ORDER TAGS GROUP|OTS]
[SORTED ORDER TAGS GROUP:OTS]
<div id="ordertags" style="width:99%; color:#0000FF">
<div style="width:15%; display:inline-block; vertical-align:middle"> </div>
<div style="width:60%; display:inline-block; padding-left:35px; padding-right:3px; vertical-align:middle">~~~ ON-THE SIDE ~~~</div>
</div>
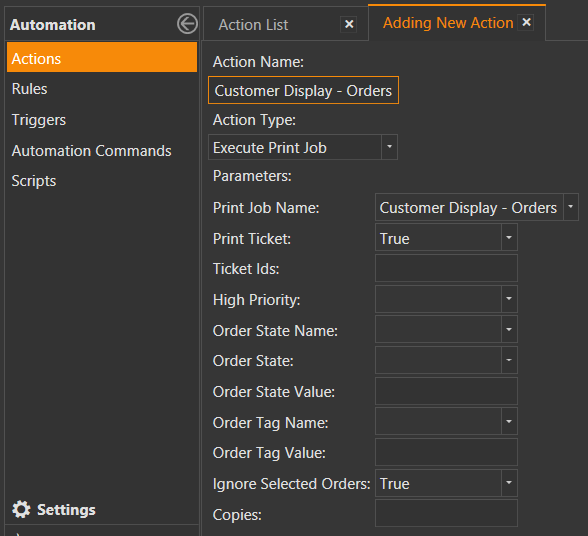
Print Job - Orders

Action for Orders Print Job
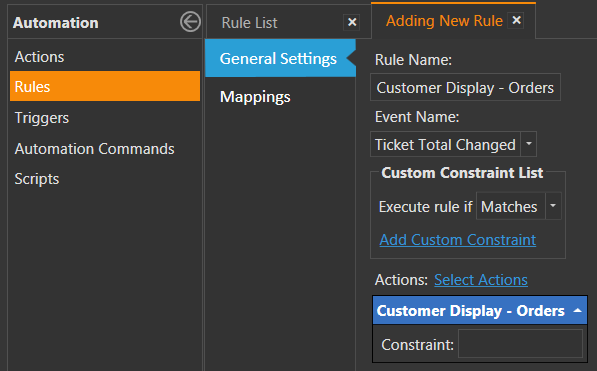
Rule - Ticket Total Changed
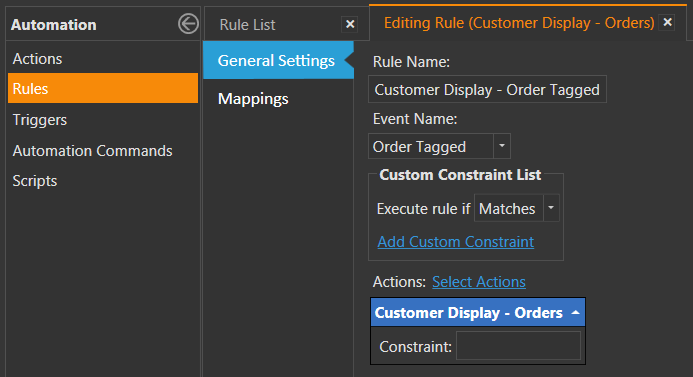
Rule - Order Tagged
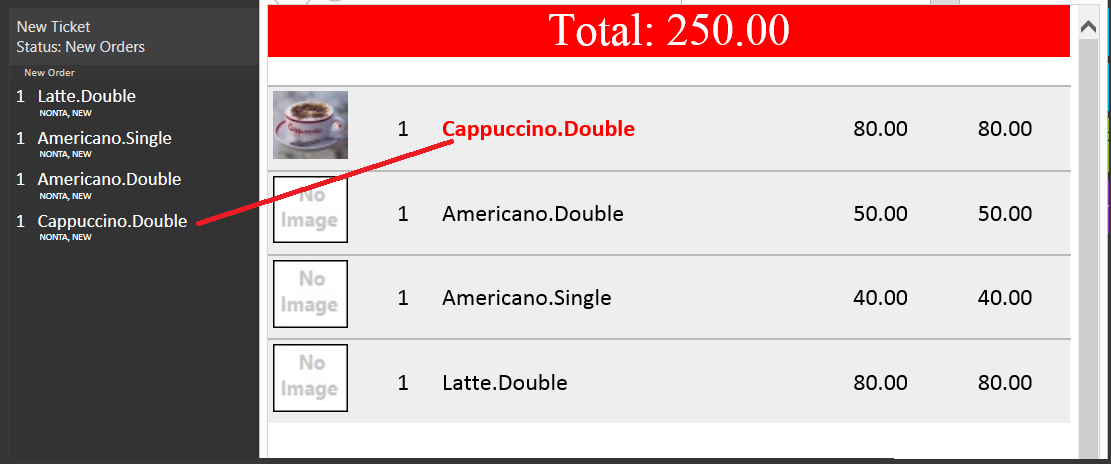
Adding Images to the Products
You can add an image using a Custom Product Tag.

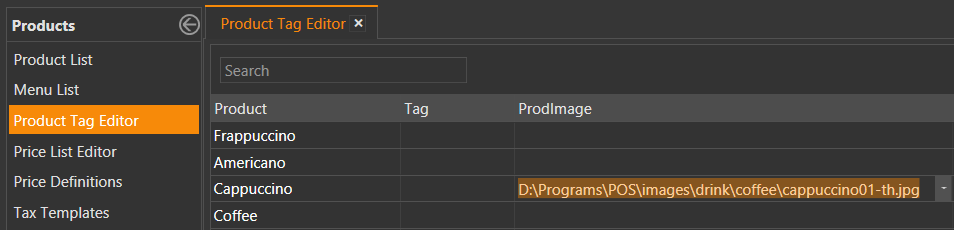
Then use this in the Printer Template:
<img src="{ITEM TAG:ProdImage}"/>
P.S. The Printer Template supplied with this Tutorial already has this feature in it.
Here is a “No Image” image that is referenced if an image has not been defined for the Product: ![]()